
To let the SKYVVA Integration Suite exchange Data between SAP and SFDC (Salesforce.com) it is necessary that both systems agree on one data format.
The leading system to create a common data structure here is the SKYVVA configuration environment in SAP. With creating a data structure, a communication interface for this specific message is also created on the SAP site. The created data structure will then be exported as a .xml file and saved in SFDC as a so-called iStructure.
The focus of this document is to describe how to install/deploy SKYVVA adapter in SAP.
Apsara team will provide a SAP transport package, which will contain 2 files in it. It needs to be handover to SAP Basis team so that they can upload it in SAP. Alternatively, upload the file starting with K* into the location “/usr/sap/trans/cofiles” and the other file which start from R* into the location “/usr/sap/trans/data”.
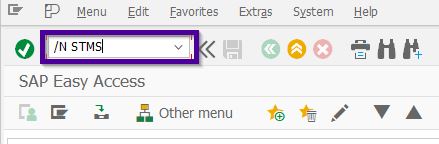
Once above activity get done, go to the Transaction code STMS (Transport Management System)
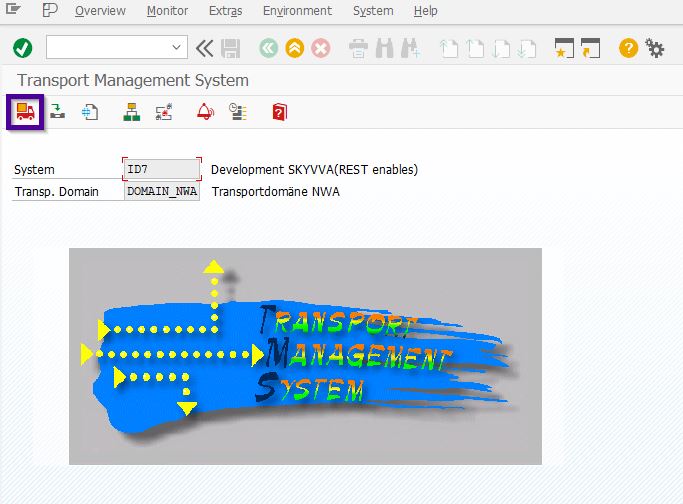
Here, select the option “Import Overview”
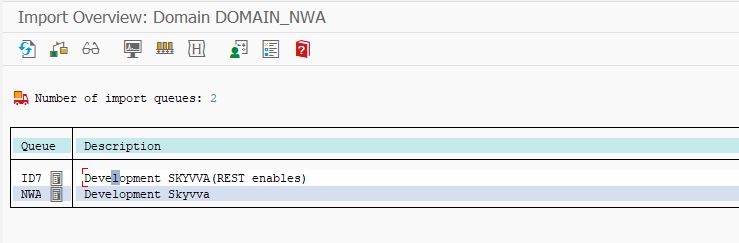
Now, based on your SAP system configuration there might be multiple Queue will appear. Double click on the correct Queue where you wanted to import this SAP Transport.
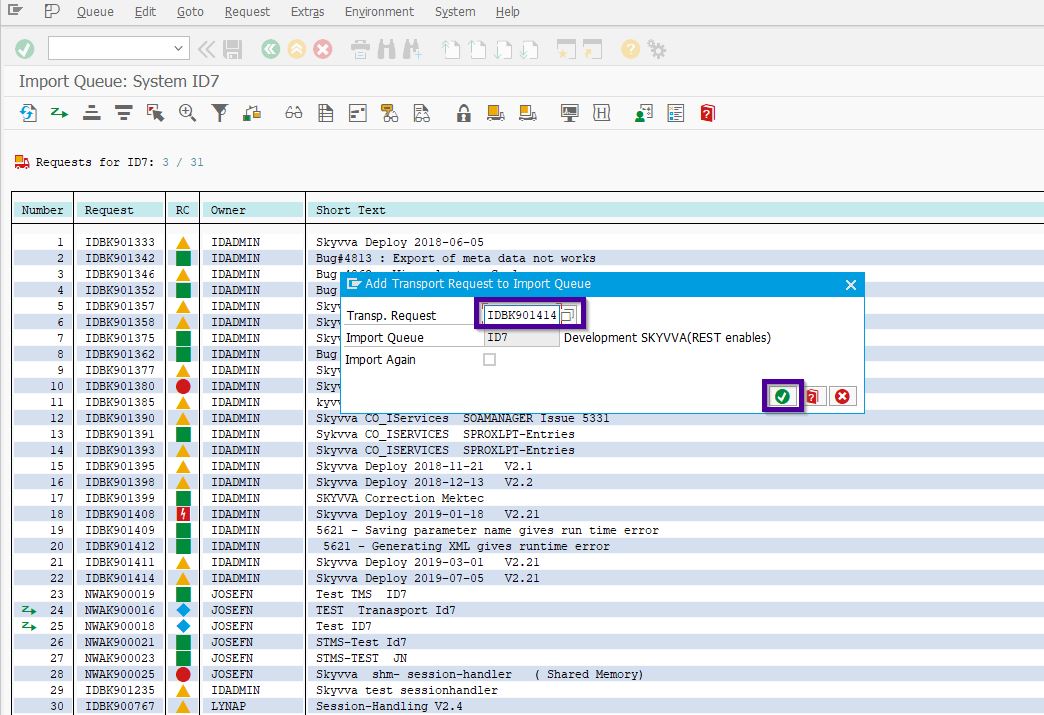
It will open a new screen. Here, we need to manual enter the transport number, path for this activity is: Extras–>Other Requests–>Add

It will open a pop-up, here enter/select the Transport Number and press Continue
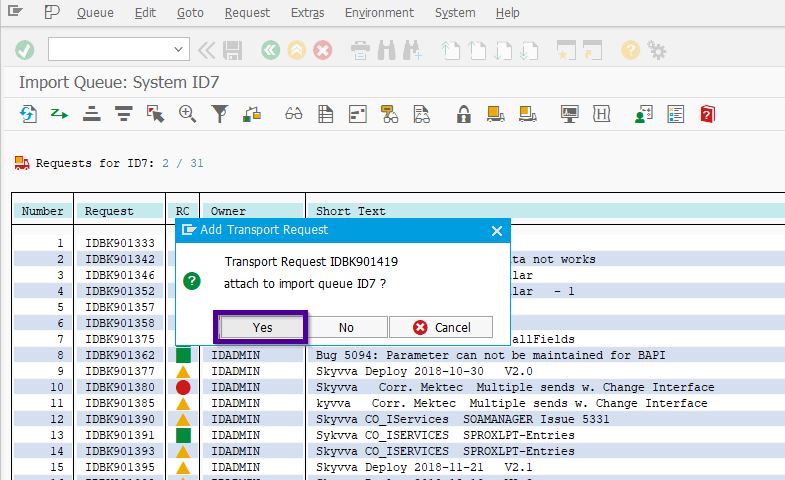
Now a popup will appear for the confirmation to add the transport into import Queue, here press Yes.
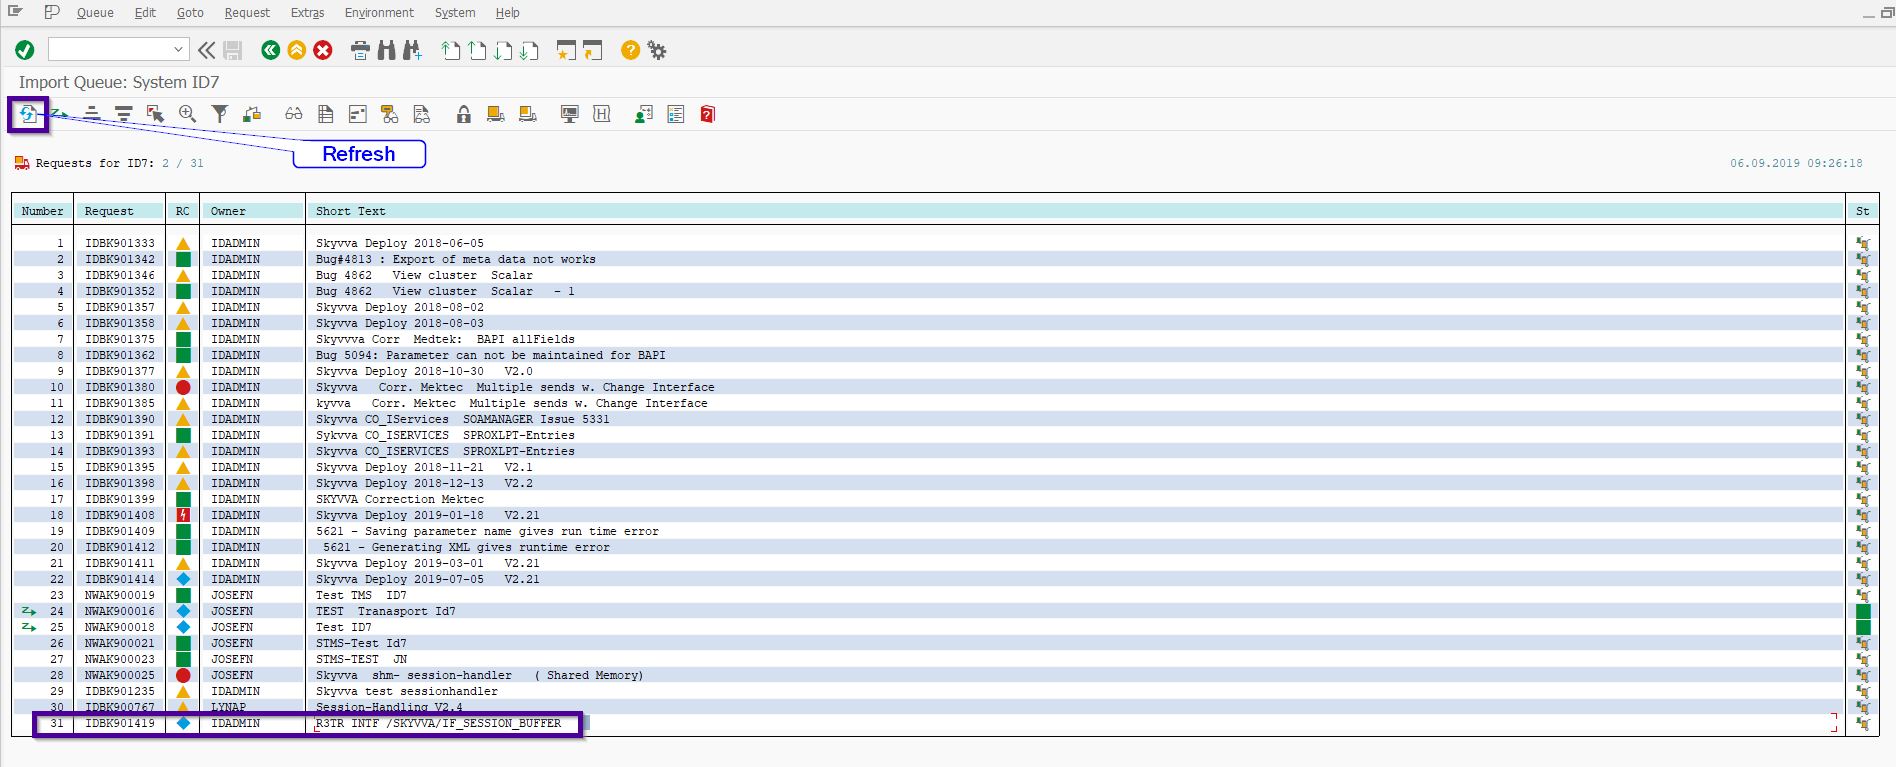
Now, transport should come into display at the last. If it does not appear then press the button Refresh
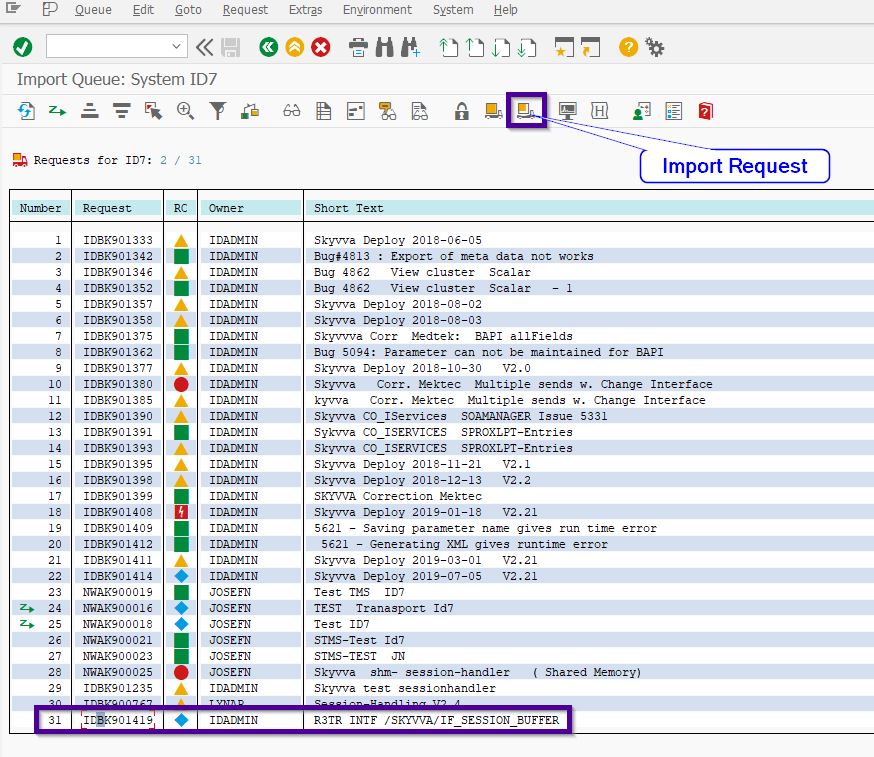
Now select the transport and click the option Import Request
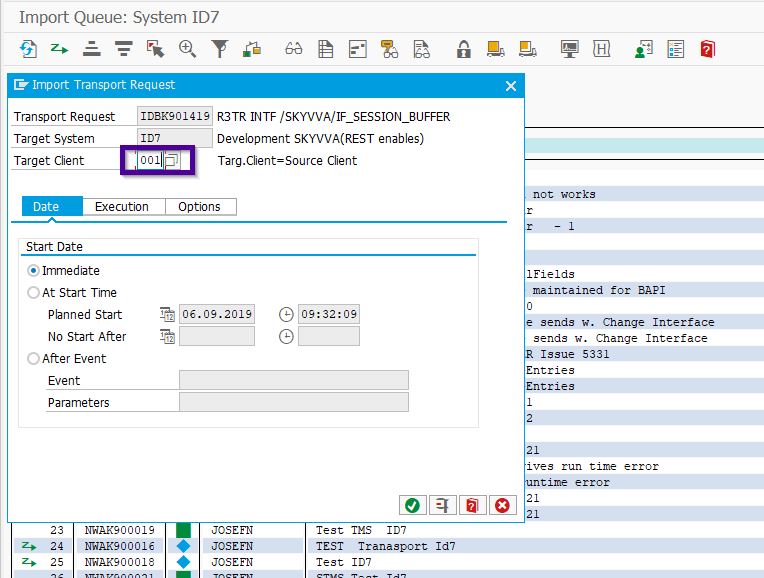
Now a new popup will appear, here enter the target client where you wanted to import the SKYVVA adapter. Here we can also schedule for specific time or event at which transport will be imported. By default “Immediate” option will be selected.
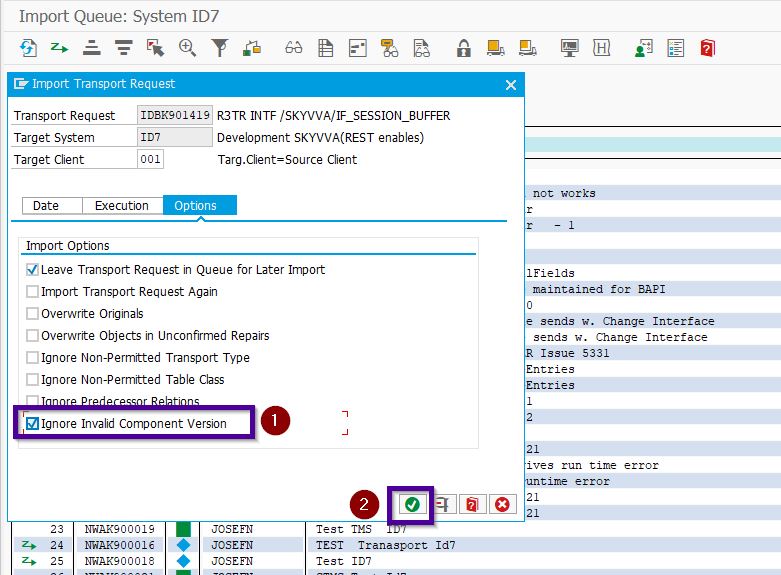
Now, click on the Options. Here by default “Leave Transport Request in Queue for Later Import” option will be select, select also the option “Ignore Invalid Component Version” and press Continue.
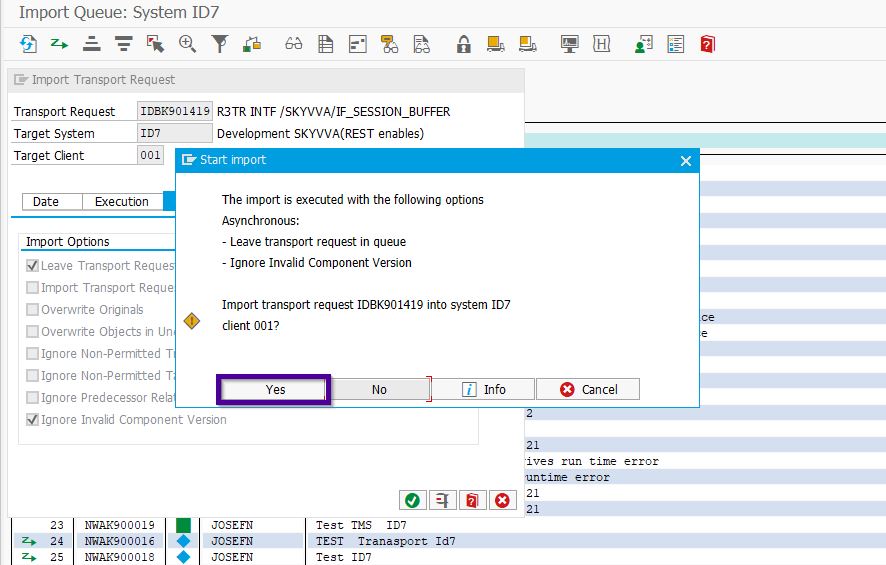
Now a final pop-up will appear which will show all the option selected. Here press Yes, it will put transport into Import Queue.
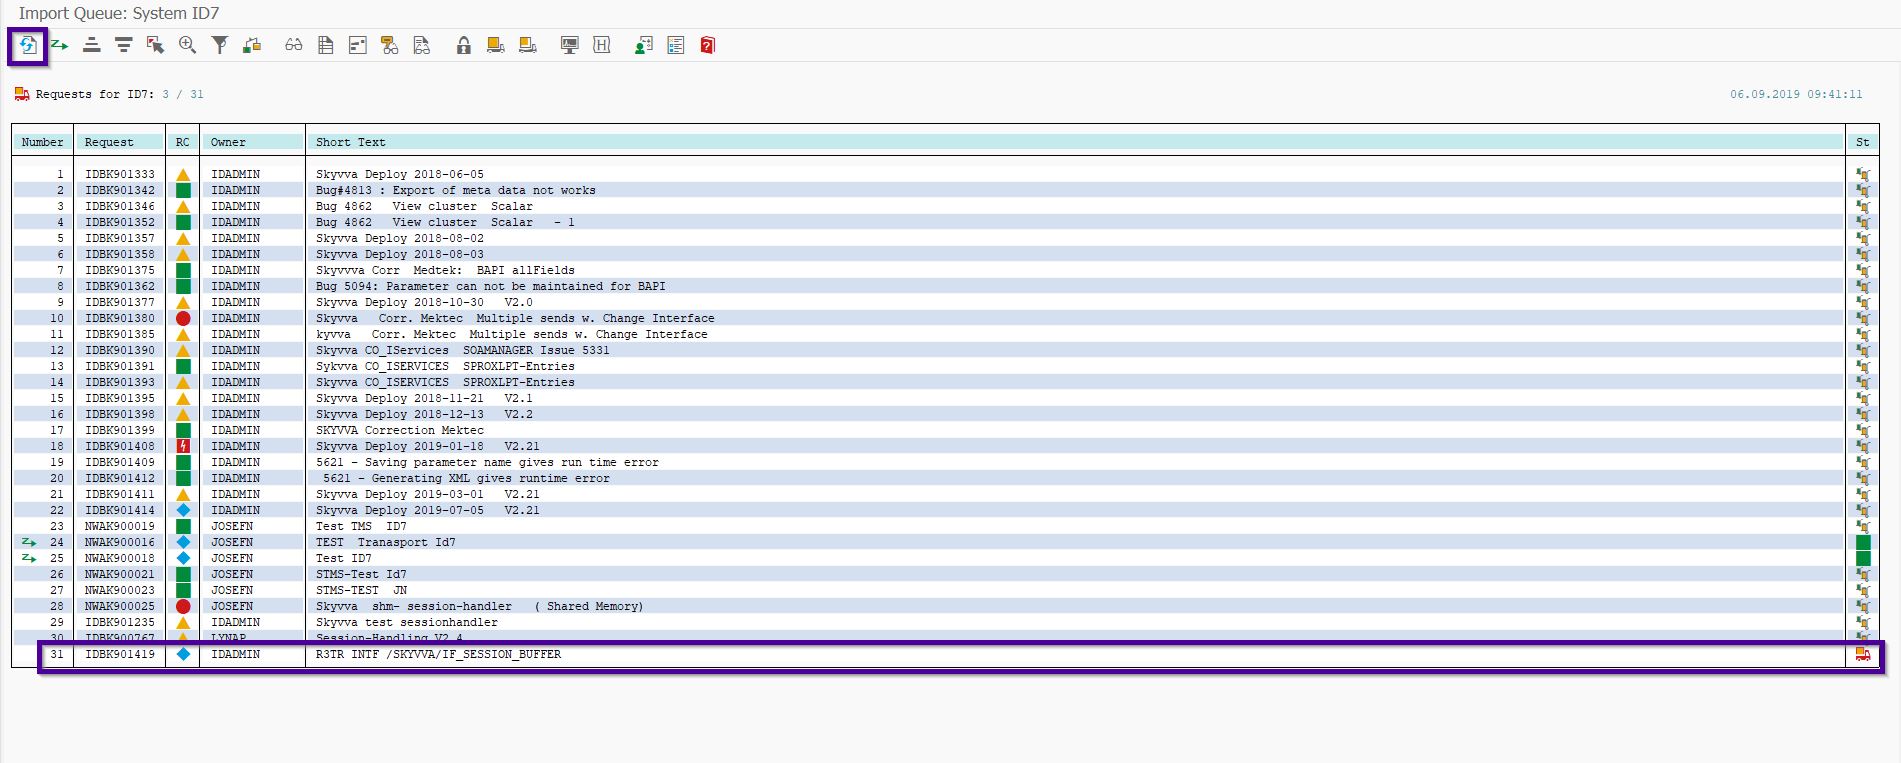
Now observe the symbol will appear as Vehicle against the transport. Now select the refresh option after some time, if everything goes OK then the color will change in Green.
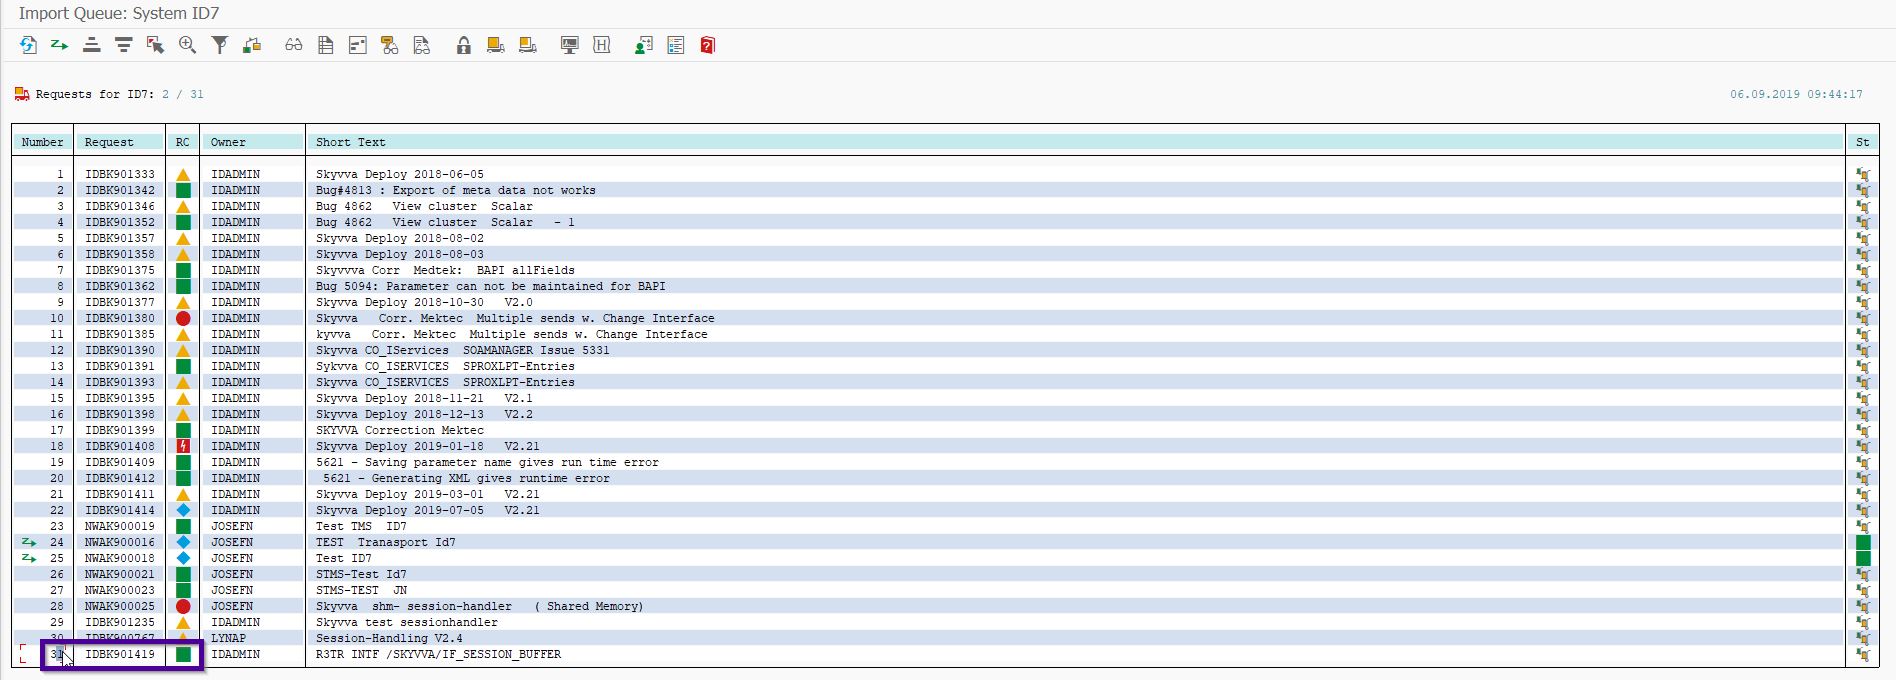
In this case, transport imported successfully into the system(Green status), if it turned into RED or YELLOW then contact the SKYVVA support for further assistance.
Popular Search how tohowhow to usedataagent


