
Learning Objective:
- Import Account Data into Salesforce with a csv-file and Data Loader Function
- Describe SKYVVA data loader.
 #
#
Introduction #
SKYVVA´s Free Dataloader is part of the SKYVVA´s Integration Cloud App and is a native force.com App. As a true Cloud Service data can be uploaded over the Web without the need to install any software or hardware. SKYVVA´s FreeDataloader is perfectly suited for a business analyst and administrator to manage the import of critical business information such as accounts, contacts, assets products, leads or orders on time without being reliant on limited IT resources. Based on an intuitive (Salesforce Look & Feel) Web interface SKYVVA´s Free Dataloader is very easy to configure (No Coding) and maintain. The Free Dataloader is installed as a tab ‘Integration’ directly in the Salesforce menu bar. Fields are mapped by a visual editor, data are transformed using a formula editor. All operations are executed in the familiar Salesforce Look & Feel. Business analysts or administrators get alerted about failure in the service and are enabled to resolute data transforming or process logic without IT help via a message board.
What is SKYVVA Data Loader? #
SKYVVA´s Dataloader is a native Salesforce App and is designed to integrate data supporting CSV/XML format via a manual file upload. It is simple, intuitive and powerful to built integration in minutes. It is a Config&Click graphical mapping tool. Skyvva data loader use to upsert, insert, update, delete, or export Salesforce records.
Pre-requisite #
We should have salesforce organisation with Skyvva product.
Configuration of SKYVVA Data Loader #
To import data from CSV/XML file into Salesforce Please follow the given steps:
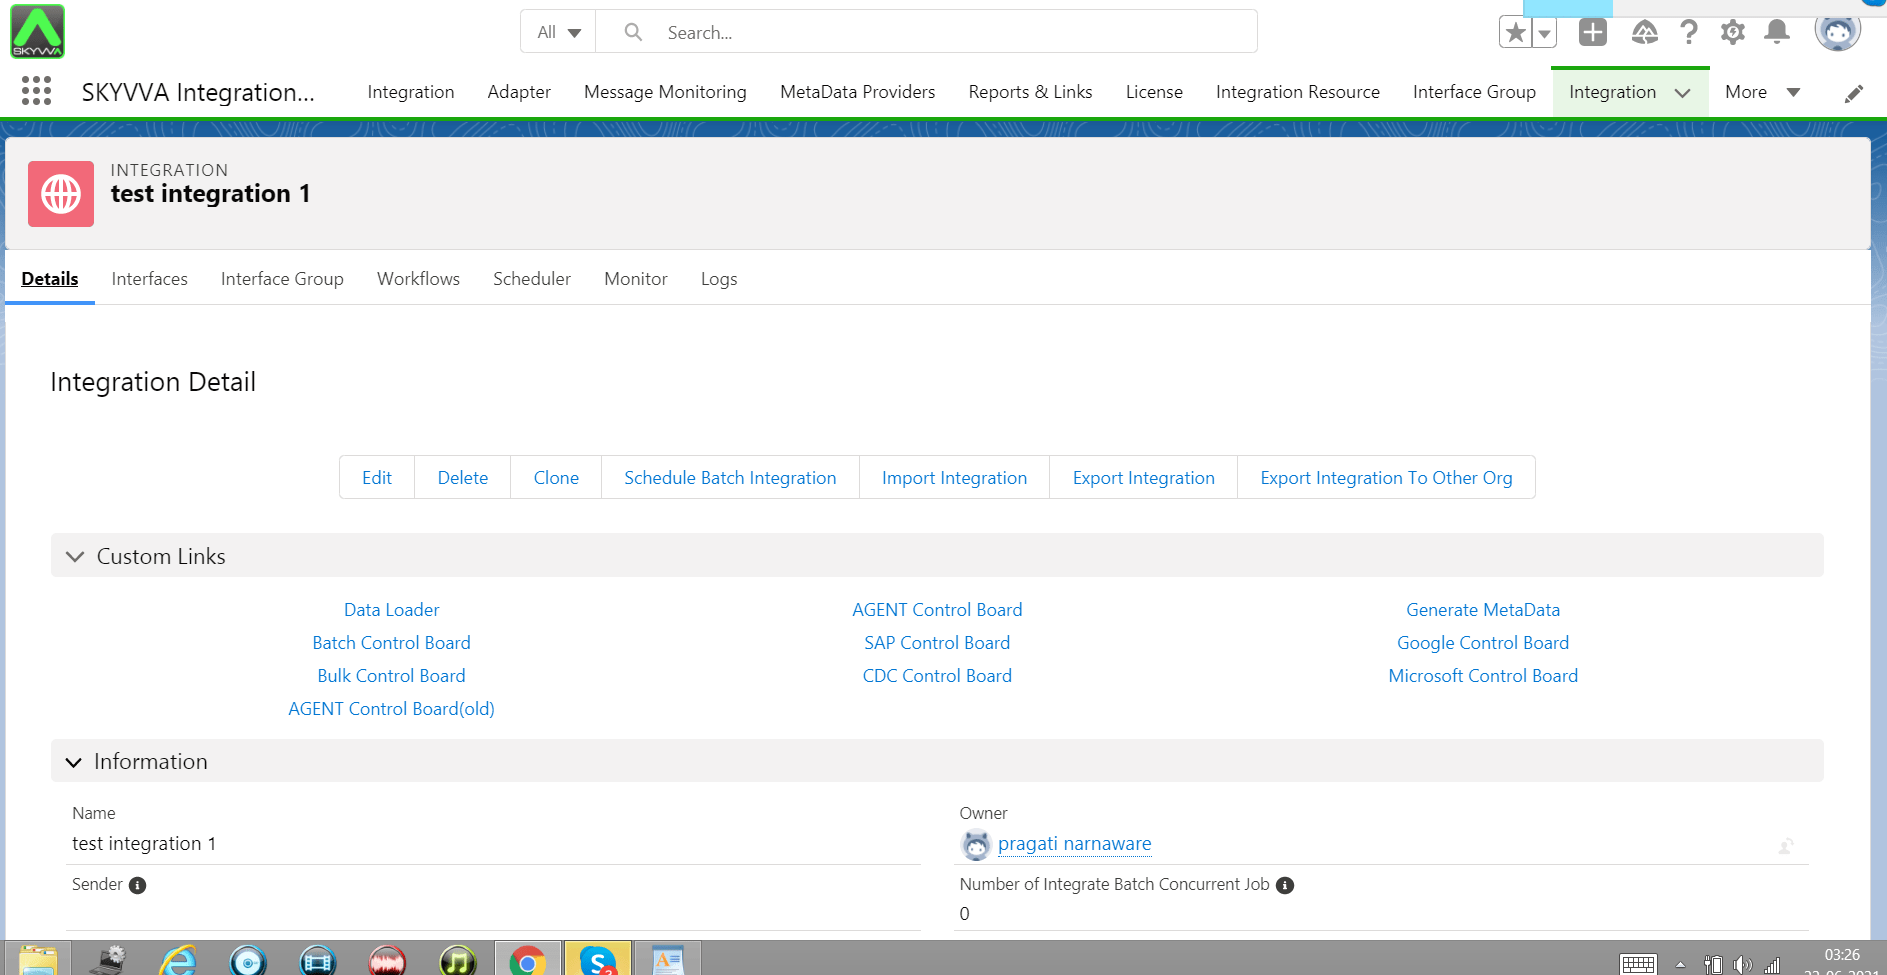
Step 1. The first step is to create a new Integration to import our csv file.
- On the Menu Bar, you see the Integration tab -> clicks on the tap Integration.
- Click On New button.
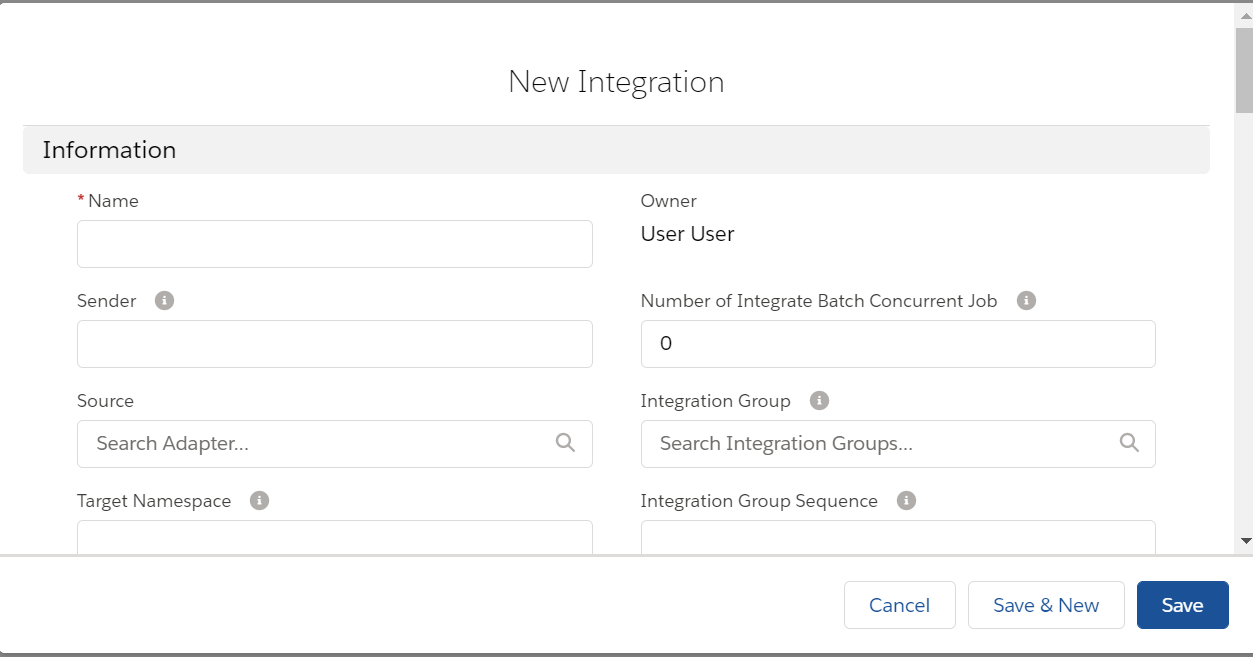
- Fill in the Name Field (Give a meaningful name that identify your integration.) We give our Integration a name and a short description of the use case for this integration.
- All other fields can remain as default…
- Click on Save button and we have created an Integration to upload our csv file.
Step 2. The next step is to create the Interface for the Account Object.
To create new interface follow the given steps:
- Go to your Integration page.
- Click on Interface tab (near to detail tab).
- Click On New Interface button.

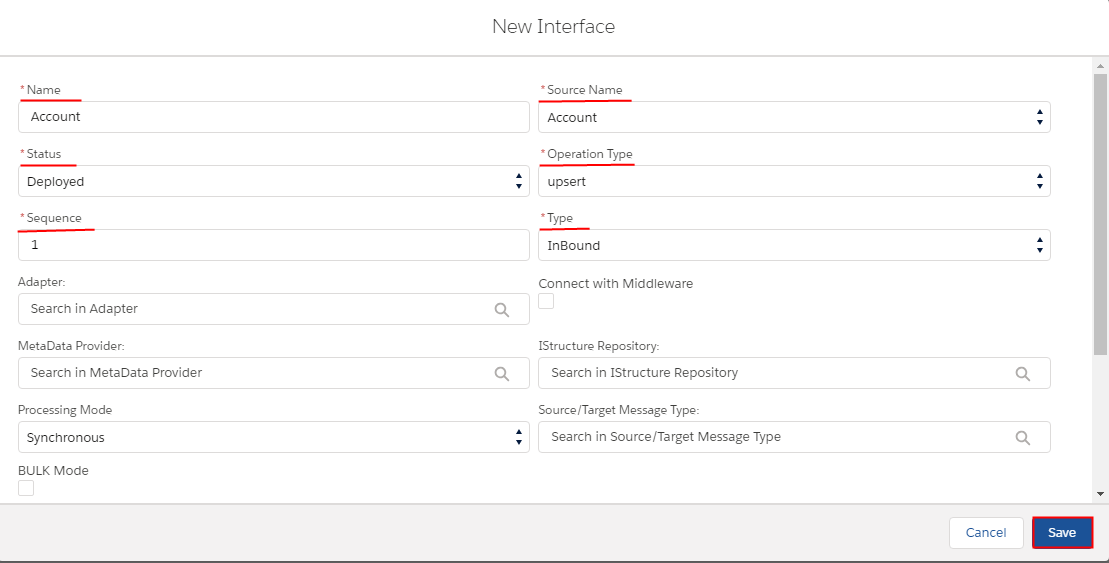
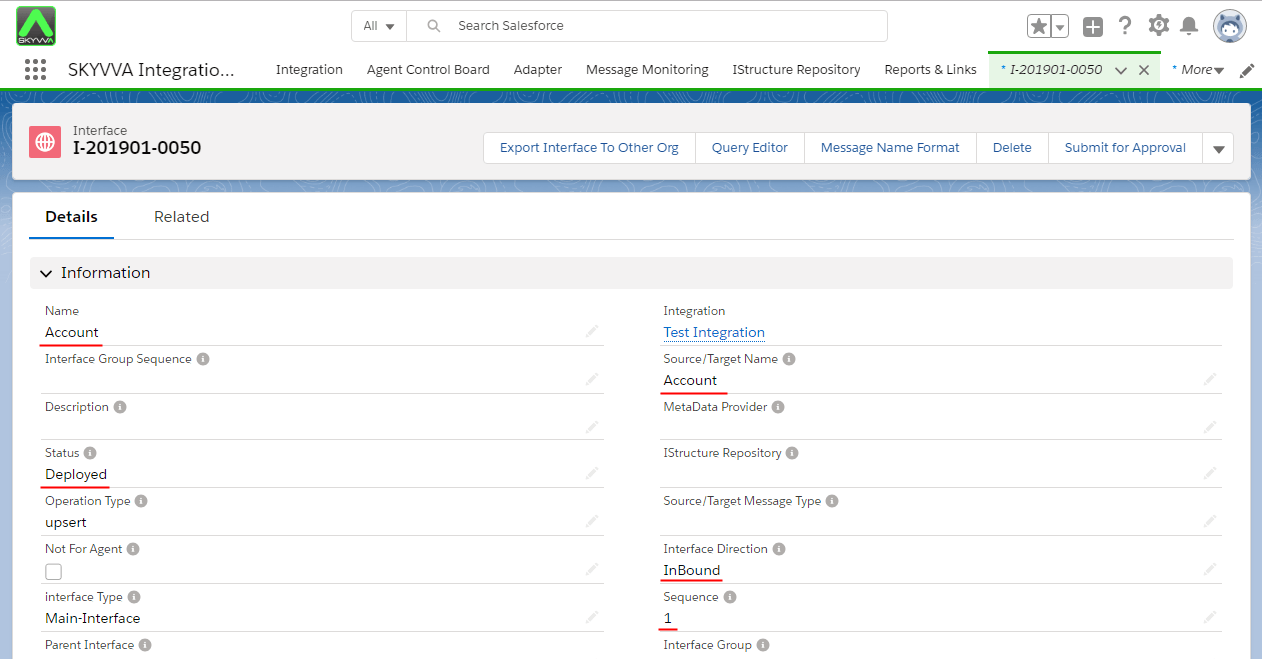
We give our Interface a Name and change the Status to Deploy and choose in Source Name the proper SObject -> Account. All other fields can remain as default…
Click on ‘Save’ button and created our Account Interface.
Interface Fields Information:
- Name: It can be Account, Contact or Case.. etc to notify your Interfaces
- Statue: Deployed (It can be used)
- Sequence: Ranking number (1)
- Adapter: It is the connector
- Source Name: Salesforce Objects (Account, Contact or Case.. ect.)
- Operation Type: There are 4 types:
– Upsert: To update on existed data and insert new data that isn’t existed yet in Message Monitoring.
– Update: Only update on data that is already existed in Message Monitoring.
– Insert: Add all data in the Message Monitoring.
– Delete: Delete all data in Message Monitoring.
- Type: There are 2 Types:
– Inbound: Import data into Salesforce
– Outbound: Export data outside Salesforce
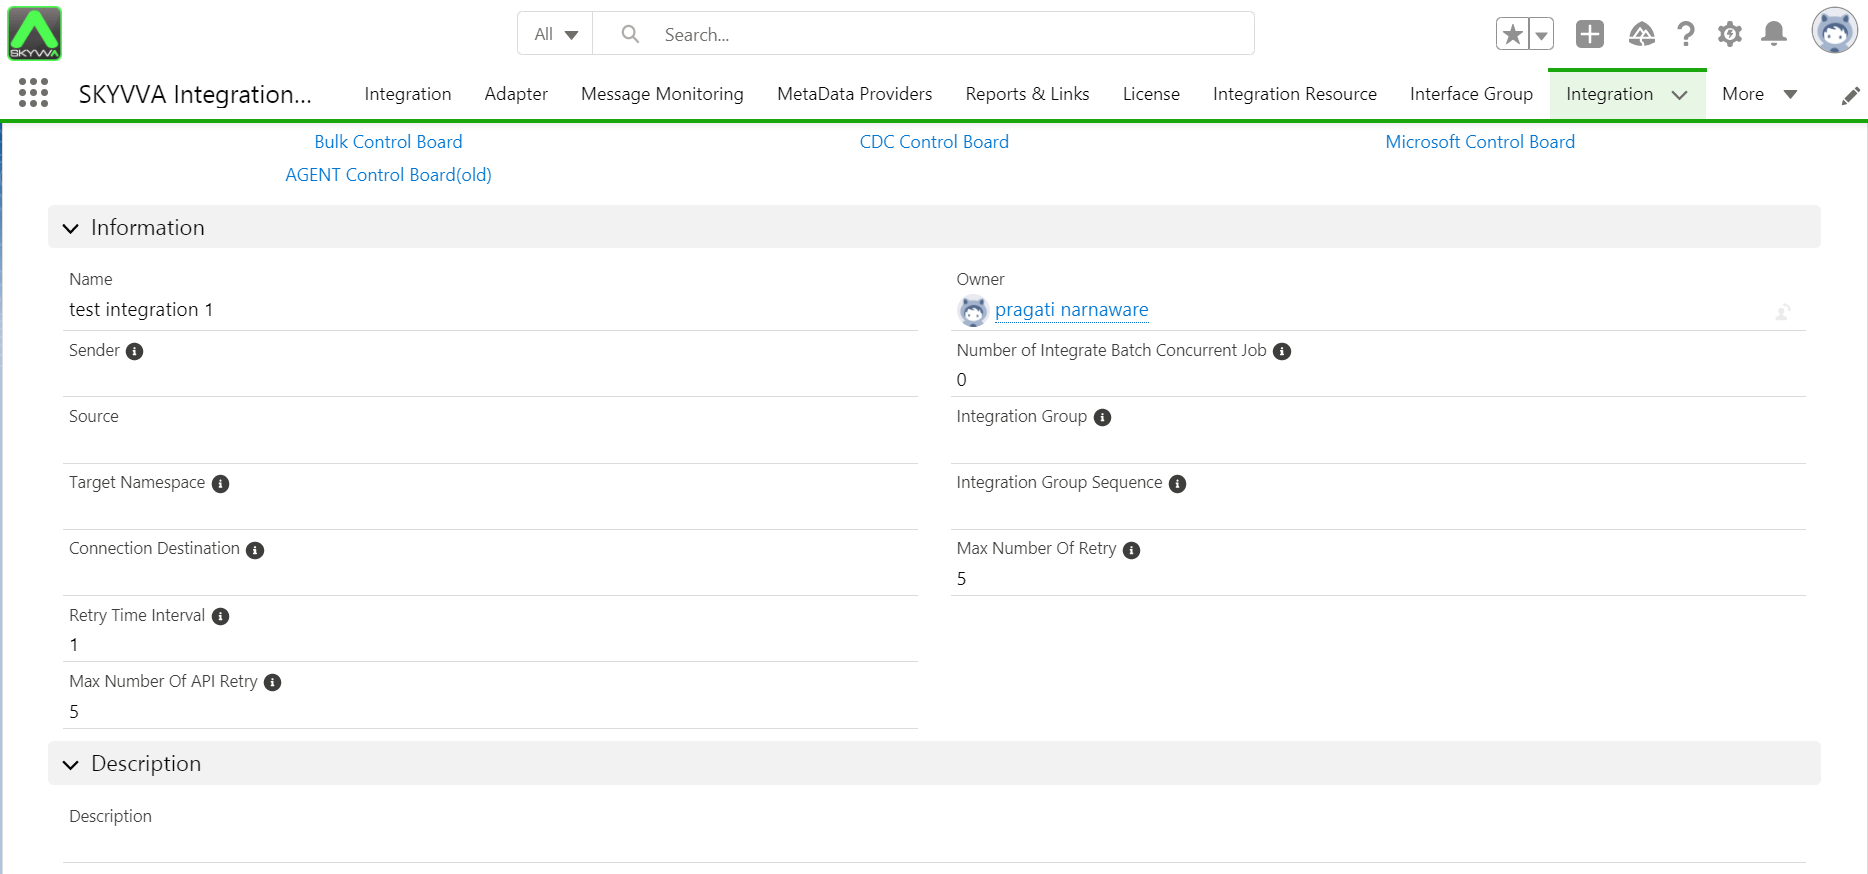
We click on ‘Save’ and created our Account Interface.
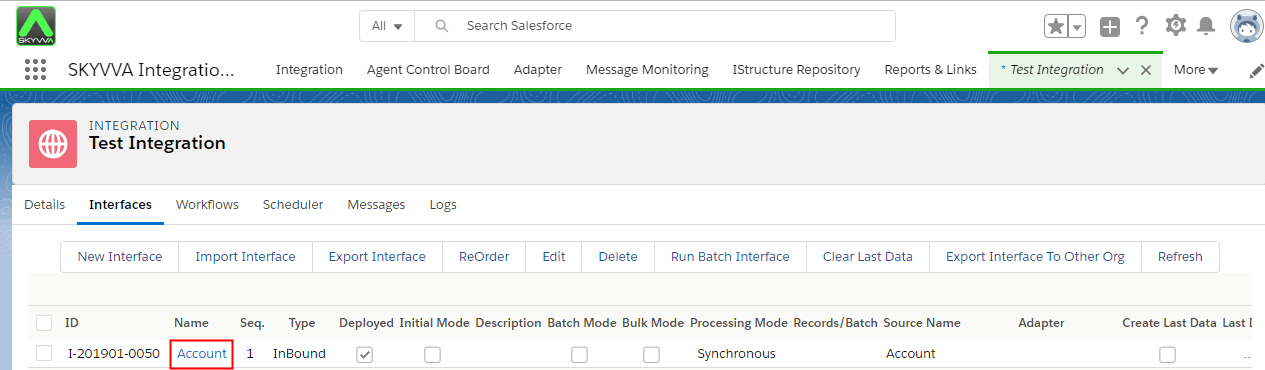
We click on the ‘Account Interface’ link and see the Interface Details. It is navigate to:
Step 3 How to do Mapping
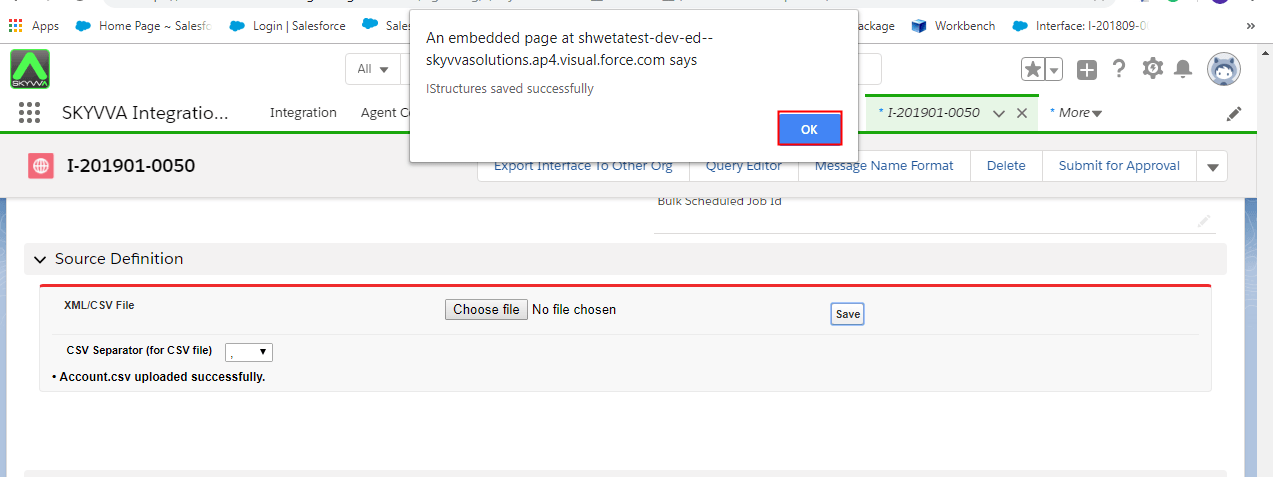
To create the Account structure we choose our CSV Separator (2) in ‘Source Definition’ Area and click on Search (3) and choose your csv file to upload and then click on ‘Save’ (4).

After you have saved the uploaded csv file you get the message that our upload was successful and click on ‘OK’.
We see now our account structure with the automatically generated account fields.
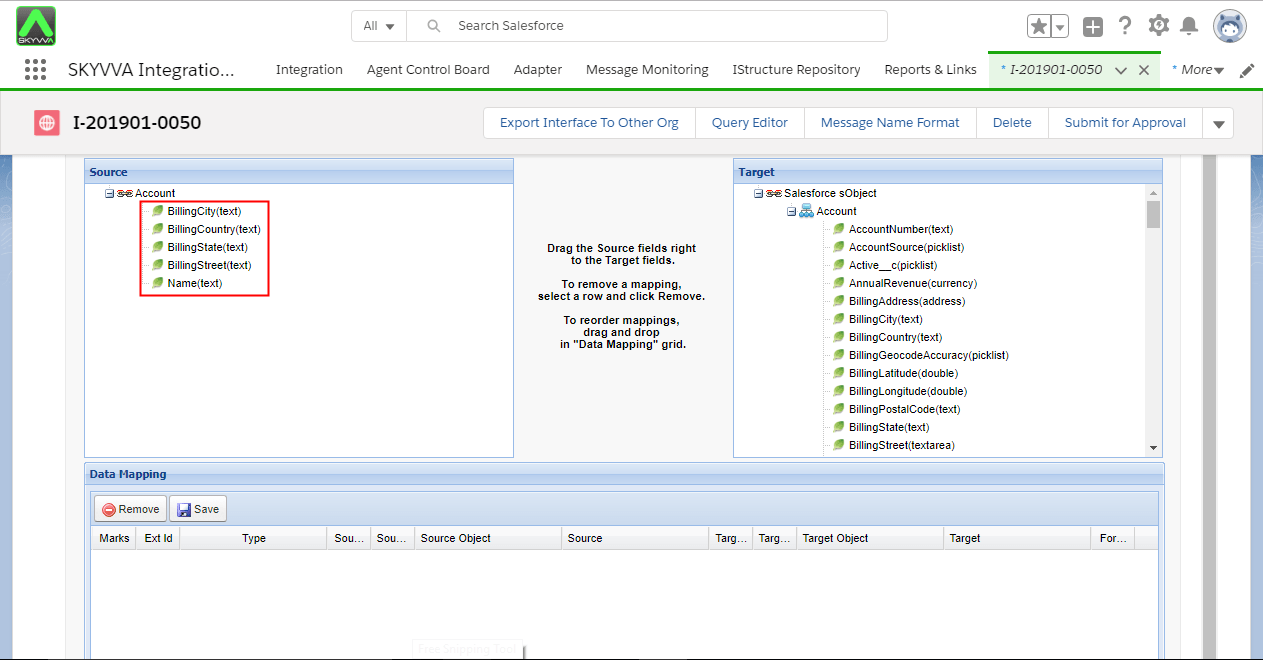
After uploading the files you will have to drag any fields from Source to drop on Target. An External Id field is required to be used for synchronization with external system, so external id field must be unique in order to avoid duplicate records on each object. It is usually Name or AccountNo.

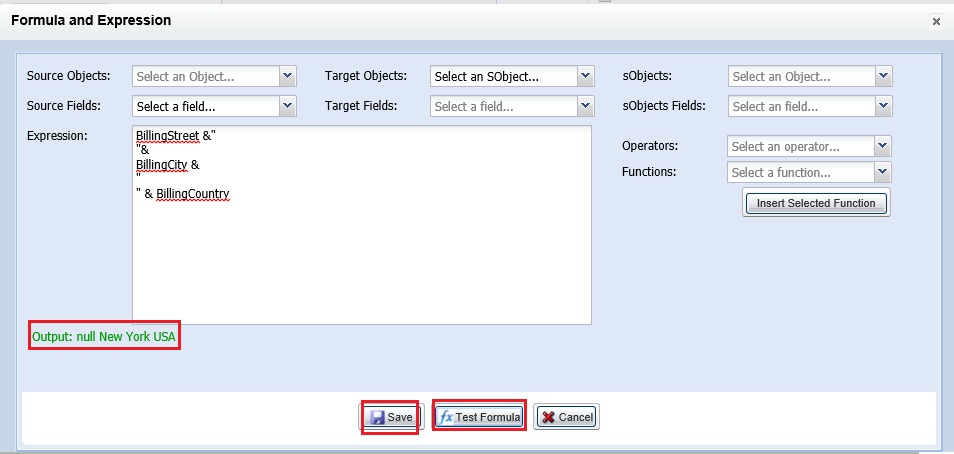
Here is an example of Description formula when you want to add any formula in: Tick on check box ( Formula box) at the right as in the picture and types any kinds of formula in.
Billing_Street &”
“&Billing_City &”
” & Billing_Country
Clicks on Test Formula to see an output if it is true or fail then Save formula.
After you map all fields, do the formula and choose the External ID, please Save. Just in case that you forget to save, all your Data Mapping will be lost later on.
Steps 4: How to do Data Load?
Now we have finished our interface setup and go back to our Integration Details Page and click on ‘Data Loader’ link . On the Data Load page, you will have choose the same file (1) and Upload (2) again.
Data loader page navigate to:
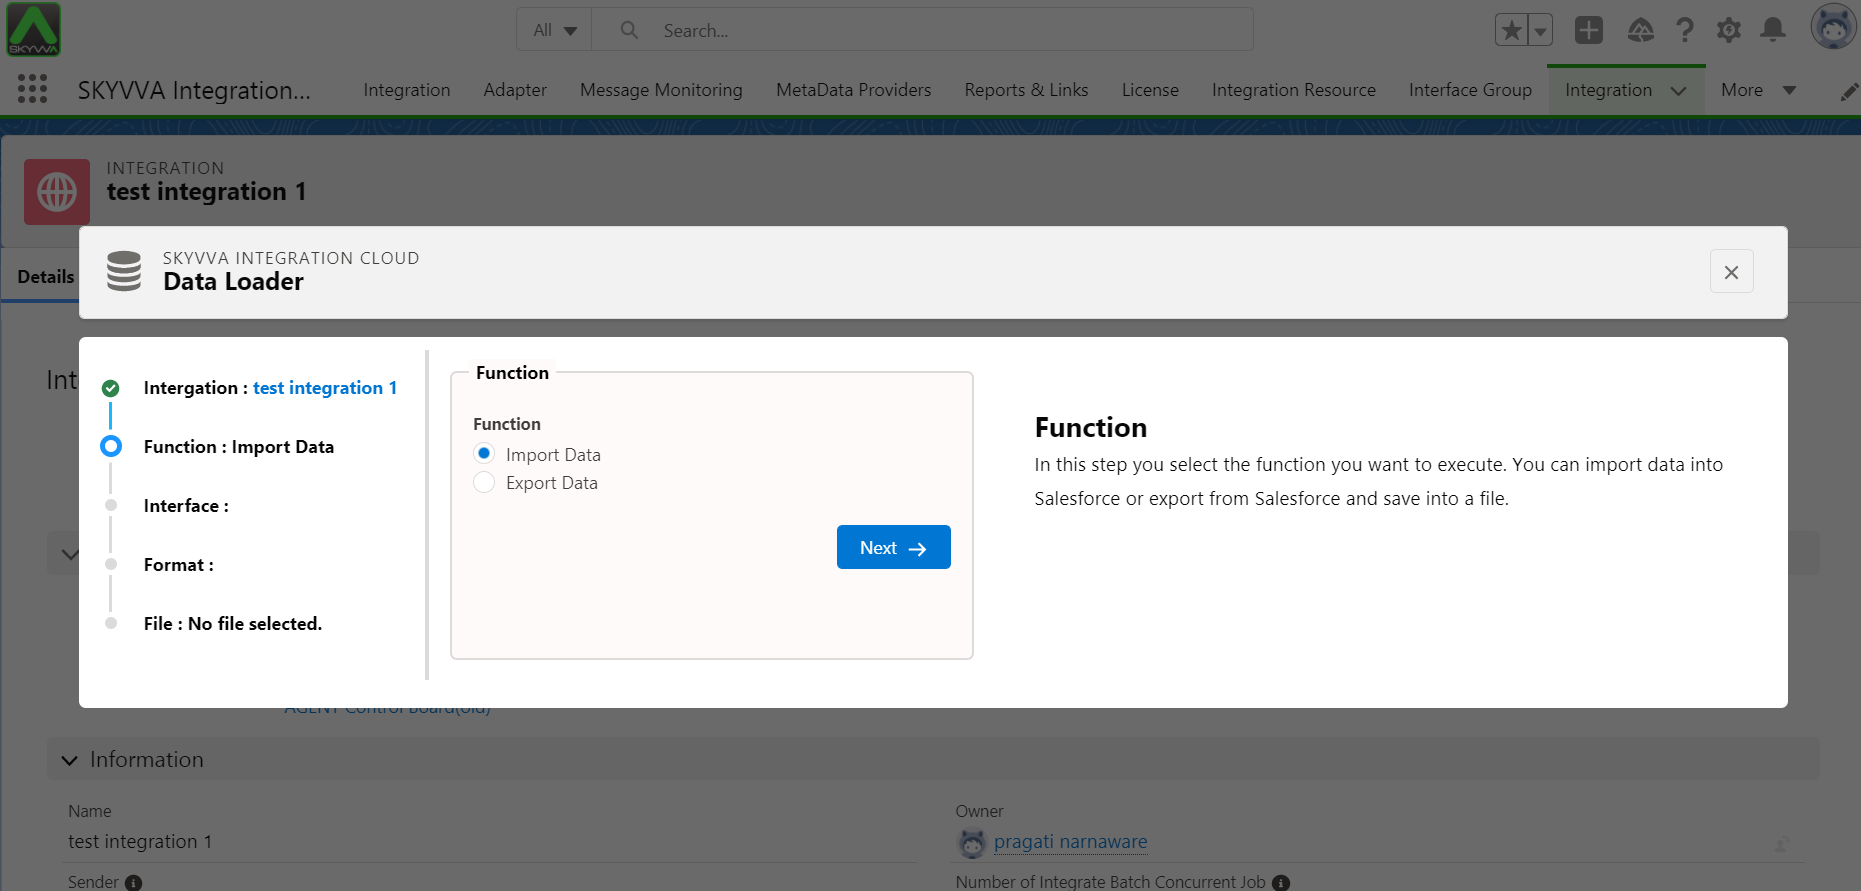
Select Import data -> next.
Select the inbound interface-> next
Select file format and comma separated value->next.
Then upload the csv file and push the button.

After you have selected the records click on ‘Push’ Button to upload the data into Salesforce and you get the message that the upload process started. We click on the ‘Message Board’ Button and come to the Message Board.
Step 5 How to use Message Monitoring?
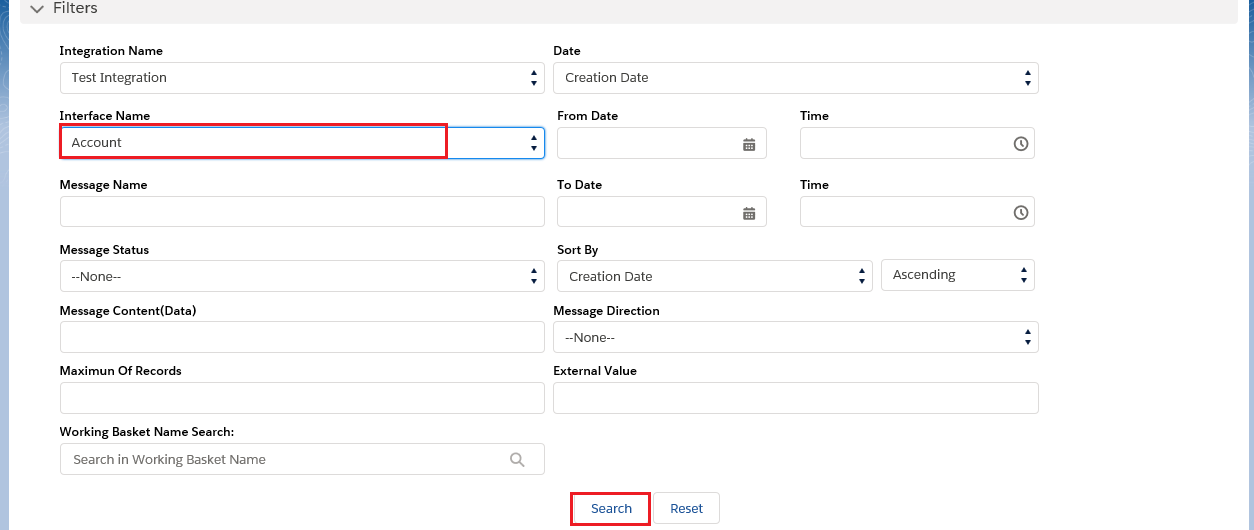
Storage usage will be found when you are on Message Board page. And Filter below will show to how to use or search different criteria, for example:

Below in the ‘Filters’ area you can search for different criteria e.g. Integration Name, Interface Name, Message Status or by Date.
- Filters:
– Integration Name: You can choose which Integration you prefer to see the result
– Interface Name: You can chose which Interface you prefer to see the result
– Message Status:
There are many types of Status, but there are 3 common using types:
– Green Flag = The upload was successful and is Completed
– Red Flag = Failed
– Yellow Flag = Pending
Then click on Search.
- Messages Section
You will be able to see Total Number of Records as well.
– Type: Inbound or Outbound
– Target: is target interface that is used to be integrated to
– Statue: It shows which flag is green, red or yellow… etc.
– Creation Date: It shows which date interface is created
– Modification Date: It shows which date interface is Modified
- Button
– Select All: The function of Select All button is to select all Message results
-Deselect All: The function of Deselect All button is to Deselect all Message results
-Delete: The function of delete button is to delete only selected Messages
-Deleted All: The function of Delete All button is to delete all Message results
-Cancel: cancel selected Messages that is pending status
-Cancel All: The function of cancel All button is to cancel all Pending Message results

As you can see the status of uploaded record was green which means it was success or completed. In case that you want to see your Account Detail In the Message area, clicking on ‘Related To‘ to jump there.


