Table of Contents
You properly have many files to import into salesforce. For example, you have an account, and you need to attach documents as supporting documents for your Account. In this tutorial, you will learn how to do Manual Process to import attachments to Salesforce via an AWS S3 adapter.
1. Import attachment with existing records #
Pre-requisite
- Create Integration and Inbound interface with operation upsert
- Create a message type
- The Messagetype field Entries must have as below:
- FILE_Name
- FILE_EXTENTION
- FILE_TYPE
- FILE_BODY
- FILE_LENGTH
- The Messagetype field Entries must have as below:
- Link a message type for the inbound interface
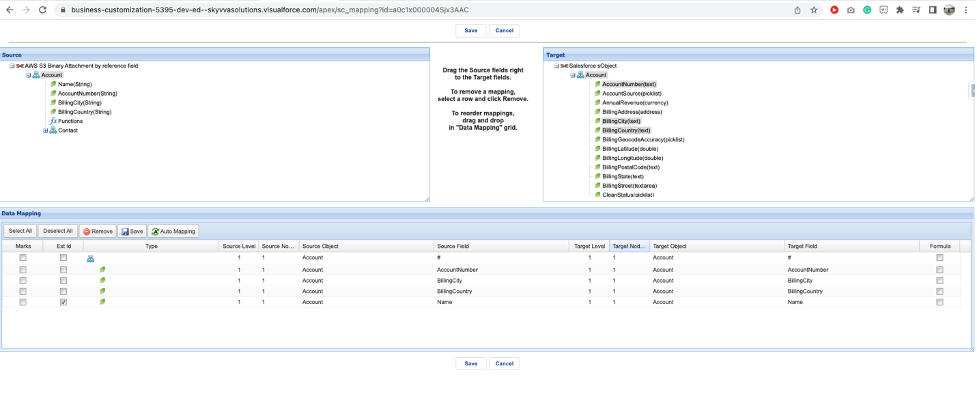
- Mapping
- We do VLOOKUP Formula to attach attachment on Account where name equal D-1
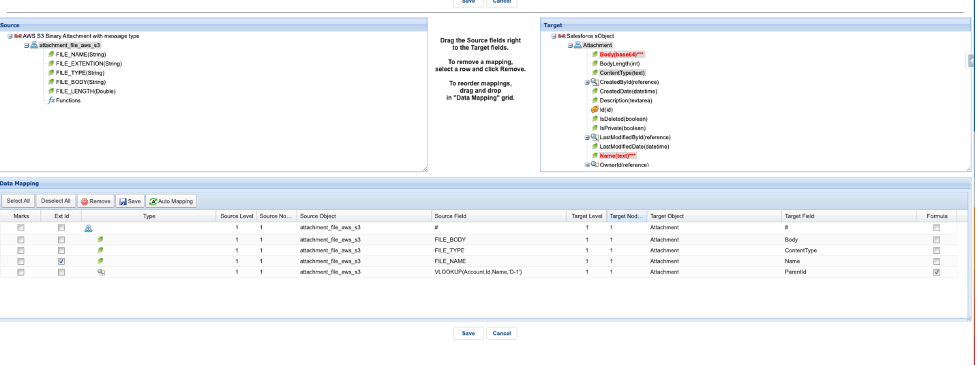
- Click save mapping
- Enter to integration detail page
- Click the link Amazon Control Board on the Custom Link section
- You will arrive at the Amazon Control Board
- Click Adapter tab
- Click the New button to create the adapter
- Fill Name adapter
- Choose Amazon S3 on Type
- Choose Inbound as the direction
- Choose Status
- Choose Salesforce Authentication Provider on Salesforce Type
- Fill Named_Credentials (Note: Please follow the link to create the Named_Credentials https://docs.skyvva-dev.com/docs/2-named-credentials-to-access-the-aws-s3/)
- Select Binary on the File Type
- Fill Folder Path
- Fill File Name
- Source Encoding UTF-8
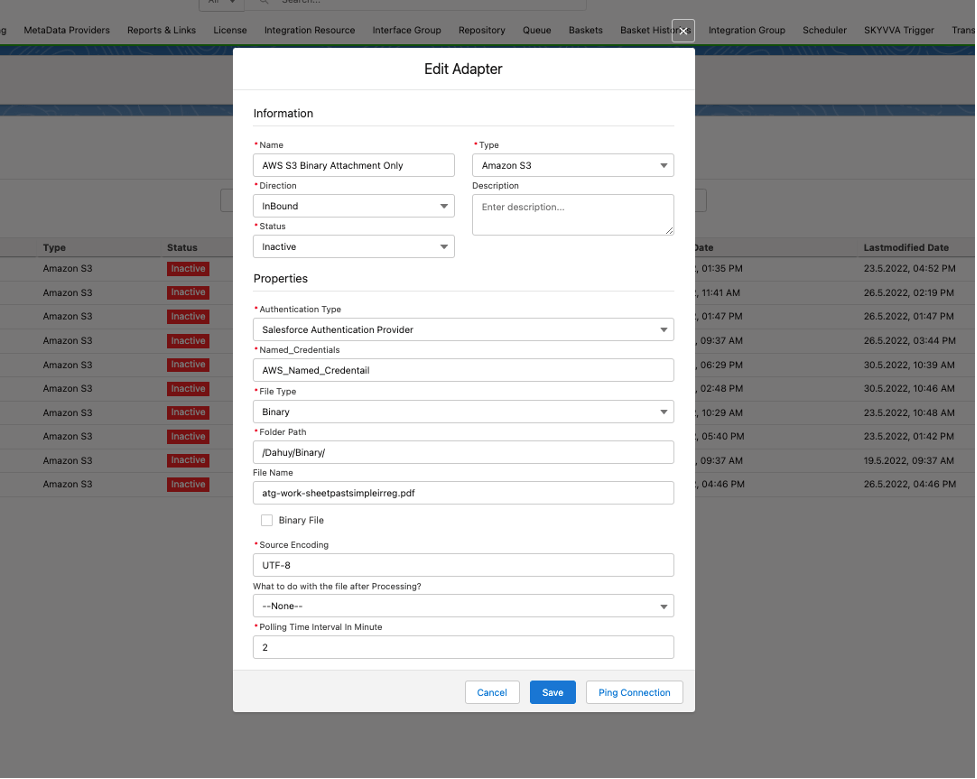
- Click Save Button
- Link this adapter to the interface
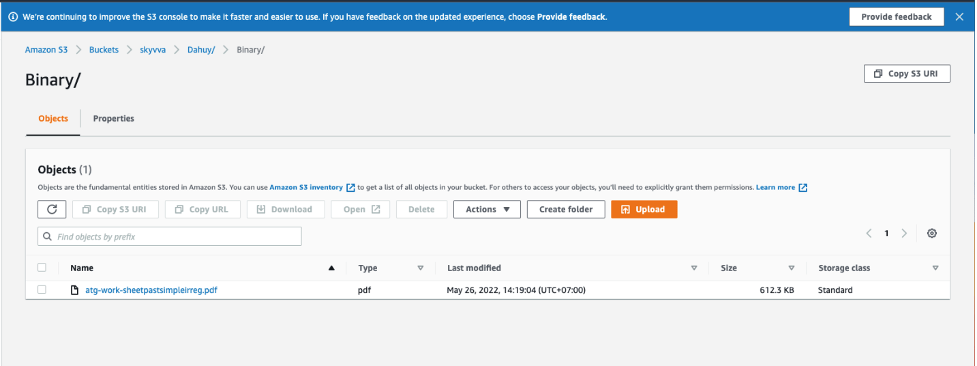
Here is the sample file
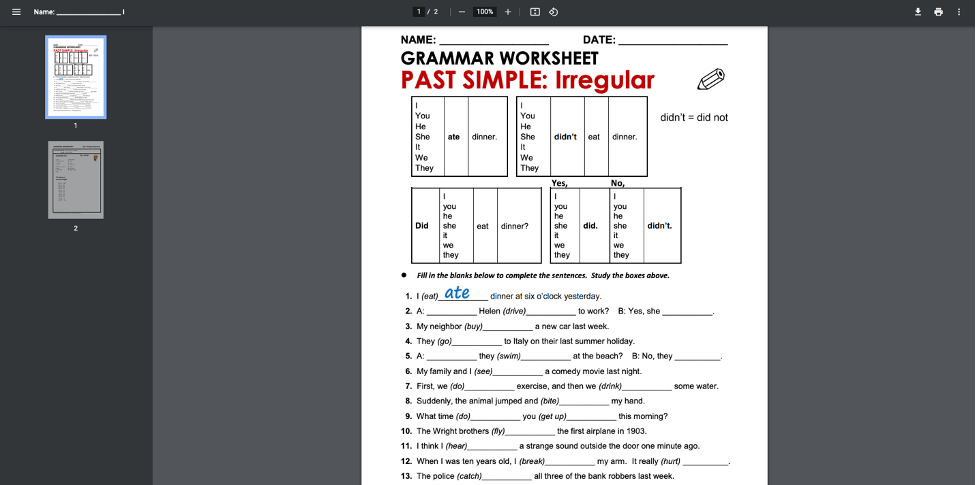
Here is the screenshot of the pdf file in the folder of the AWS S3 service
- Click the interface Tab on Amazon Control Board
- Select an interface
- Click the Manual Process Button
- It will display the Manual Execute Option pop-up screen
- Check the Read files from amazon s3 and push the attachment to salesforce.
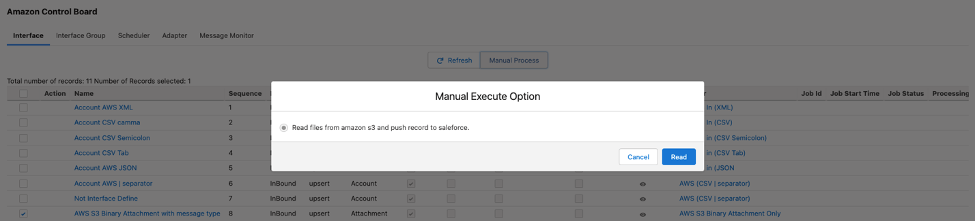
- Click Read button
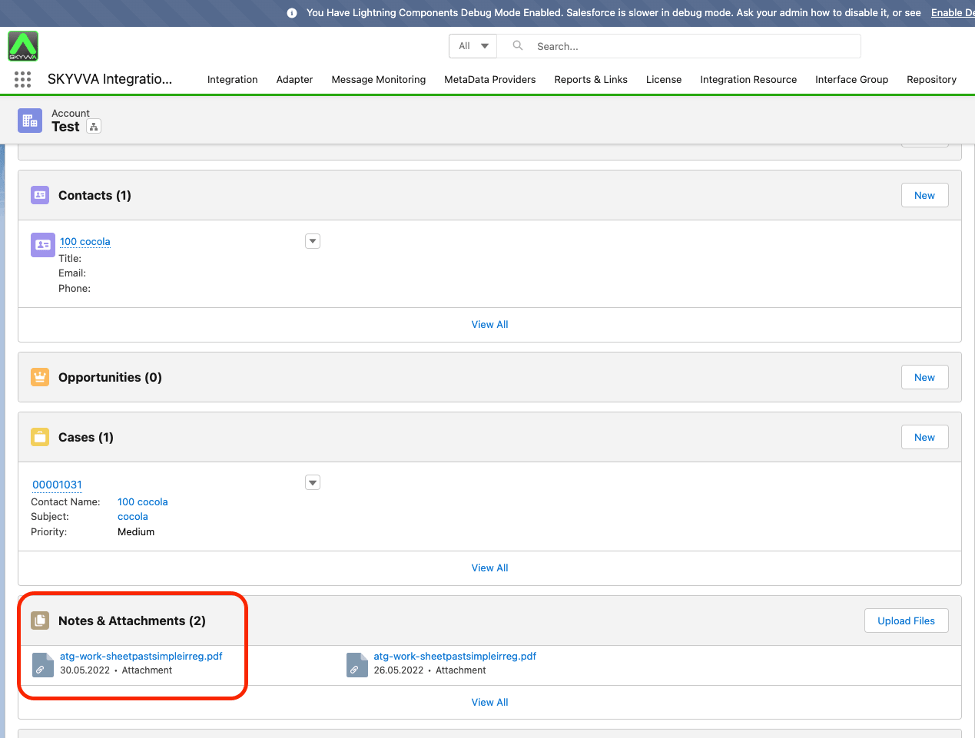
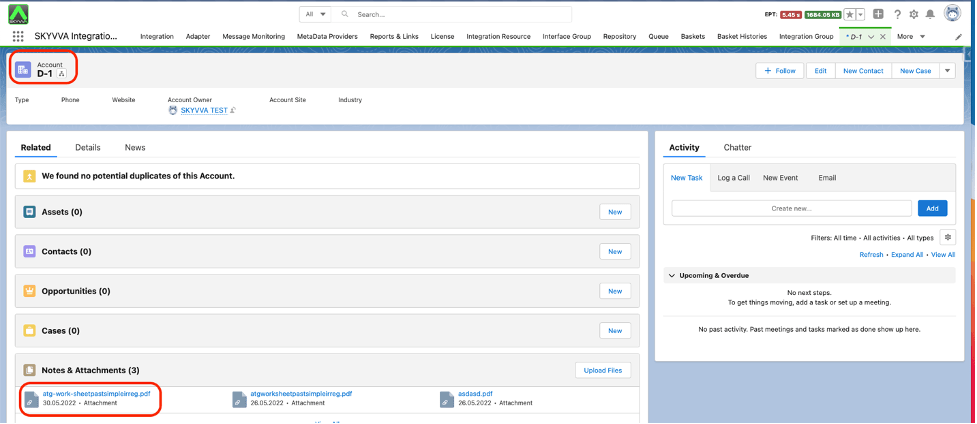
Finally, it will upload your file in an attachment, and is attached with Account Parent that has a name equal to D-1.
2. Import attachment with Reference Field using CSV format #
Pre-requisite
- Create Integration and Inbound interface with operation upsert
- Create a message type
- Link a message type for the inbound interface
- Mapping
- Click save mapping
- Enter to integration detail page
- Click the link Amazon Control Board on the Custom Link section
- You will arrive at the Amazon Control Board
- Click Adapter tab
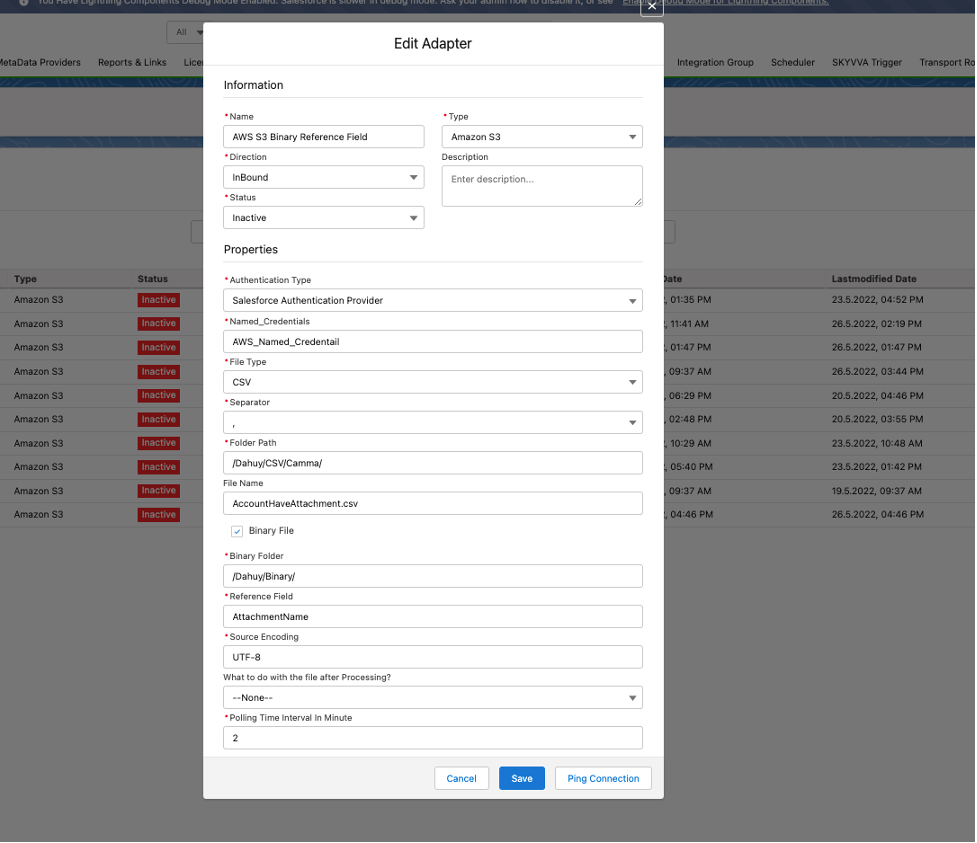
- Click the New button to create the adapter
- Fill Name adapter
- Choose Amazon S3 on Type
- Choose Inbound as the direction
- Status
- Choose Salesforce Type = Salesforce Authentication Provider
- Fill Named_Credentials (Note: Please follow the link to create the Named_Credentials https://docs.skyvva-dev.com/docs/2-named-credentials-to-access-the-aws-s3/)
- Select CSV on File Type
- Select “,” on Separator
- Fill Folder Path
- Fill File Name
- Check Binary File Mode
- Fill Binary Folder
- Fill Reference Field
- Source Encoding UTF-8
Here is the sample payload
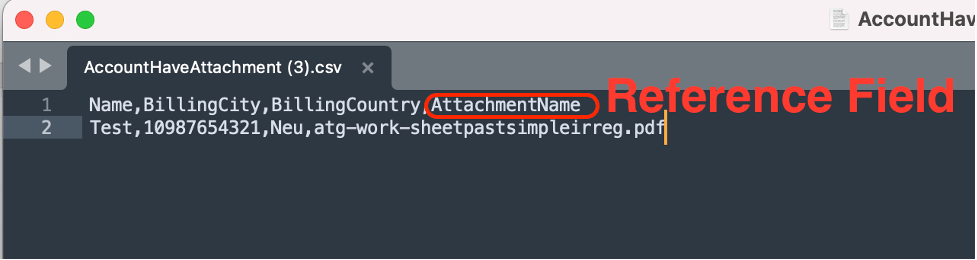
Here is the sample file
- Click the interface Tab on Amazon Control Board
- Select an interface
- Click the Manual Process Button
- It will display the Manual Execute Option pop-up screen
- Check the Read files from amazon s3 and push record to salesforce.
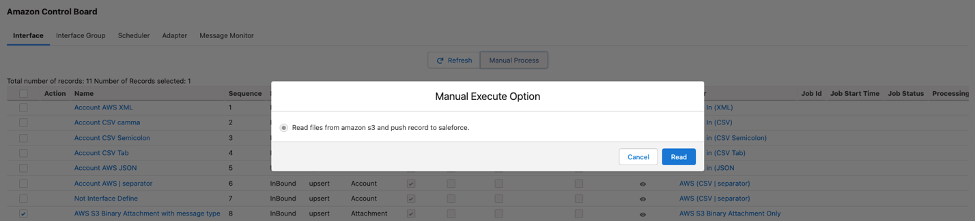
- Click Read button
The record of the CSV file will import to Salesforce and the attachment will link to the Account where the name is equal to Test.