
Posting IDOC to SAP ERP From SF Using Agent SAP ERP Adapter
Agent SAP ERP Adapter supports both in Linux and Windows Server.
In SAP ERP we have to do the following settings
Transaction: SRTIDOC
- Execute with the default values in the transaction with the option “Register Service” selected
- Registration should be successful with the message “Registration Successful”
- If this service has already been registered, you may get the error message – “Access Address already used for Web service”.
- In such a case, this step can be ignored as the SOAP Service is already registered and running.
Transaction: SICF
Hierarchy Type: SERVICE & Execute
Navigate to Default Host –> sap –> bc –> srt –> IDoc. Right Click & Test Service
Note the URL that comes in your browser.
This is the generic endpoint for idoc xml posting to SAP.
http://host:port/sap/bc/srt/idoc?sap-client=<clientnumber>.
The following is the endpoint for our SAP system ID7 with client 800
“http://195.201.104.232:16080/sapid7/sap/bc/srt/idoc?sap-client=800”
This endpoint we will use while creating the SAP ERP adapter in skyvva.
Importing IDOC from Import SAP metadata
To Import SAP metadata first we need to create SAP Connection in skyvva as shown below
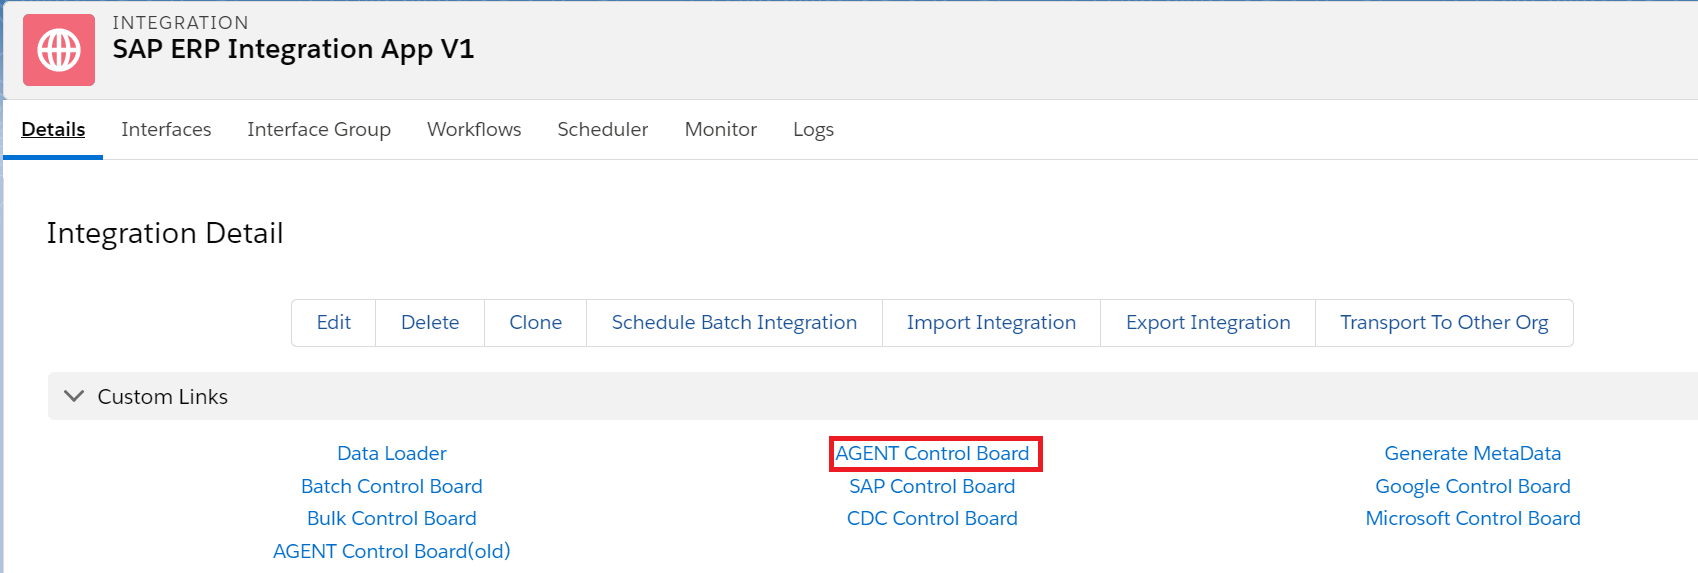
Go to Integration details tab and then select SAP Control Board
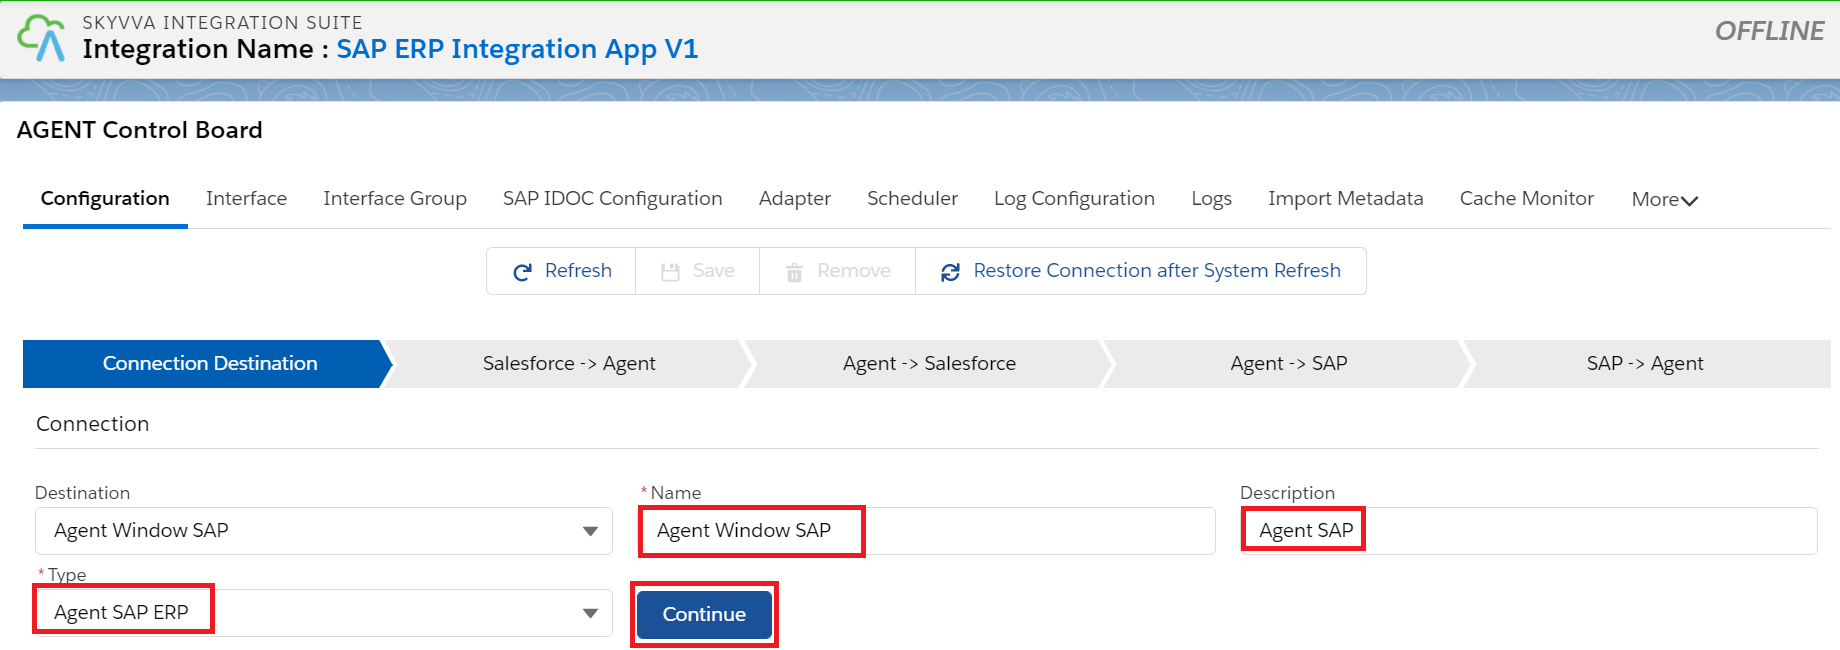
Provide the details for the connection destination like Name, Description and Type as shown below.
In the Salesforce->AGENT tab. Provide the details of Agent
Host Url: http://xxxx.com
Port: 90**
Username: xxxx
Password: ******
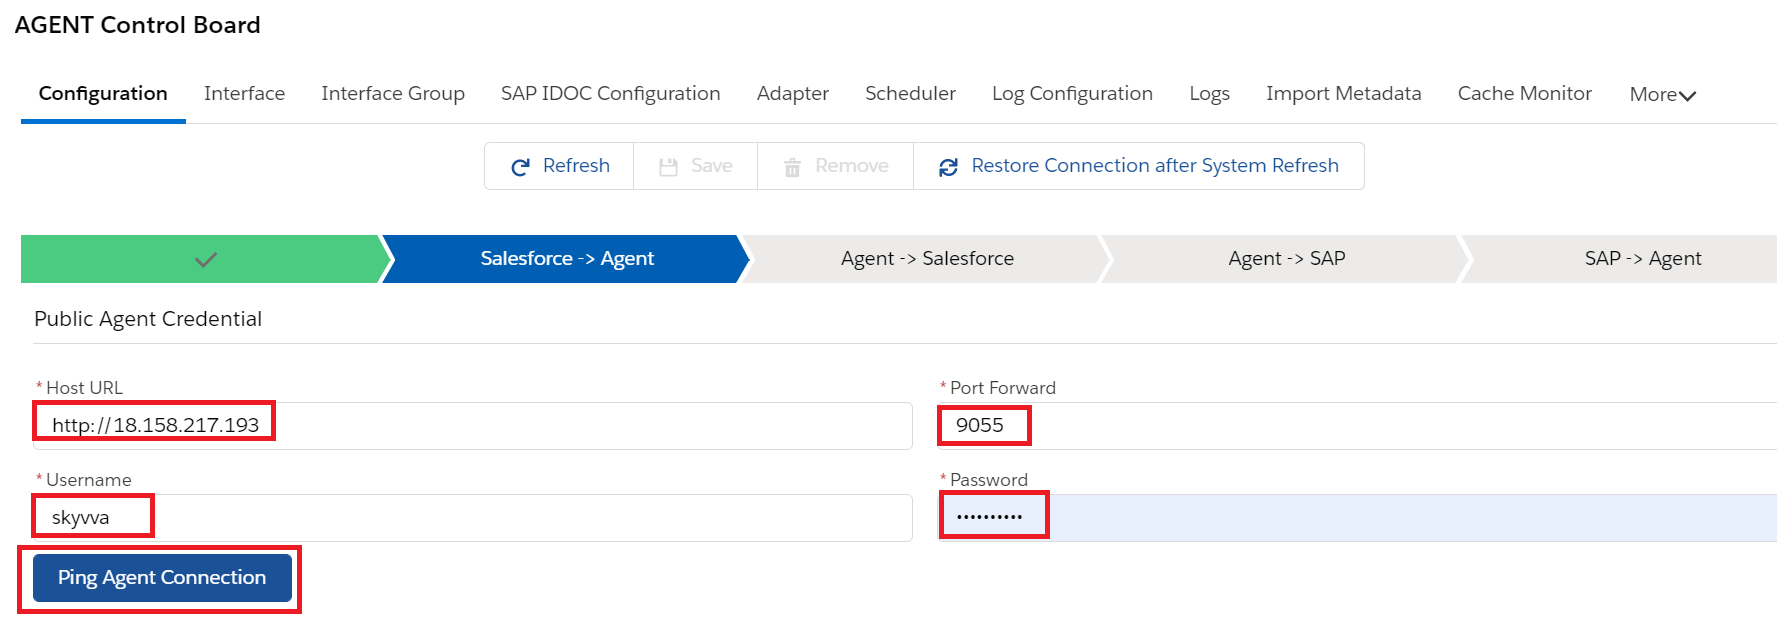
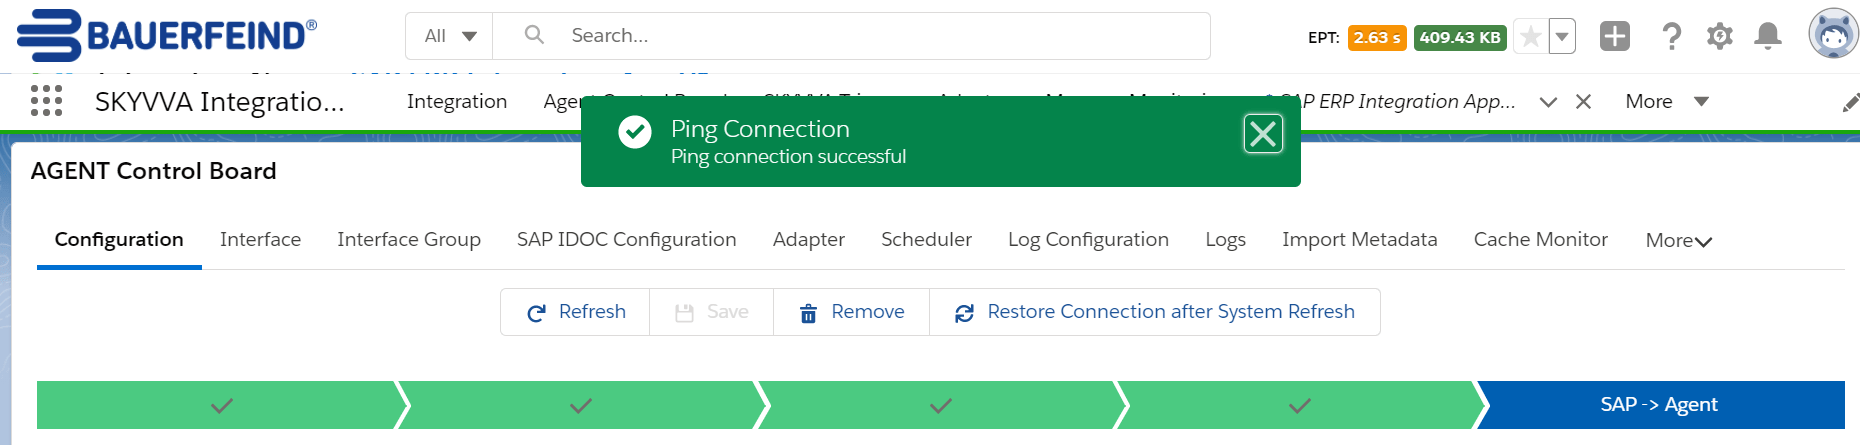
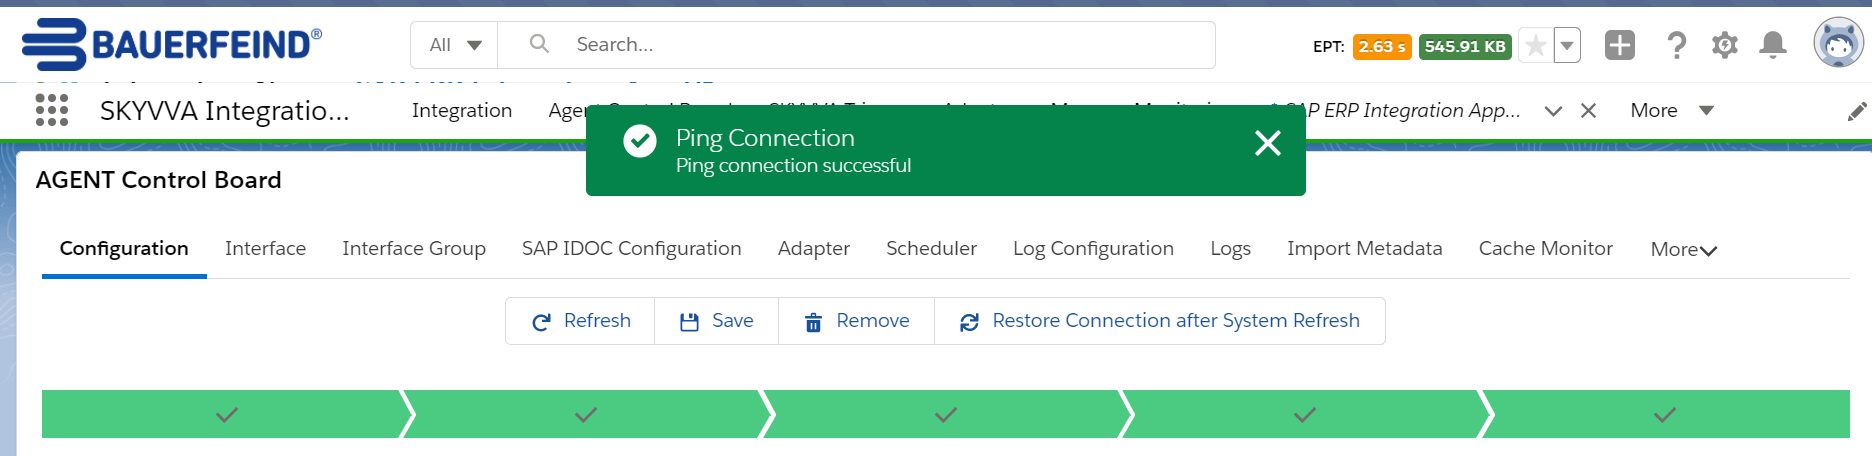
Once we provide the details we need to ping the Agent Connection. Then we can see the pop-up like its successfully connected to Agent.

Now we have to provide the salesforce details as shown below.
Consumer Key and Consumer Secret we can get from the connected App.
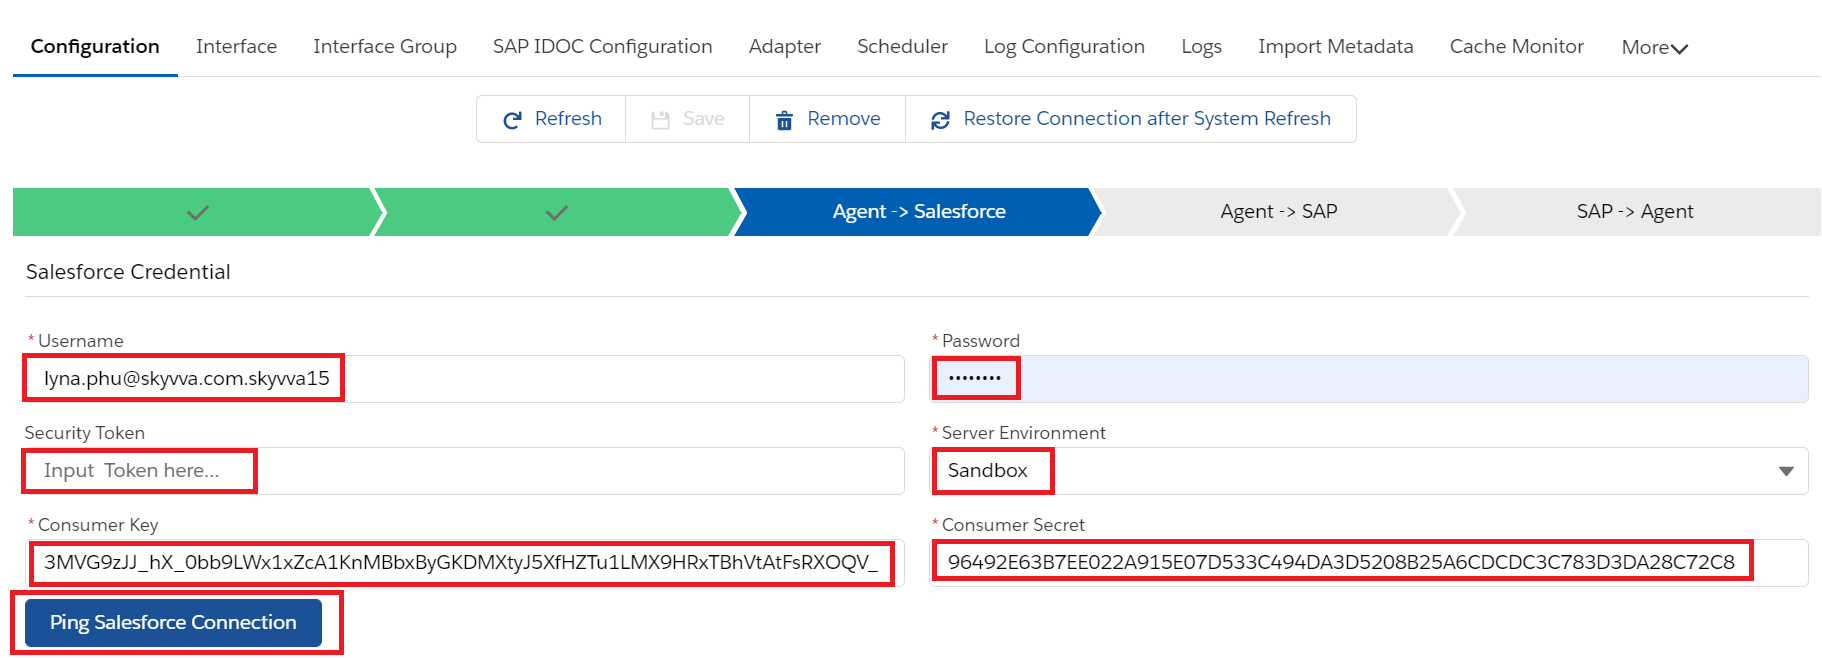
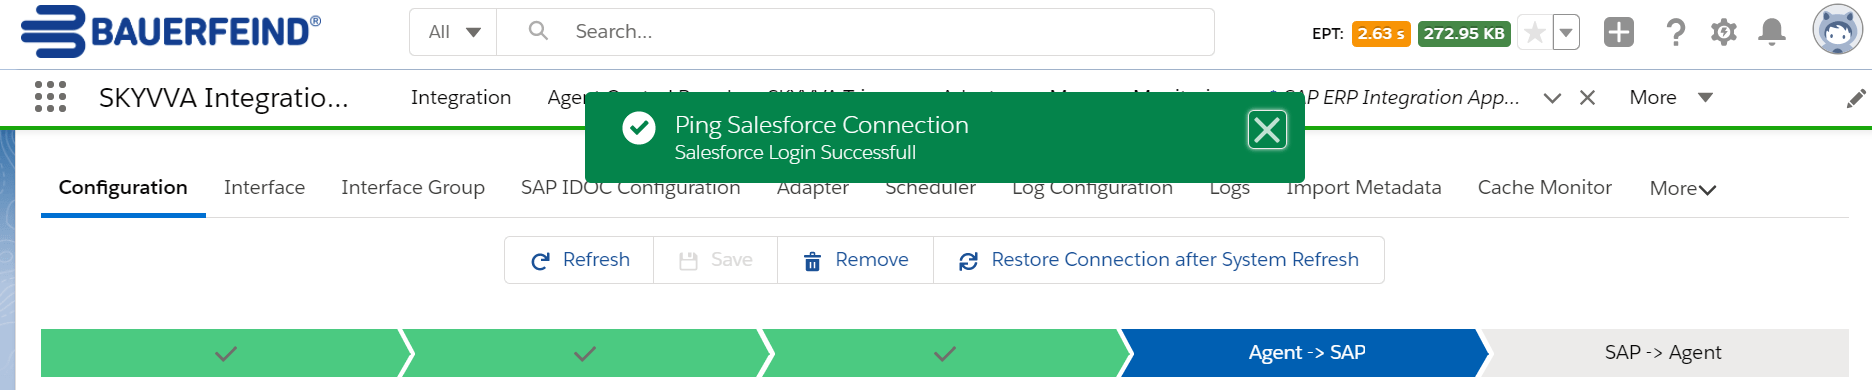
Click on Ping Connection of Salesforce to check if its connected successfully.
Next provide the SAP details like
Host URL, Port, Username, Password, the reverse proxy path, SAP system client and the logical system name as shown below.
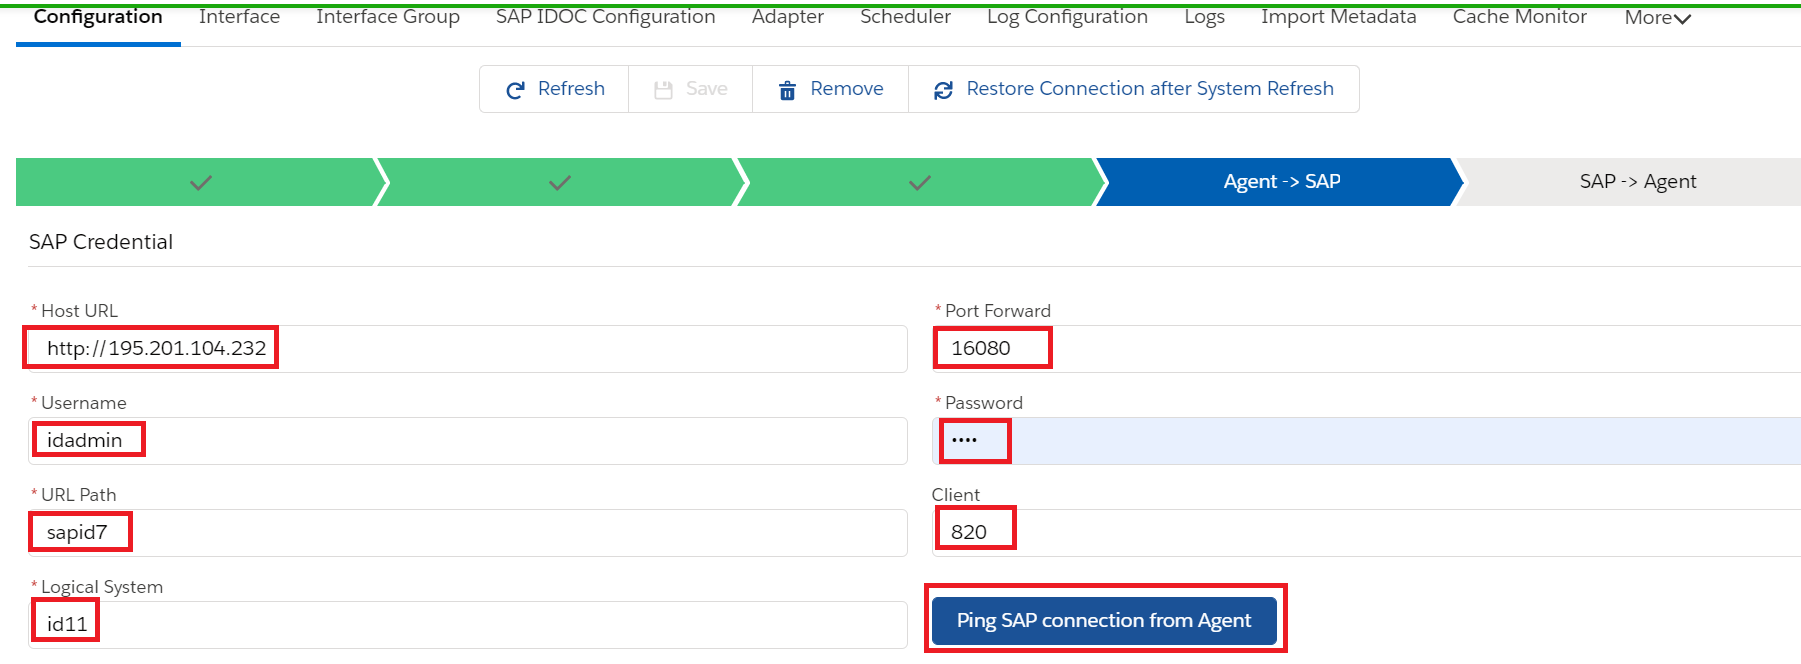
Click on Ping SAP connection from Agent if its connected successfully or not
Again provide the details of Agent
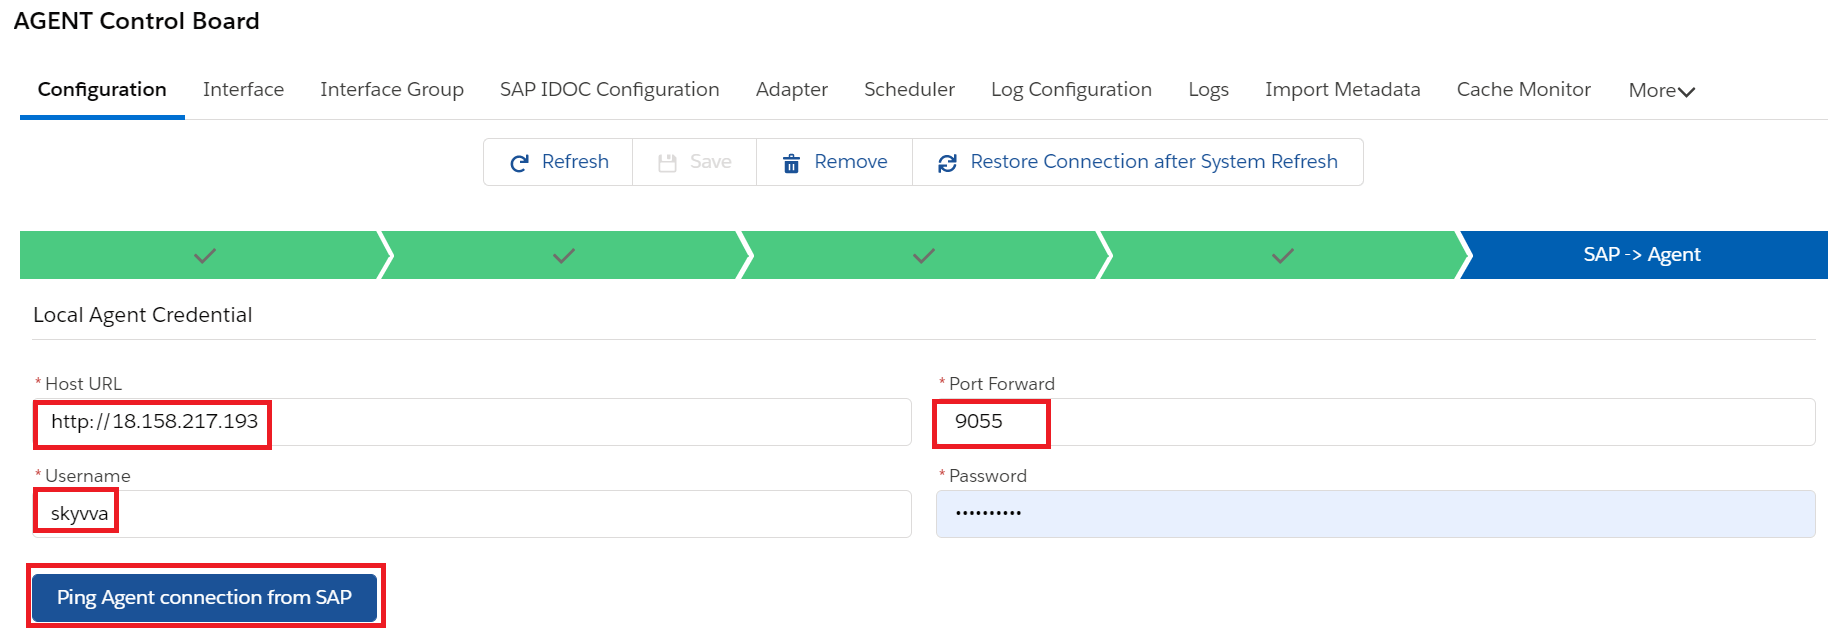
Click on ping connection of Agent
Save the connection after entering all the required details

Create Metadata Provider

Create Repository
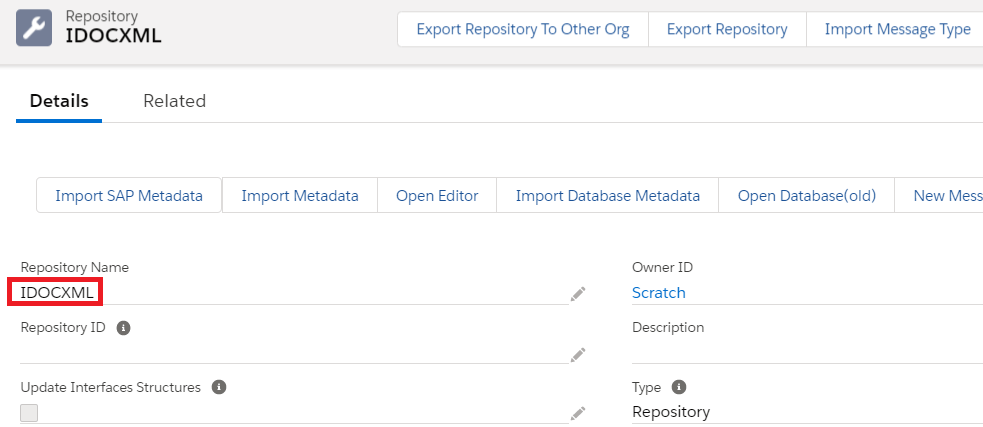
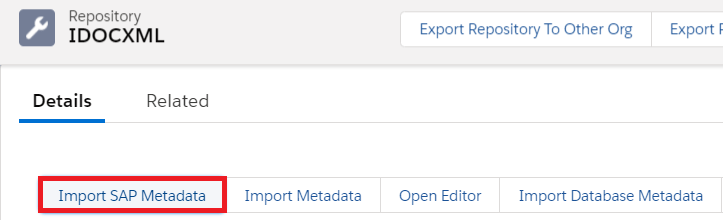
From the Repository Click on Import SAP Metadata Tab
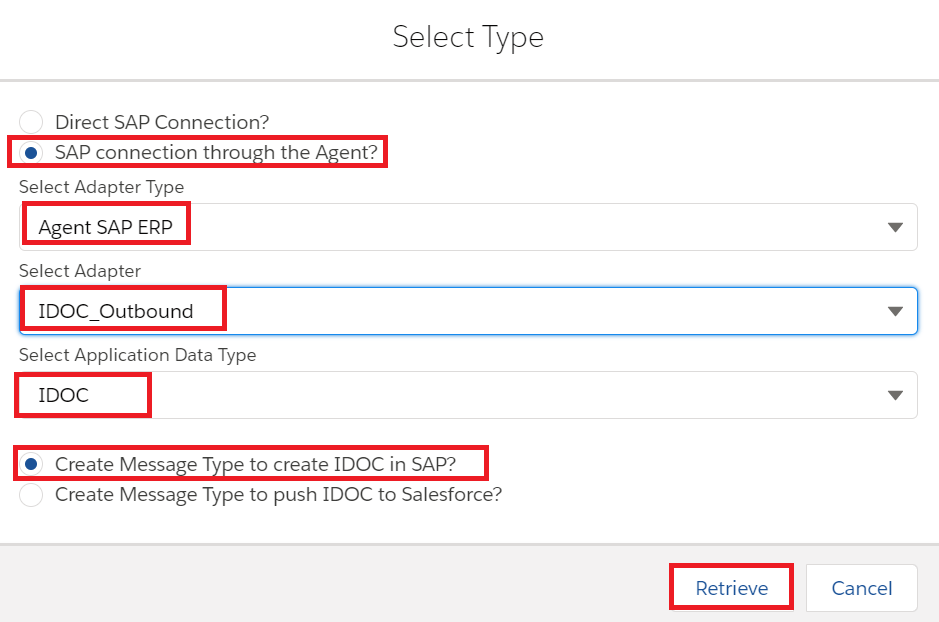
Here we need to select the SAP Connection through the Agent and select Adapter type which we created earlier in the Agent Control Board and Select the Application Data type IDOC and then Select create message type to call IDOC in SAP.
Click on Retrieve after selecting all the above details as shown in the screenshot.
Now click on Retrieve to create the message type from SAP
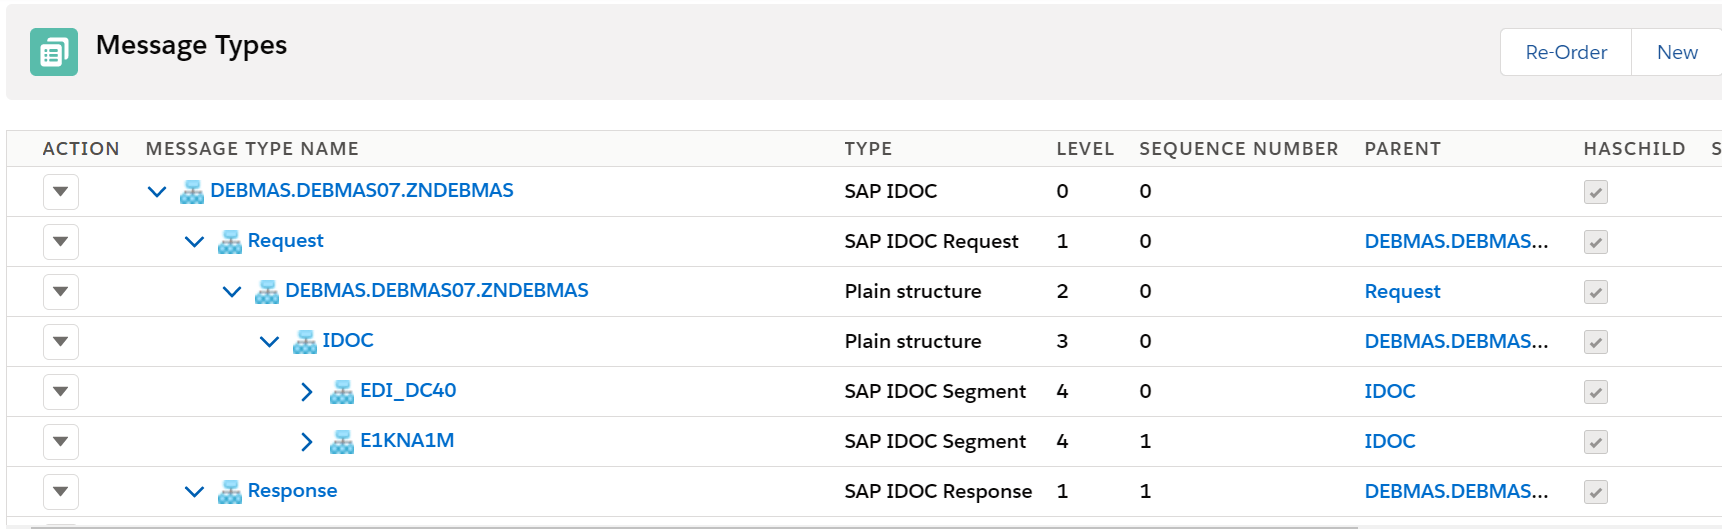
Here is the IDOC template. Here we need message type for both Request and Response also to get the IDOC number back from SAP and to show it in Skyvva Monitor. But we use only Request message type while creating the outbound interface.

Creating the Agent SAP ERP Adapter in Skyvva
We need to provide the following details to create the Agent SAP ERP adapter
Name: IDOCXML_Agent
Type: SAP ERP Adapter
Status: Active
Direction – Outbound
Description: IDOC XML adapter
objectFormat – IDOC
Connection Destination- It means the Agent Connection which we created earlier for the backend connection – Agent Window SAP
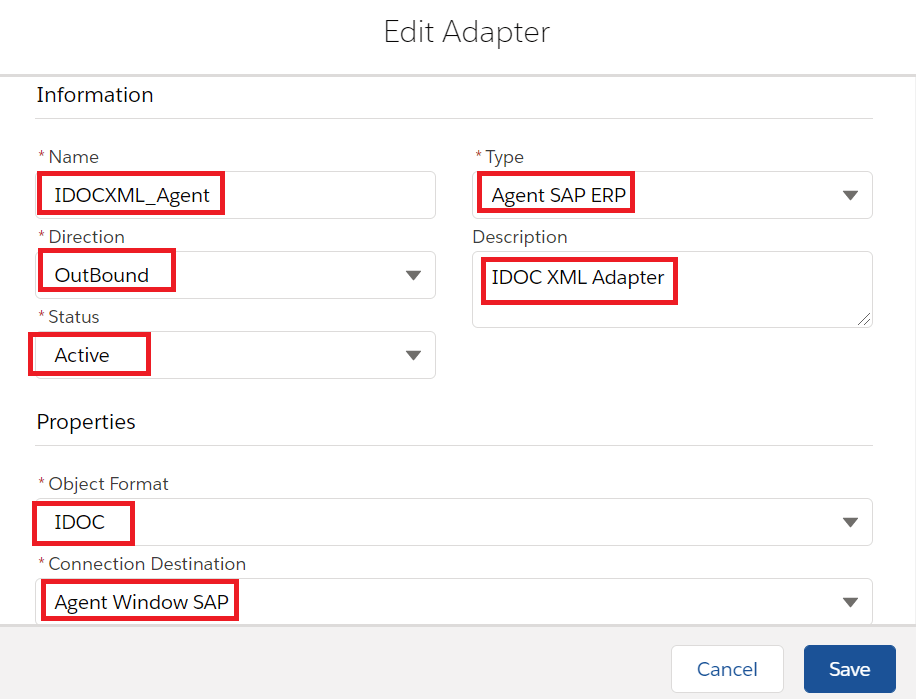
Now click on save button to create the adapter.
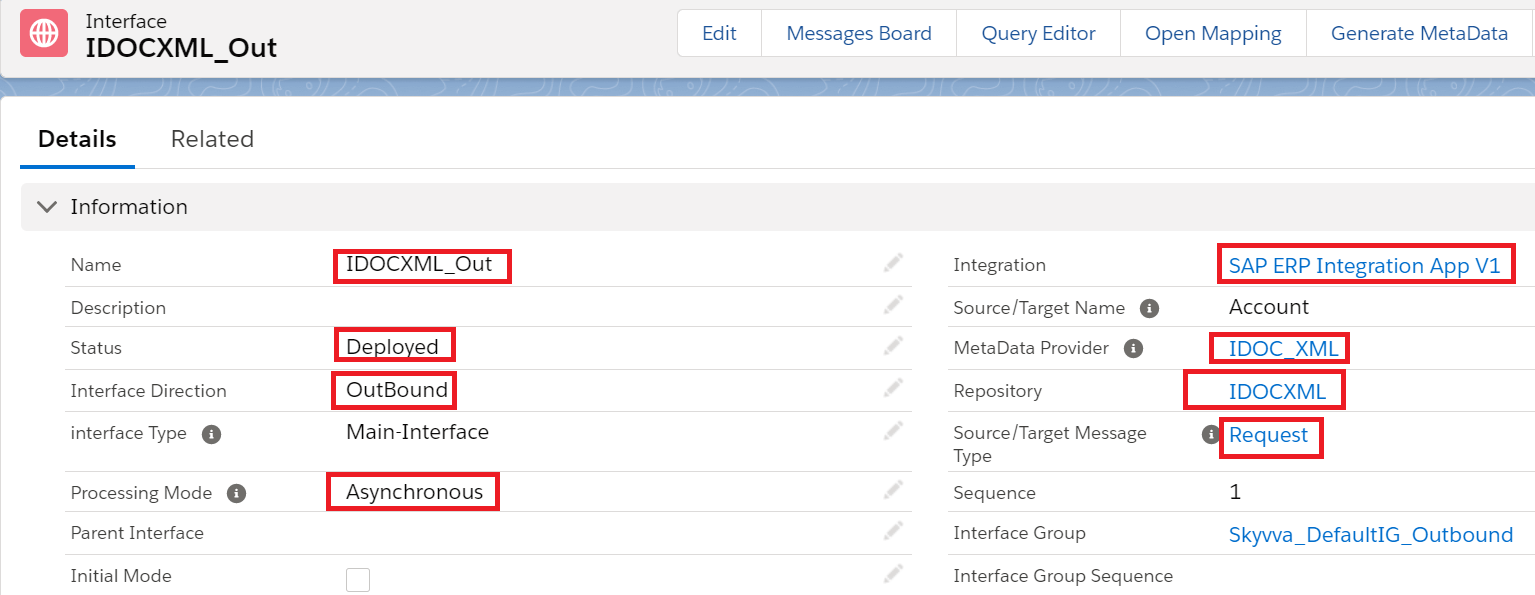
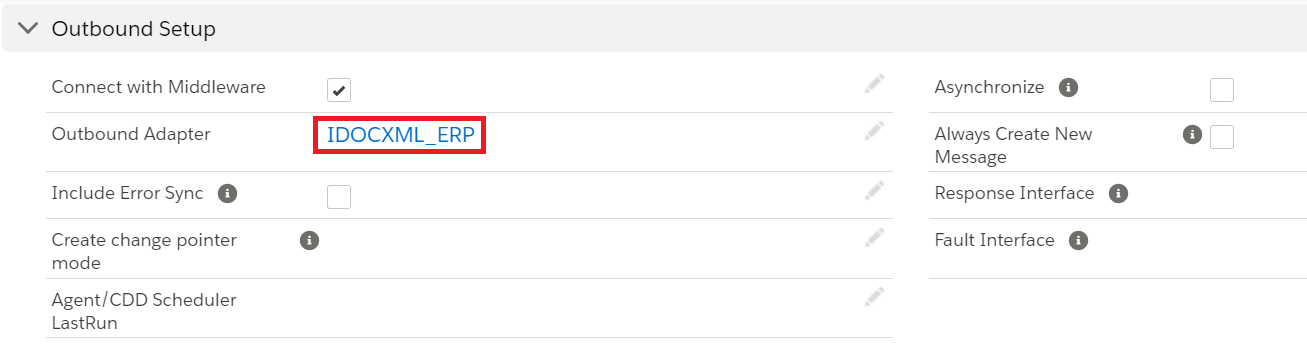
Creating an Outbound interface:
Provide the Name, sObject type, Description, Processing mode, Status, Metadata provider, Repository, Message type, outbound adapter and the SQL statement as shown in the screenshots below
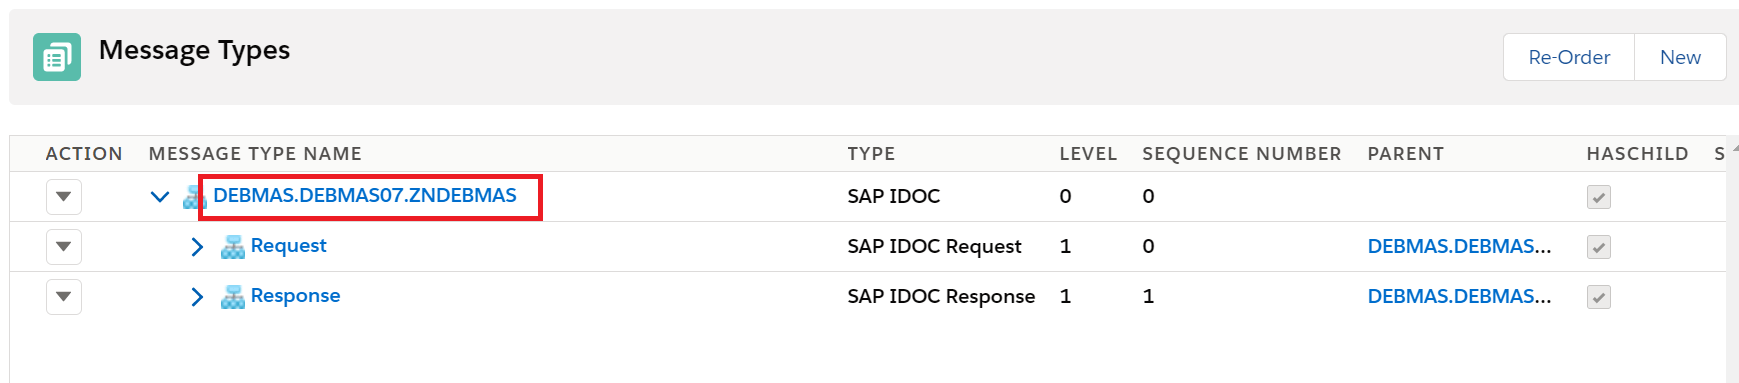
In the message type we have to select the root message type then it will automatically point to Request in the request interface
In our example DEBMAS.DEBMAS07.ZNBDEBMAS is the root message type as shown below.
For outbound interface we have to do mapping in Skyvva as shown.


Save the interface once provide all the necessary details.
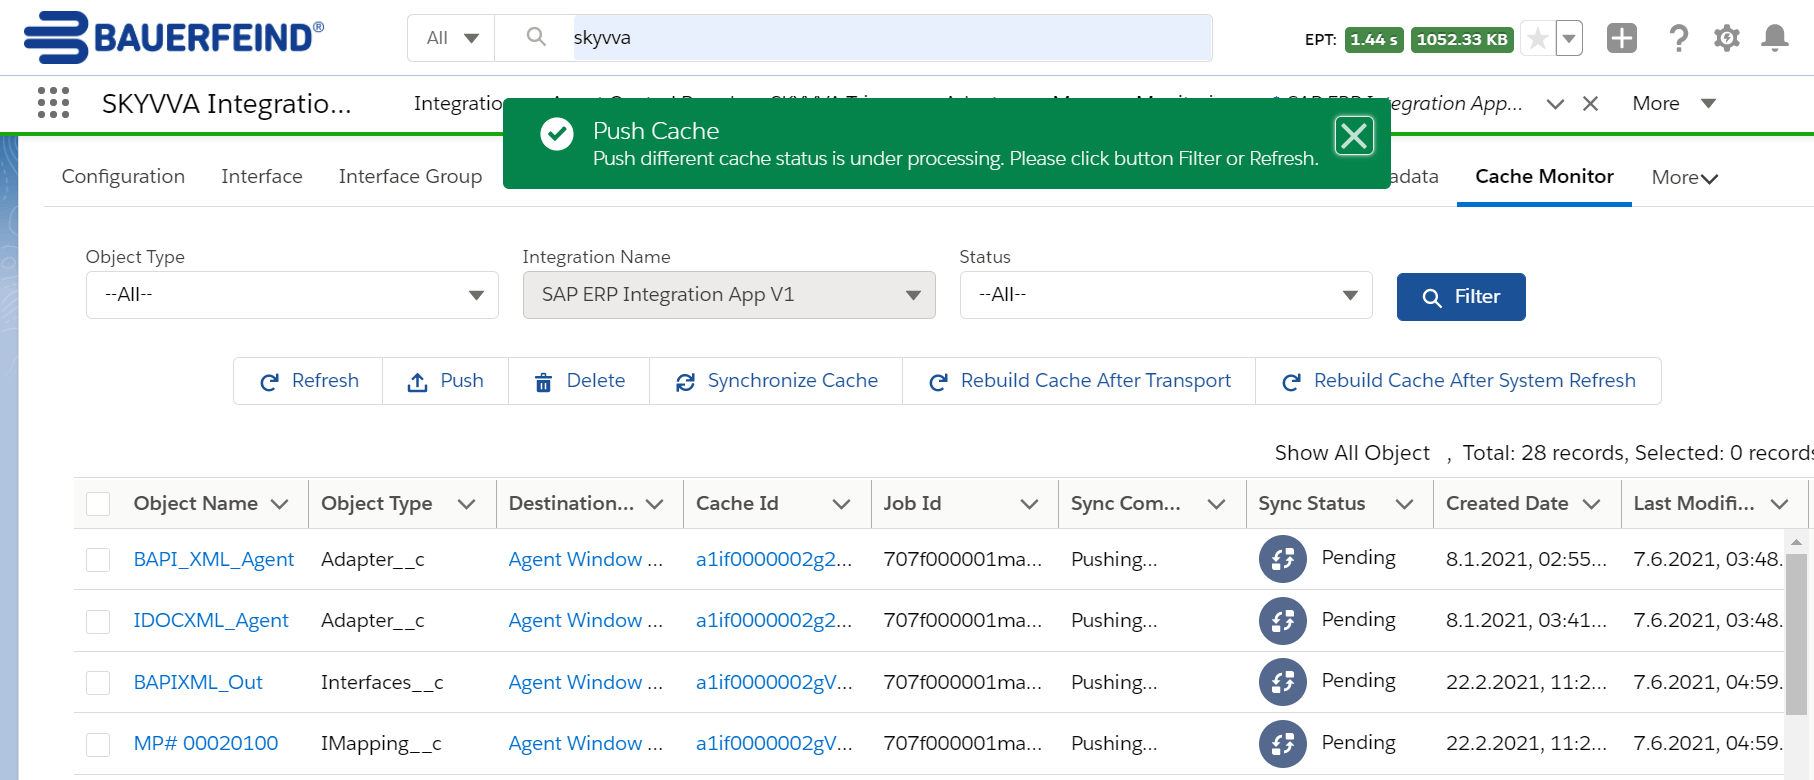
Now we have to synchronize the cache to push the Integration, Interface, Adapter and Mapping to Agent H2 table.
For that we have to go to cache Monitor in that select Object Name and Integration Name and Status and then click on Synchronize Cache.

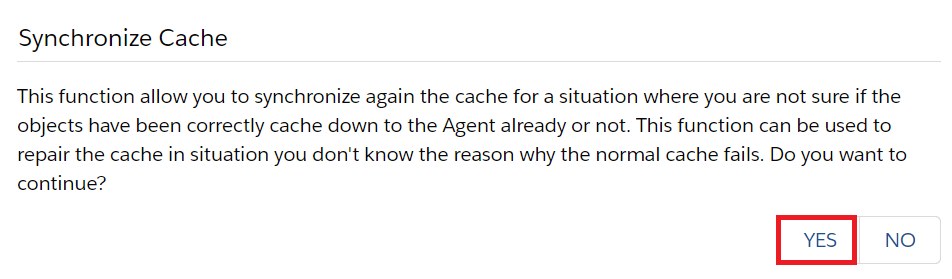
Now click on Yes to Synchronize the Cache
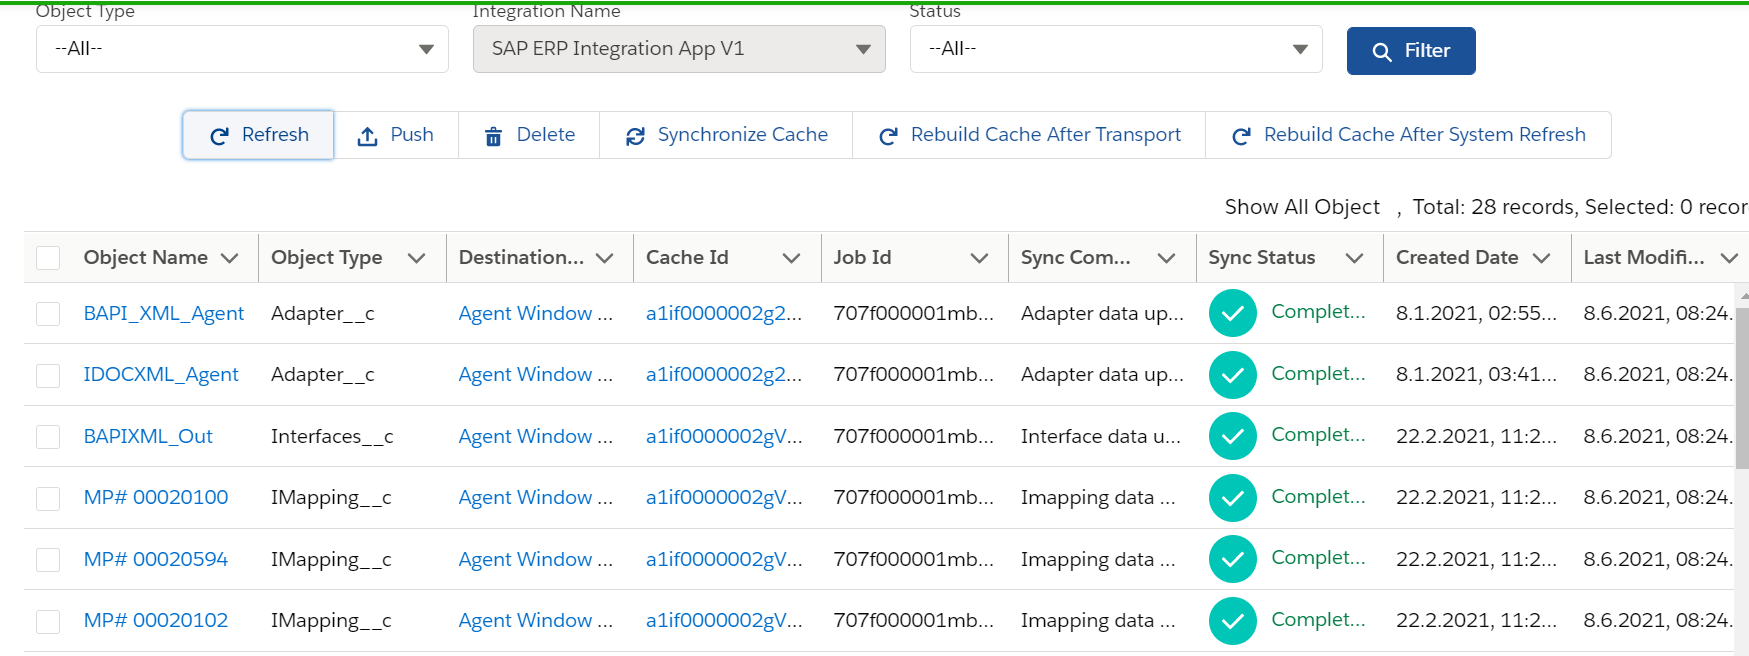
Now click on Refresh
Now do the callout using below apex code:
skyvvasolutions.CallOutControl c=new skyvvasolutions.CallOutControl();
c.returnXml=true;
c.returnListRecord=true;
c.isCreateMessage=true;
c.actionDoIntegrate=true;
String[] ids=new String[]{‘001f000001Z60gpAAB’};
skyvvasolutions.Iservices.invokeCalloutV3(‘SAP ERP Integration App V1′,’IDOCXML_Out’,ids,’AUTO’, c);
Now we can see the message in the message monitor:

IDOC posted to SAP
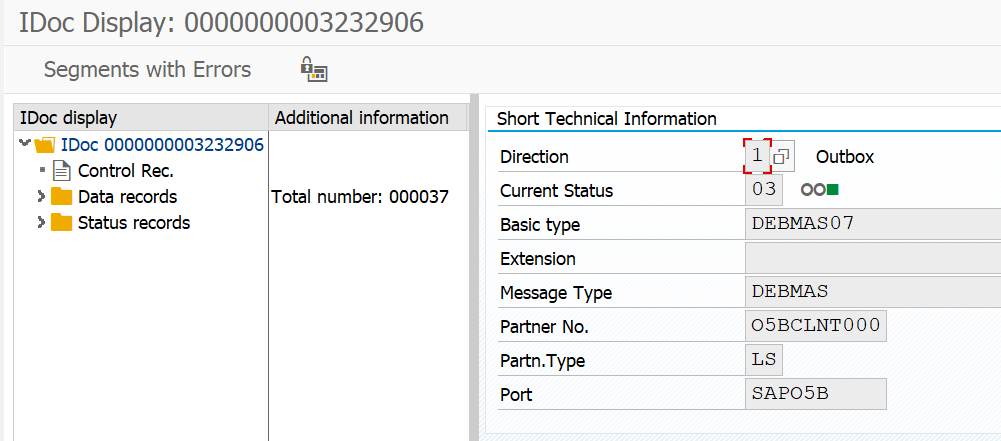
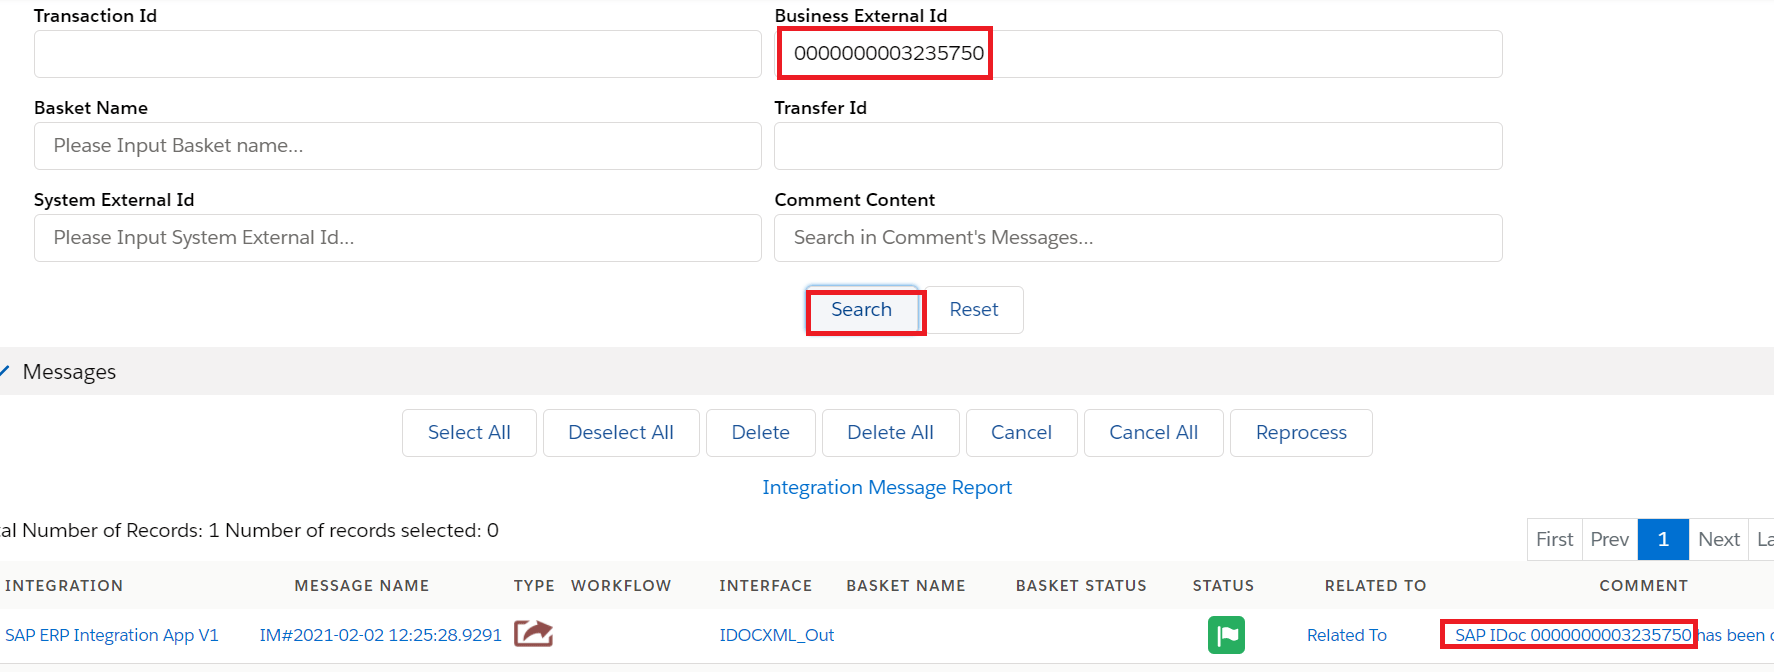
And we got the acknowledgement response back from SAP in Skyvva message monitor in the comment section like IDOC got created in SAP.
This IDOC number we can search in the Business external ID
We have also a Copy node function in Skyvva. Copy node is used to duplicate the segment if needed.
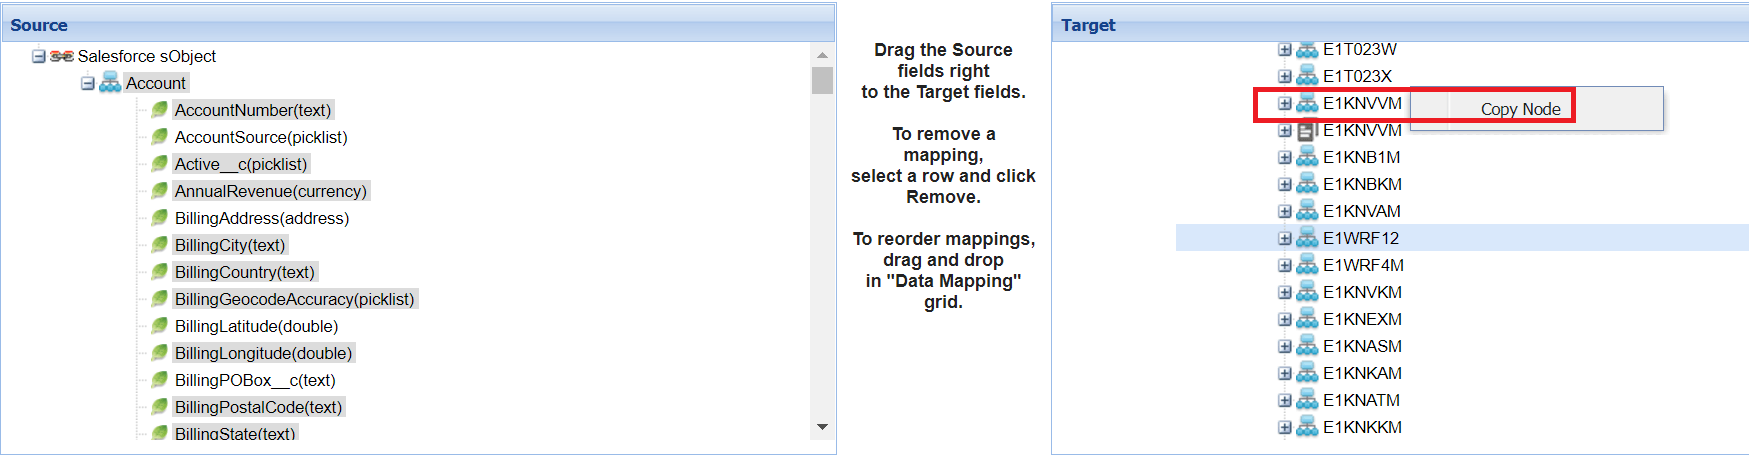
In our example we have duplicated the segment for one time

Now we can see the repeated segments in SAP as well as shown below.
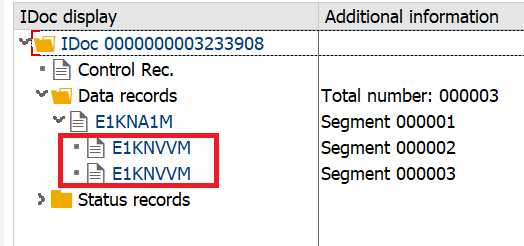
This is the functionality of Skyvva copy node.


