
In this unit, we will see how we can Backup and Restore an interface. Users must carry out this task when they want to update their existing interfaces or bring new ones from the source instance into the target instance. Unlike the function of Backup and Restore the whole integration, the user backup and restores only specific interfaces. Therefore, this will result in a faster run because you do not do a full backup and restore.
| Backup Process: | Restore Process |
|
|
- Open the source integration e.g. “ABC” and mark the interfaces you want to Backup.
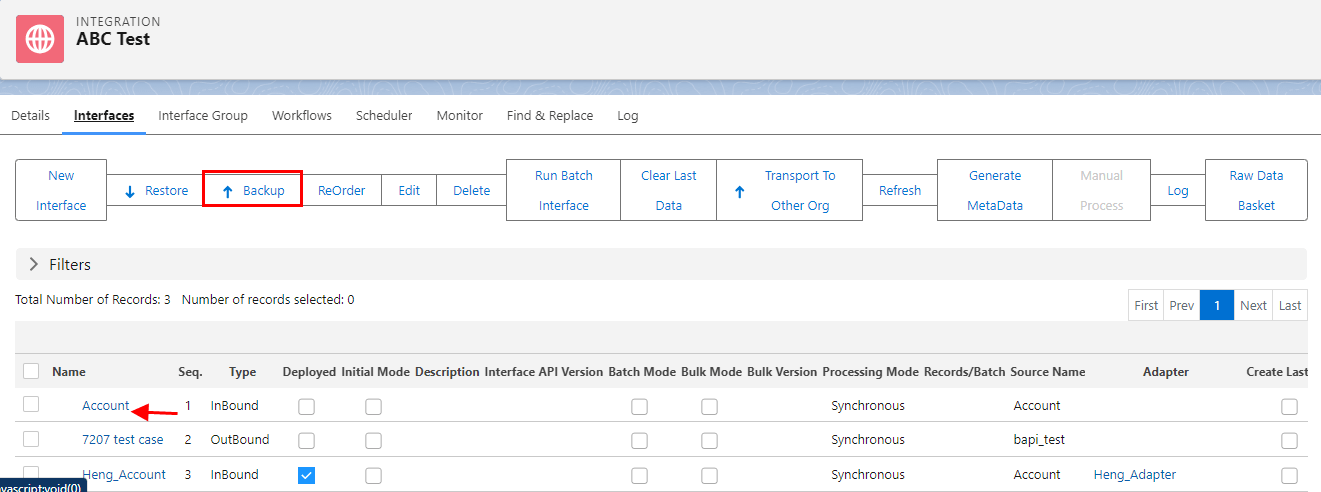
- Click on the button “Backup Interface” to Backup the marked Interface.
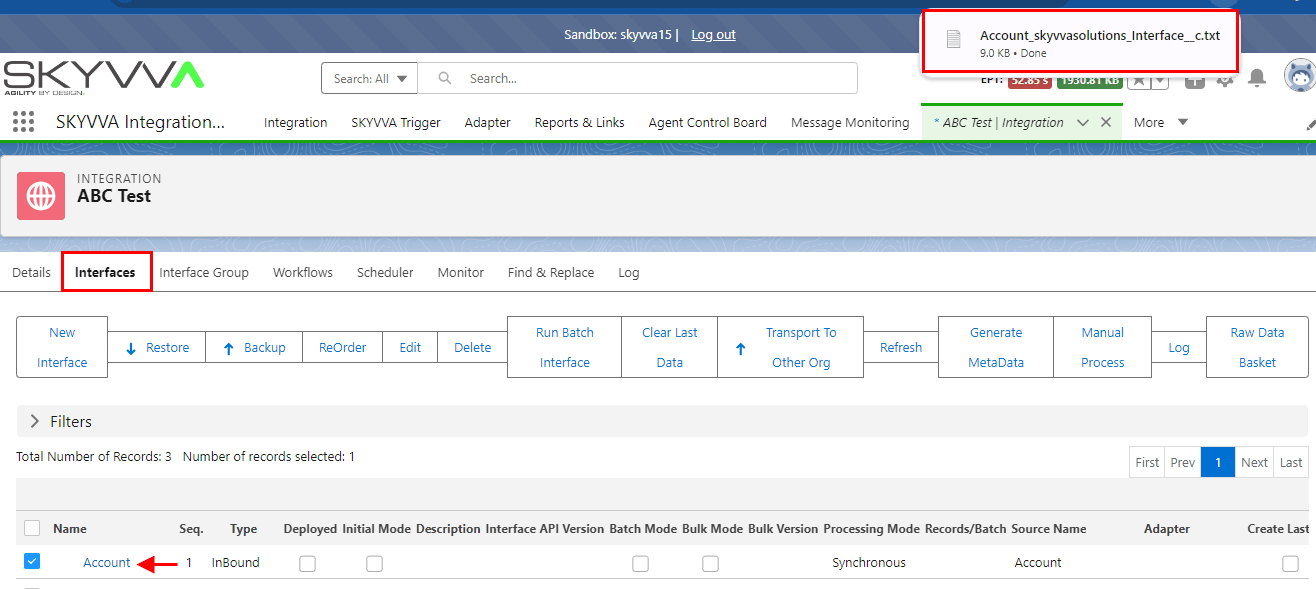
- Download and click the show in folder.

- Now open the target integration in the same instance or a different instance. You have to create a target integration first. The target integration will be an empty instance.

- In this example, the integration, “Backup Integration” does not contain any interfaces. Now do the Restore by clicking on the button “Restore”.
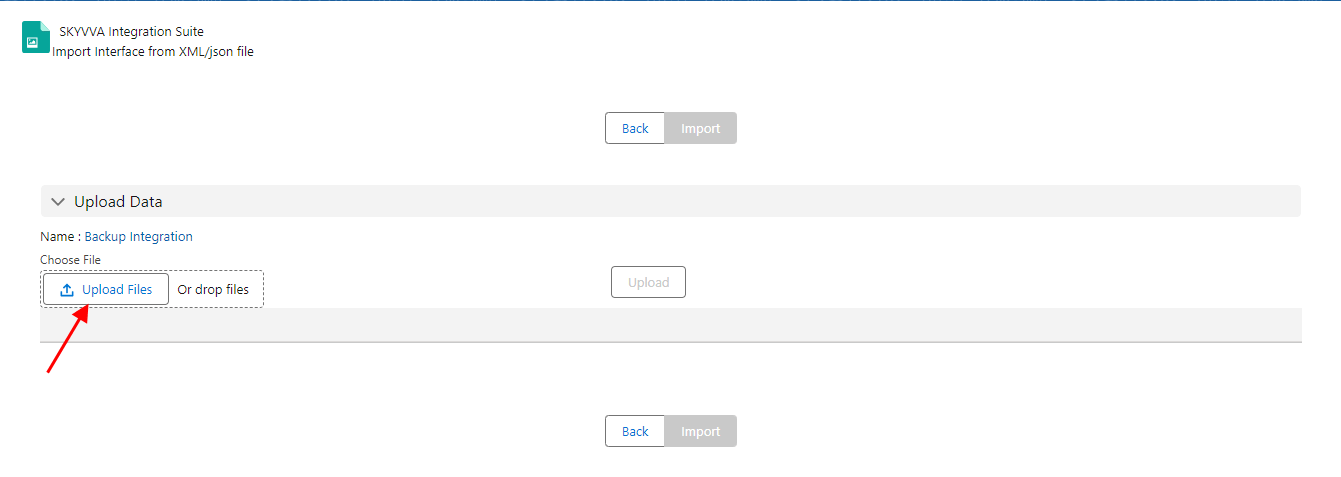
- Click on the button “Browse” to browse your backup file.
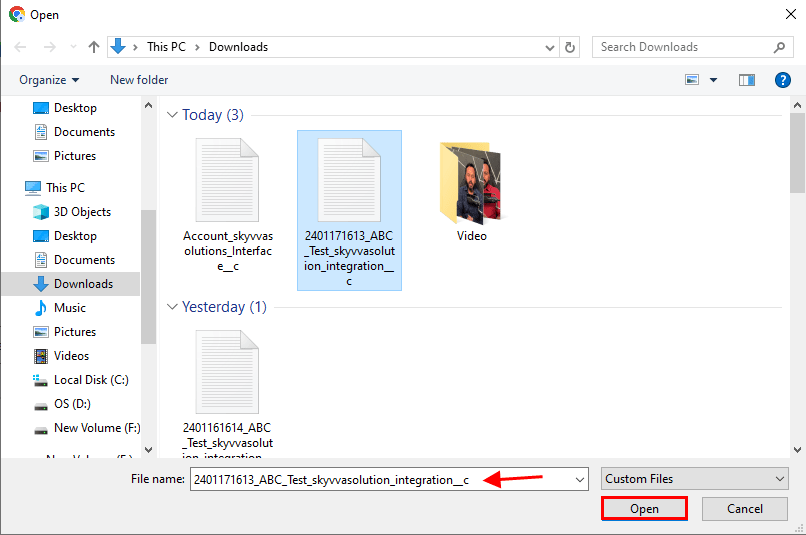
- Choose your export file from your PC and click “Open”.
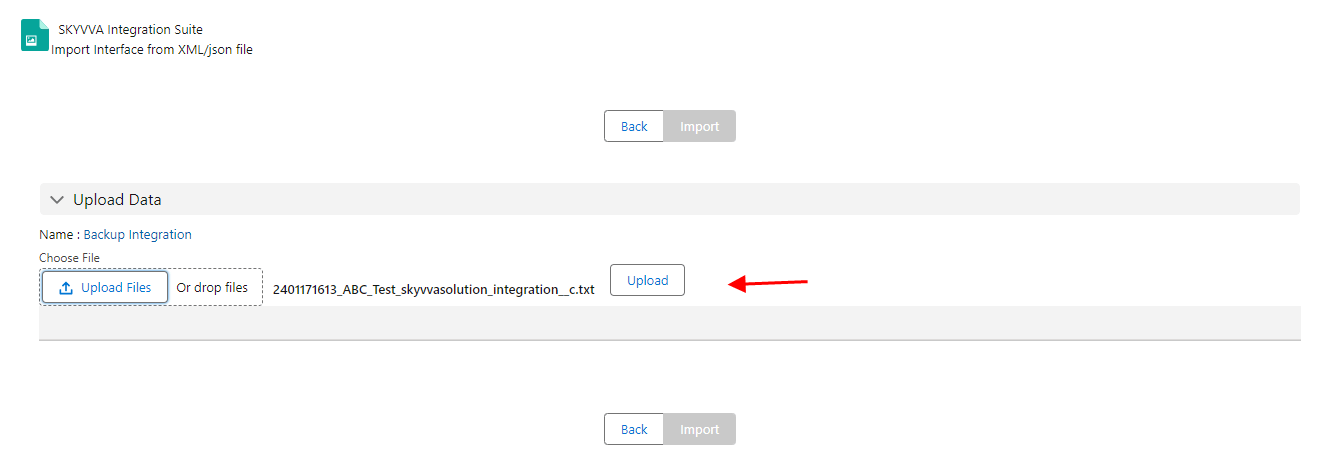
- Now click on the button “Upload” to restore the file.
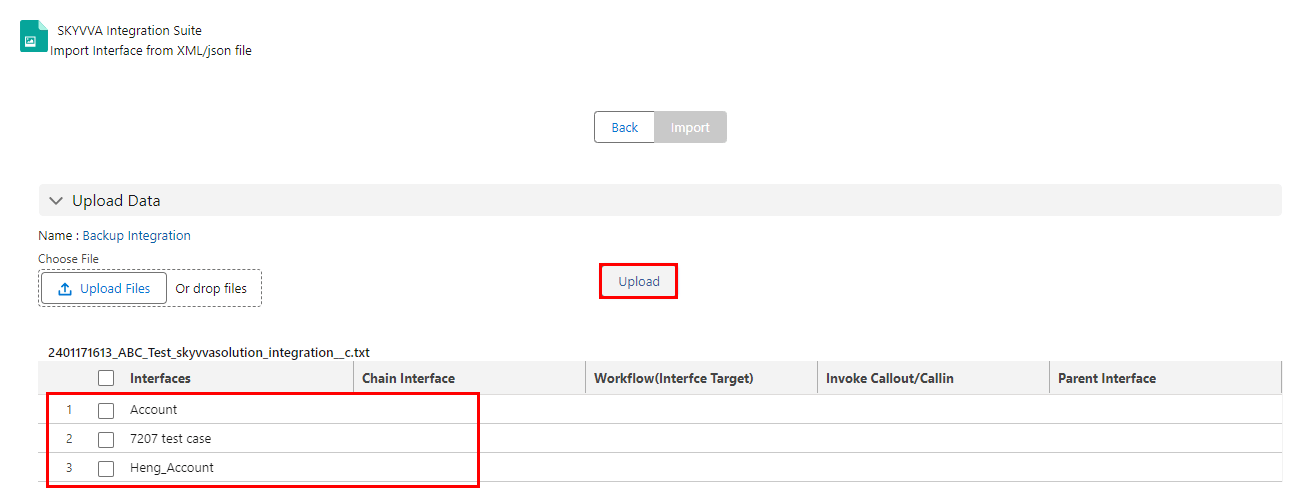
- In this screen, you get the option to again select or deselect interfaces, which you want to import. After making your choice click on the button “Restore Interfaces” to import.
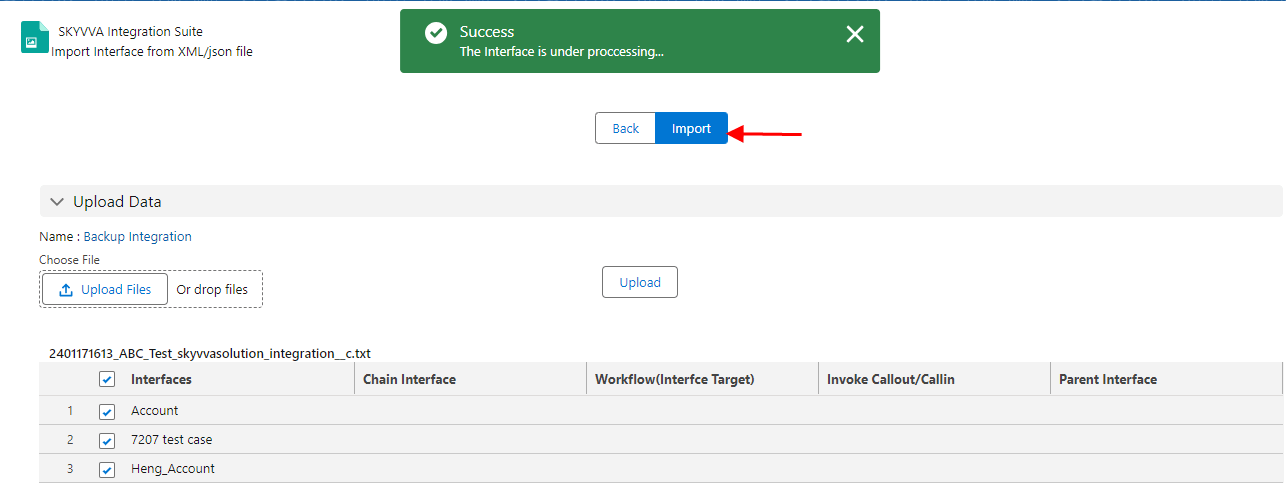
- The import is under processing. Wait for some minutes and then check the interface tab in the target integration.
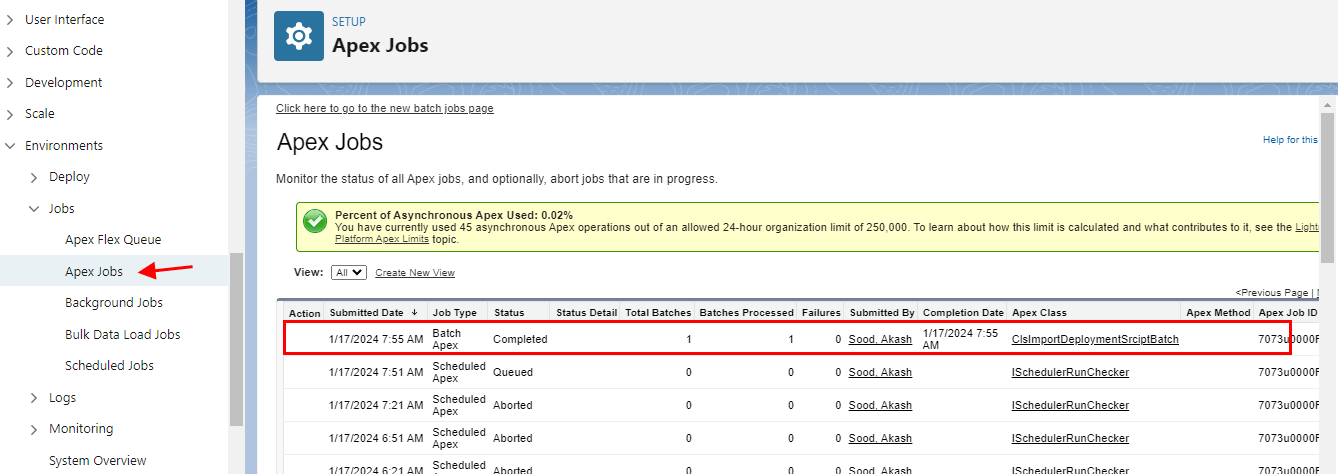
- You can check the progress of the import by looking into the apex job monitor. Here you see that the restore process is completed.
The restore process is completed in the SKYVVA integration application, it indicates that the data import or restoration has been successfully executed. Users can use the Apex job monitor to review details such as job status, execution time, and any potential errors that may have occurred during the process.
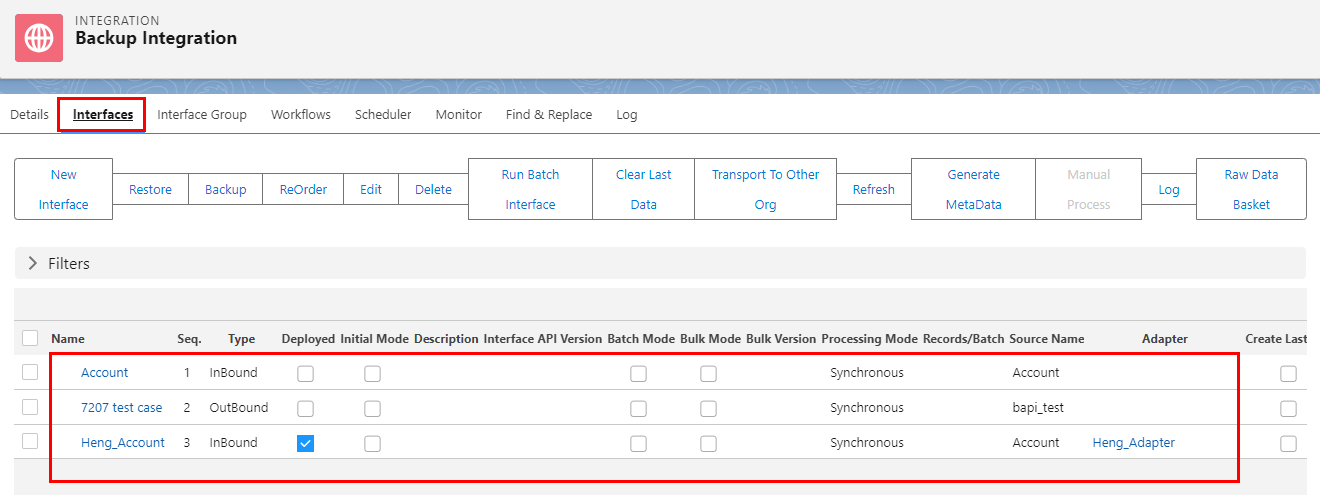
- Here in the target integration on the tab “Interfaces”, you can see the result. In this example, all four interfaces have been restored.


