
Manual Processing #
Import Account Data into Salesforce with a CSV-file and Manual Load Function using Agent
Configuration #
To import data from CSV/XML file into Salesforce Please follow the given steps:
Step 1. The first step is to create a new Integration to import our CSV file.
- On the Menu Bar, you see the Integration tab → clicks on the tap Integration.
- Click On New button.
- Fill in the Name Field (Give a meaningful name that identifies your integration.) We give our Integration a name and a short description of the use case for this integration.
- All other fields can remain as default…
- Click on Save button and we have created an Integration to upload our CSV file
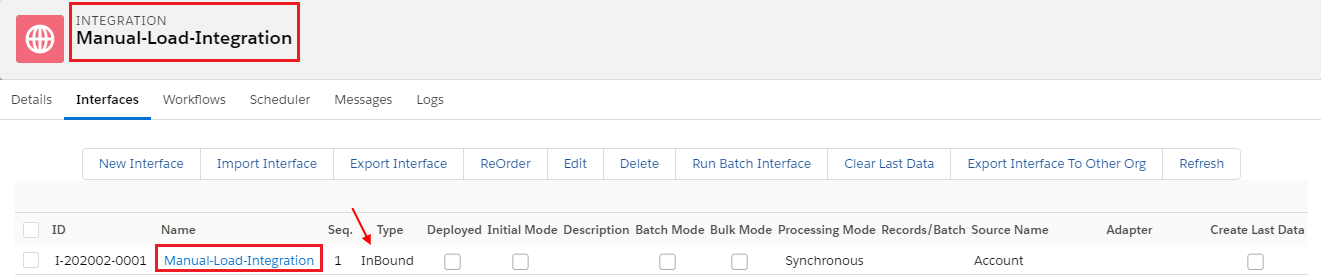
Step 2. The next step is to create the Interface for the Account Object.
To create a new interface follow the given steps:
- Go to your Integration page.
- Click on the Interface tab (near to detail tab).
- Click On the New Interface button.
We give our Interface a Name and change the Status to Deploy and choose in Source Name the proper SObject → Account. All other fields can remain as default…
Click on the ‚Save‘ button and created our Account Interface.
Interface Fields Information:
- Name → It can be Account, Contact or Case.. etc to notify your Interfaces
- Status → Deployed (It can be used)
- Sequence → Ranking number (1)
- Adapter → It is the connector
- Source Name → Salesforce Objects (Account, Contact or Case.. etc.)
- Operation Type → There are 4 types:
Upsert → To update on existed data and insert new data that doesn’t exist yet in Message Monitoring.
Update → The Only updates on data that is already existed in Message Monitoring.
Insert → Add all data in the Message Monitoring.
Delete → all data in Message Monitoring.
- Type: There are 2 Types:
Inbound → Import data into Salesforce
Outbound → Export data outside Salesforce
- We click on ‚Save‘ and created our Account Interface.
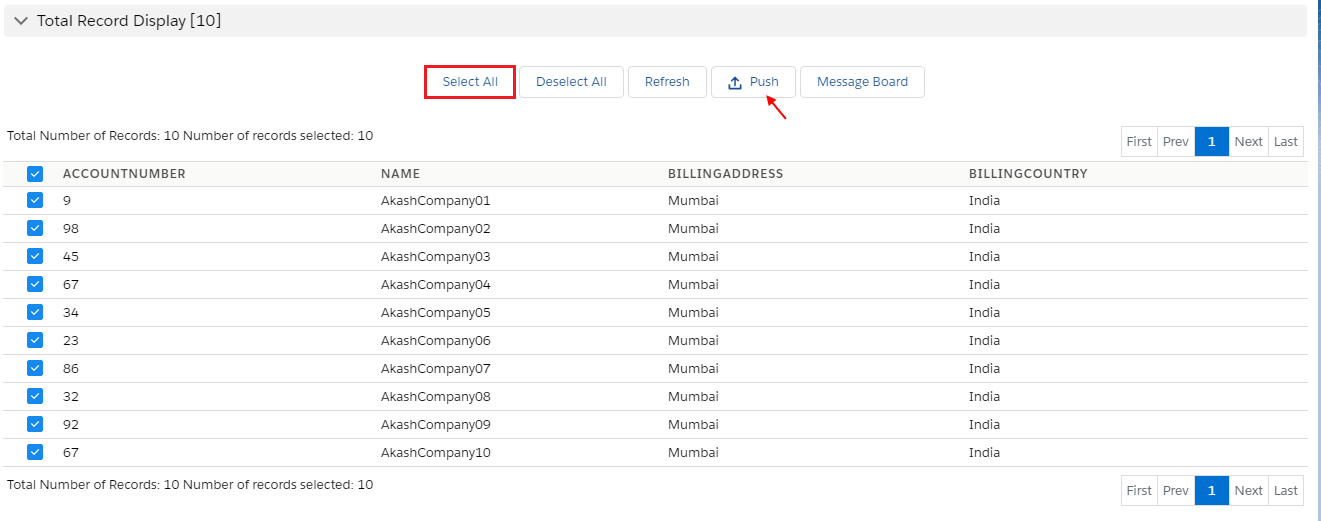
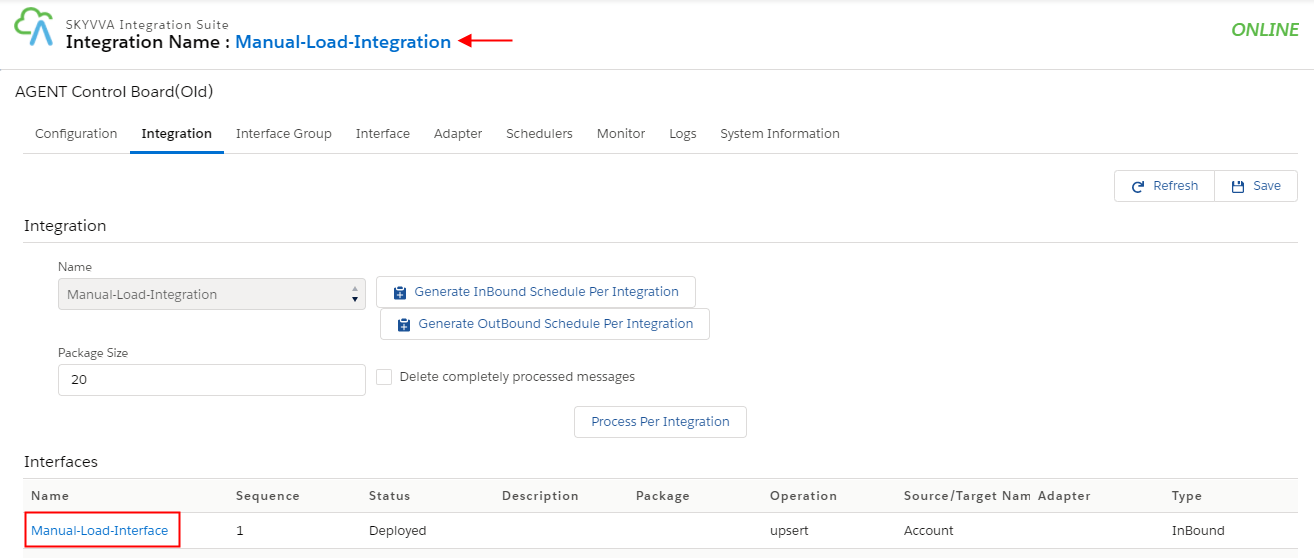
- We click on the ‚Account Interface‘ link and see the Integration Details. It navigates to:
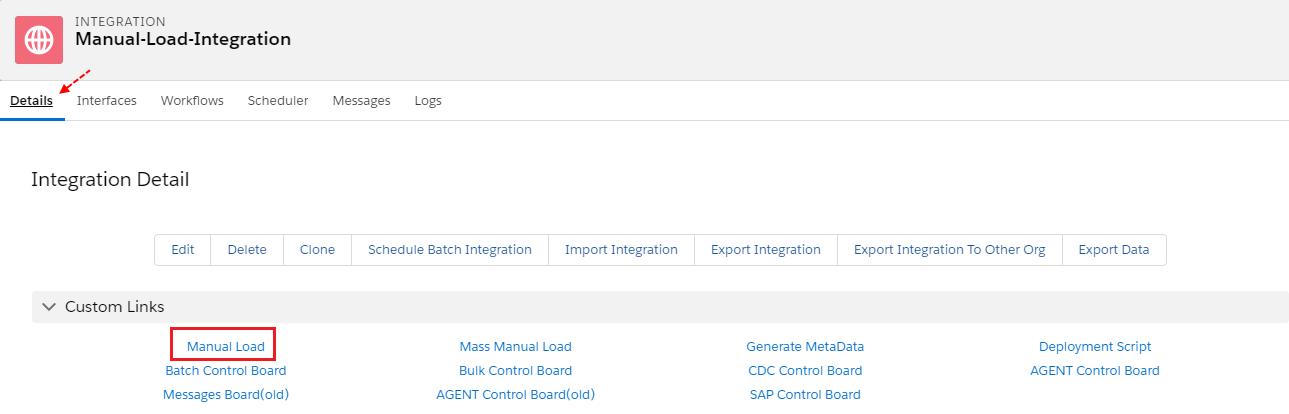
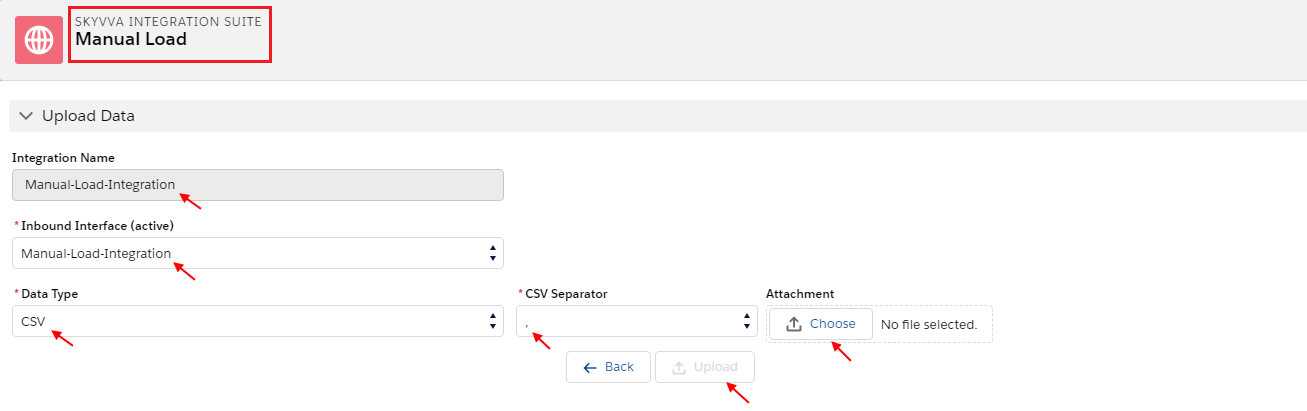
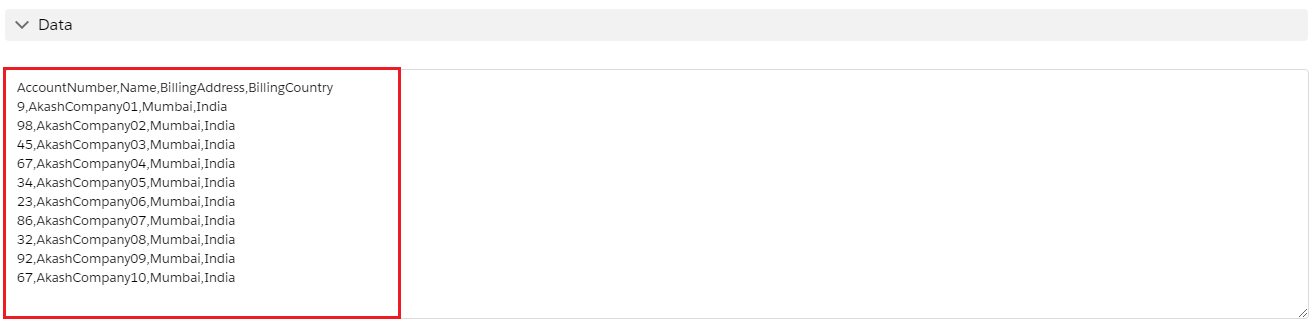
See here Upload Data section under Manual Load, Integration Name, Select Inbound Interface, Select Data Type, Select Separator, Choose Attachment and click on upload.
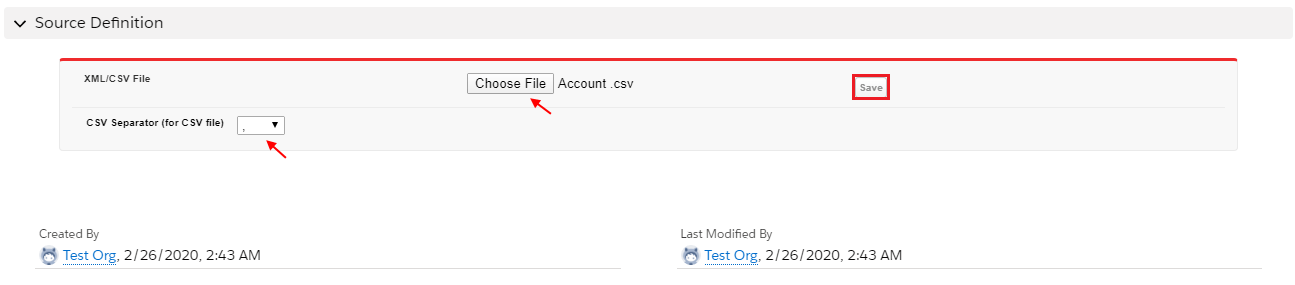
Click on Interface & Scroll down to Source Definition Section
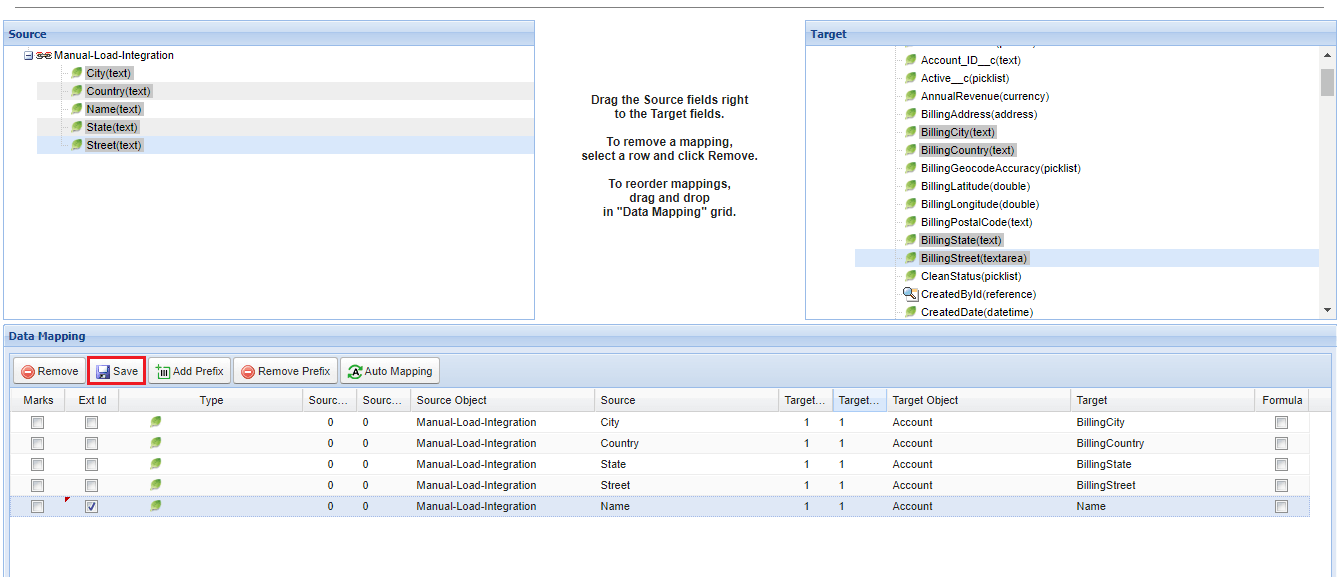
Open Mapping
Start Integration Agent, the Agent control board will appear
Integration Properties Setup
On the Integration Control Board, click on “Integration Properties Setup”
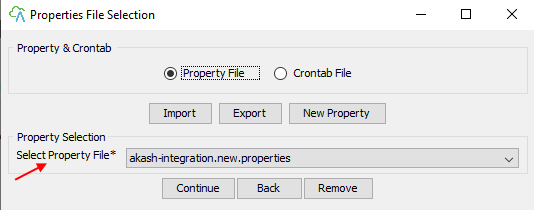
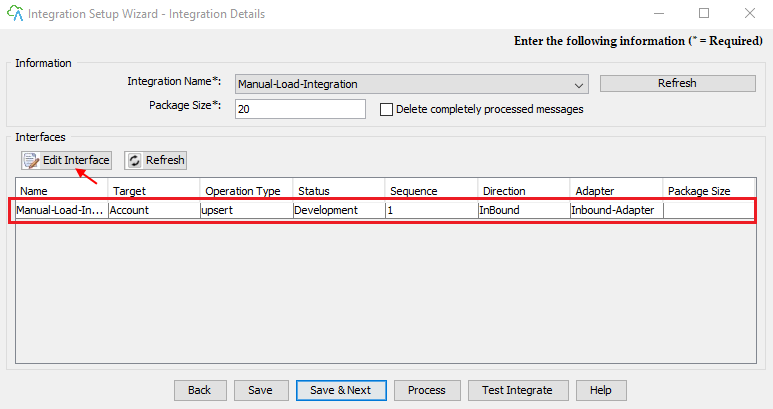
Integration Name: Refresh Integration wizard select your integration and Interface which you already created in org & click on Edit Interface button
We have 2 types of Adapter:
- File Base Integration (CSV, Excel, XML, and FTP)
- Database Integration (JDBC, ODBC)
Click “Test Source Connection” to test the connection to be specified folder and file Click “Save” to save the Integration, Adapter.
– How to use the Agent Control Board?
Since the user now completely understand; How to use the Agent Control Board, by hitting the upper link, now we understand the Architect of the Agent Control Board now follows below on Salesforce org.
Data Monitoring:
- Login to the Salesforce instance and go to the Messageboard
- Click search
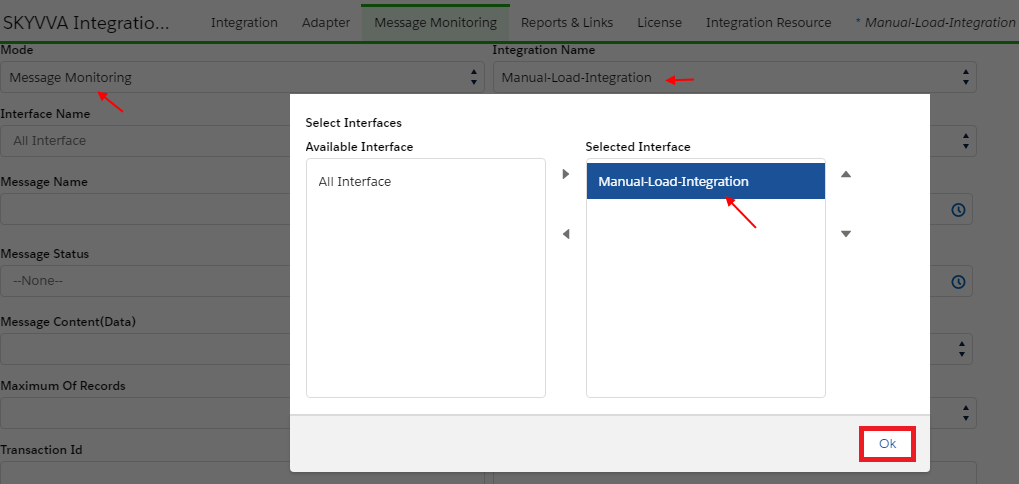
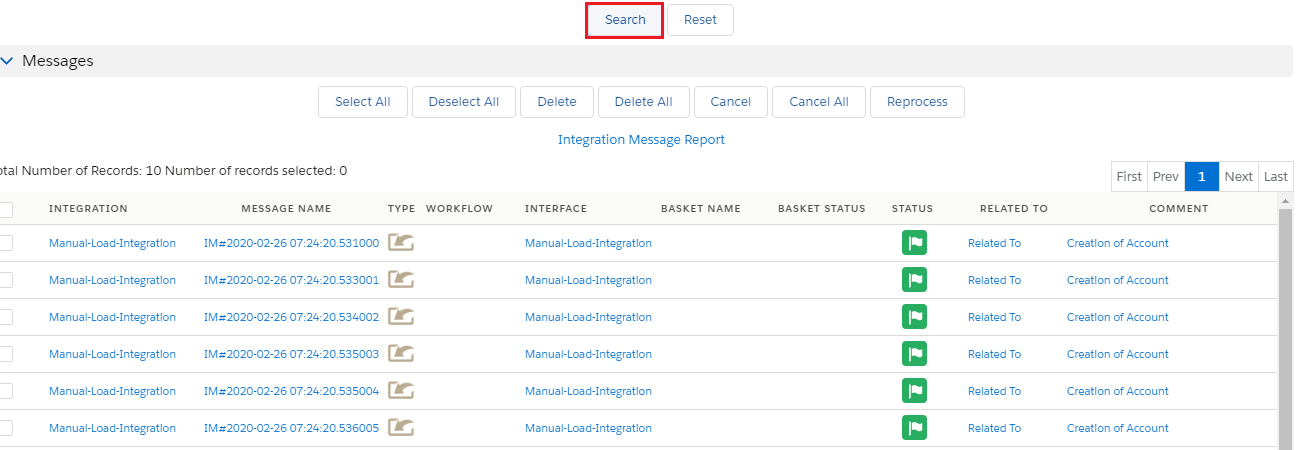
- See Message Board
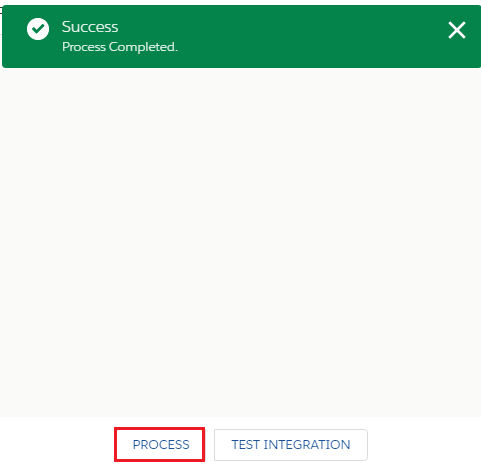
- Inbound process successfully


