
Introduction #
As we know already about message type is describing the structure of a message that we will use in the mapping tool. We can create message type in many ways, but in this tutorial will show how to get message type from salesforce sObject. There are 788 sObjects in Salesforce. So when we use Salesforce sObject to get Message type, it will get All sObject.That means all sObject will generate to Message Type; Even we don’t want to use some message type.
How to use it? #
Pre-require
-Create a Metadata provider and repository for upload salesforce sObject.
Step 1: We need to create a MetaDataProvider and Repository.
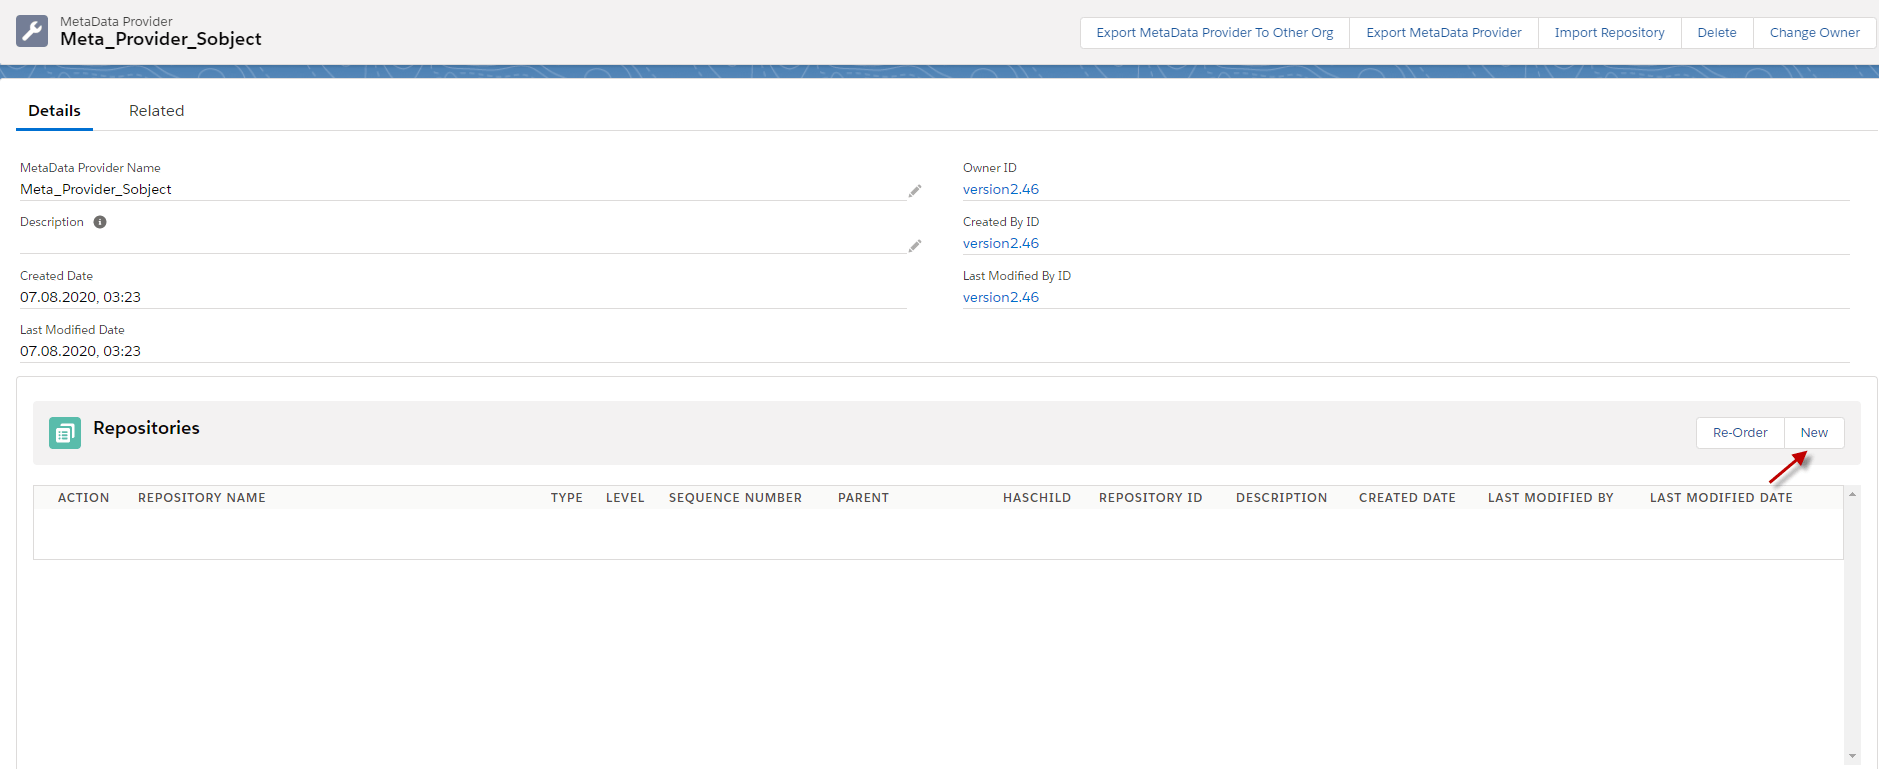
- Go to MetaData providers and click the New button.
- Fill the name and click the Save button.

- After we created Metadata Provider, we need to create a Repository to generate Salesforce sObject
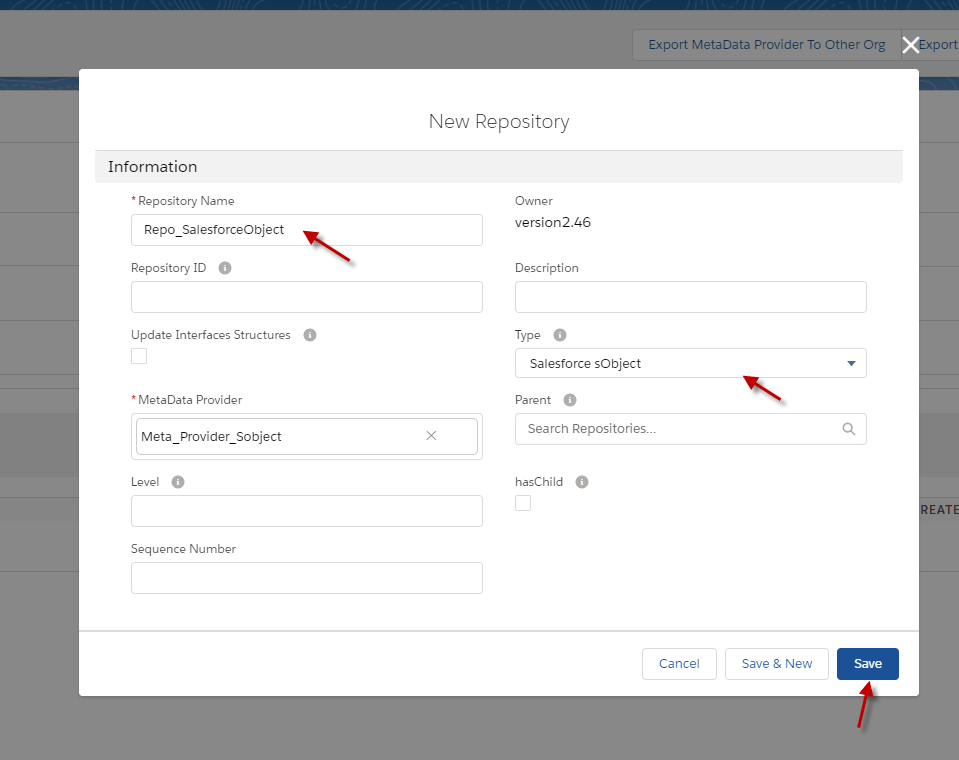
- Click the New button in the Repository block.
- Fill the name and choose type Salesforces sObject.
- Click the Save button. (example below)
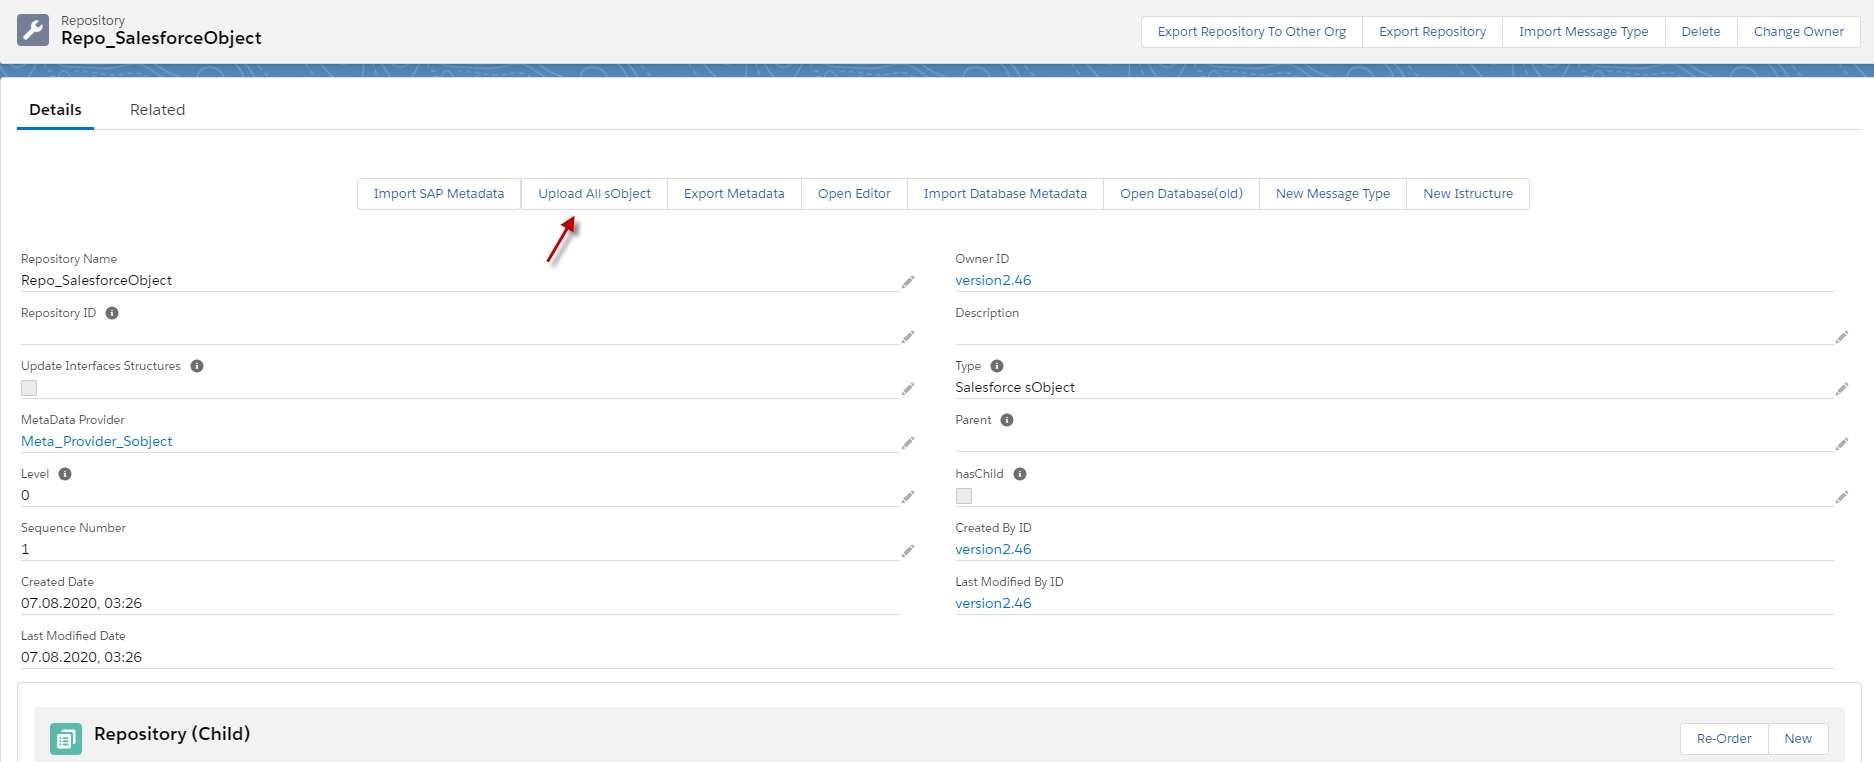
- After we save it, we can see the Button Upload All sObject in the repository.
- Click Upload All sObject button. (The example below)
- It will tell Number of All sObject, then click the Upload button. (see the example below)
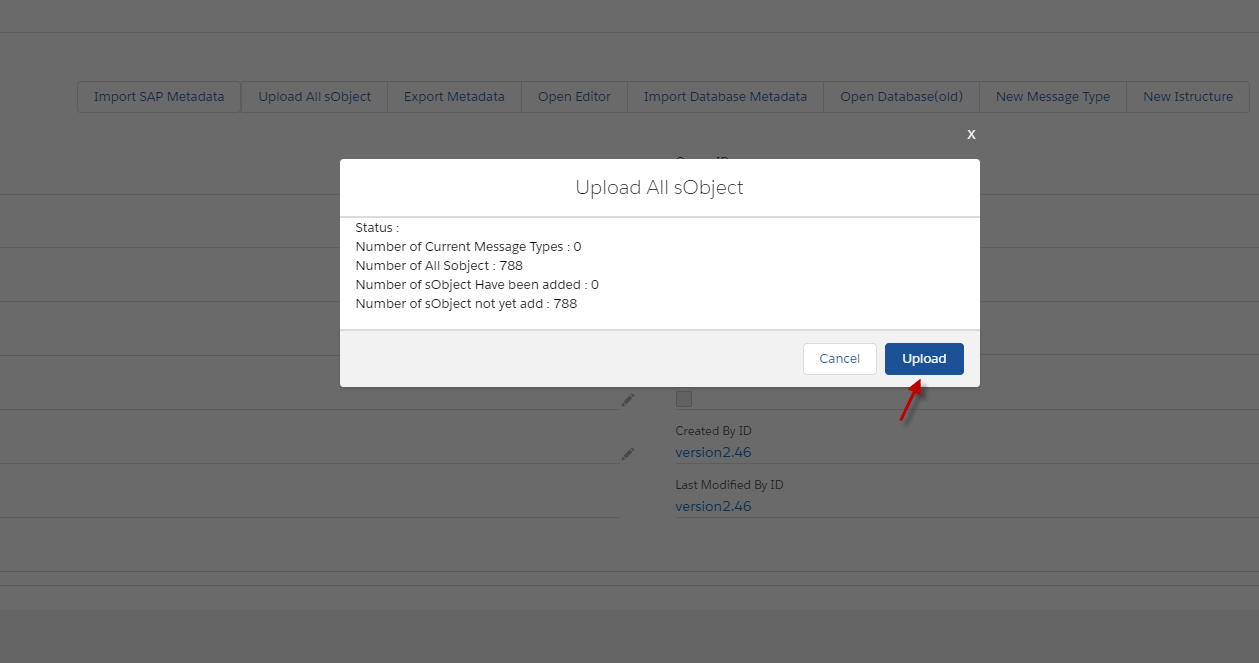
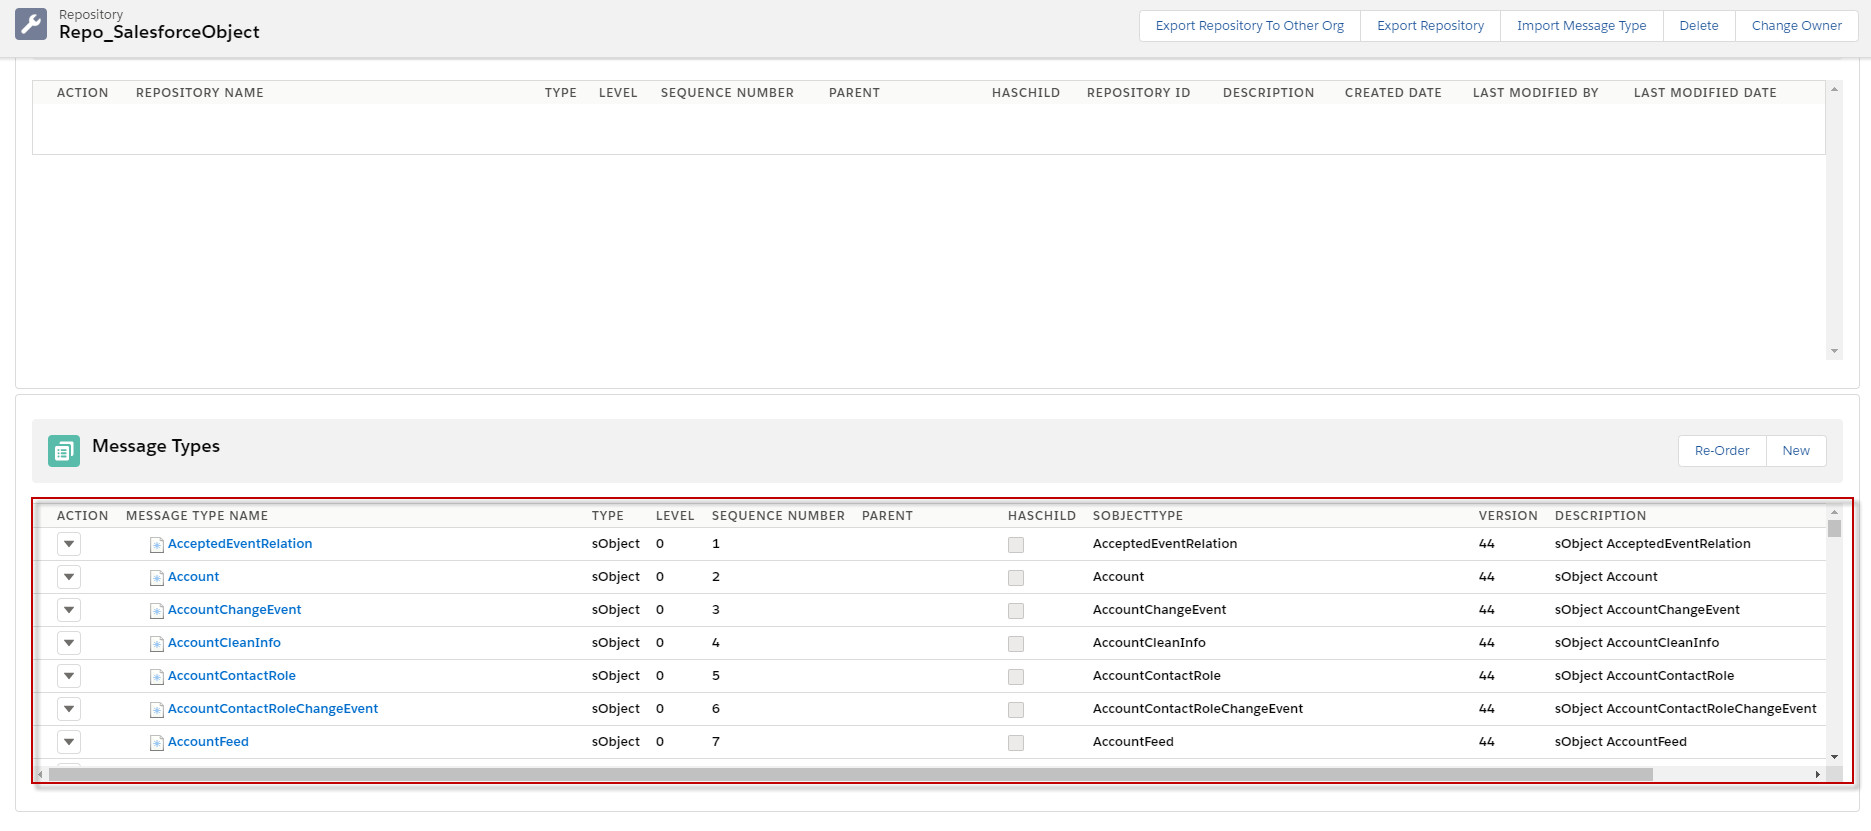
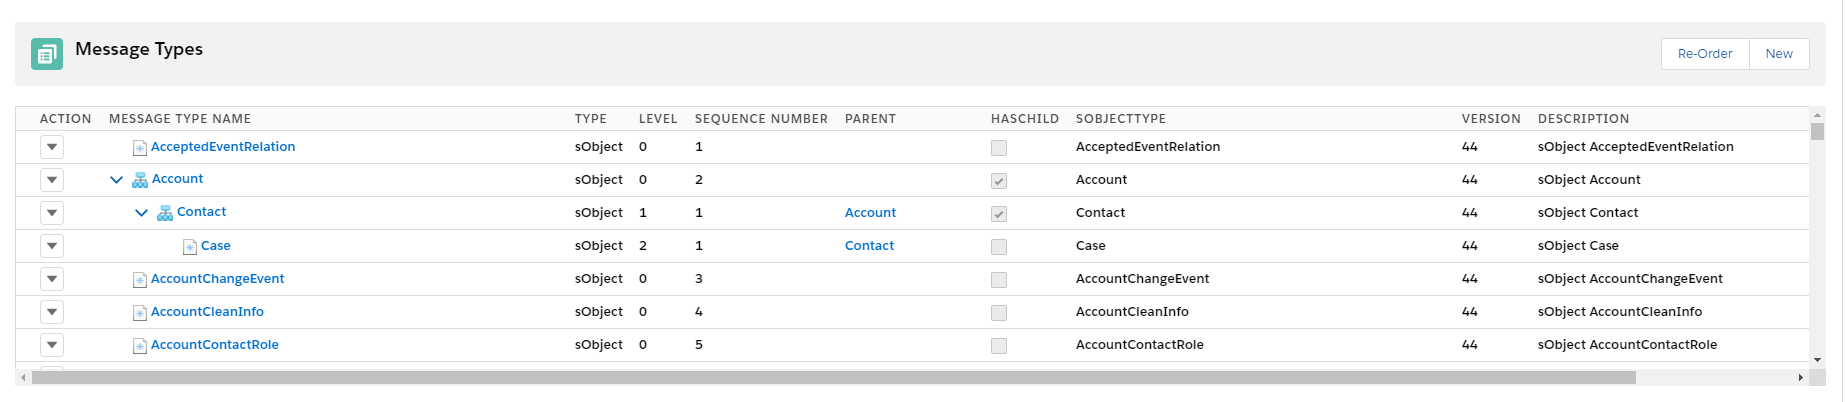
- We need to Refresh page because it has lots of sObject and then we got Messages Type sObject from Salesforce. (See the example below)
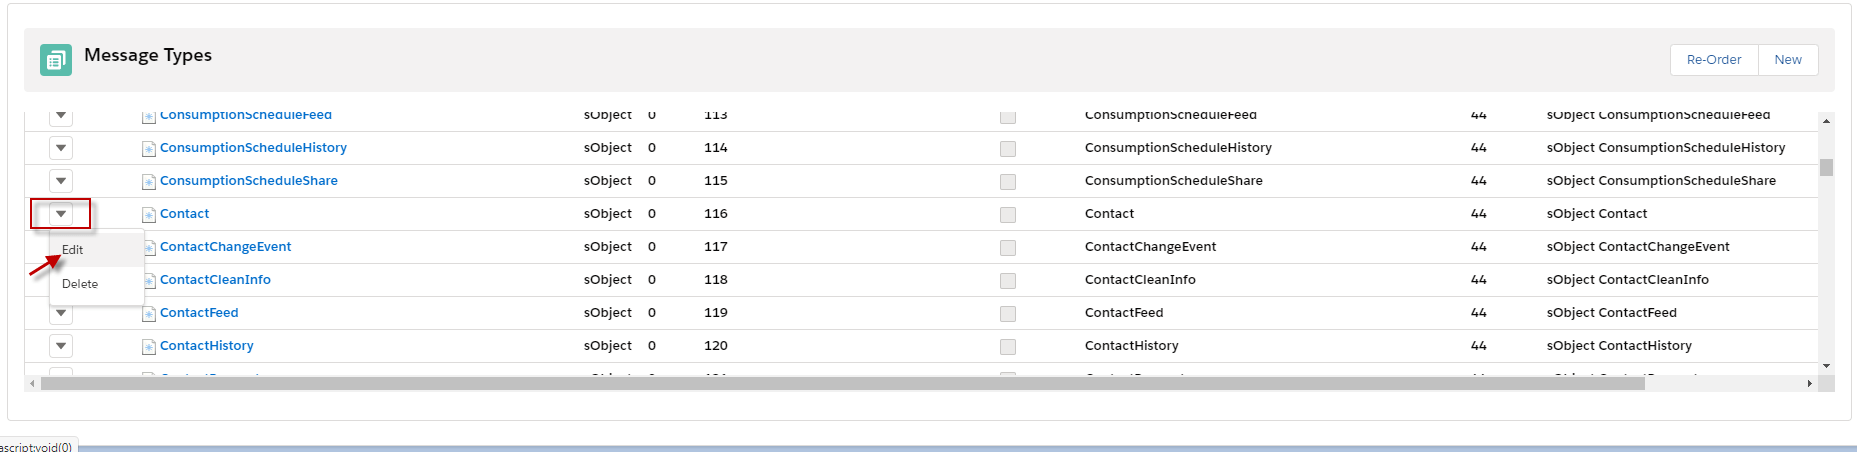
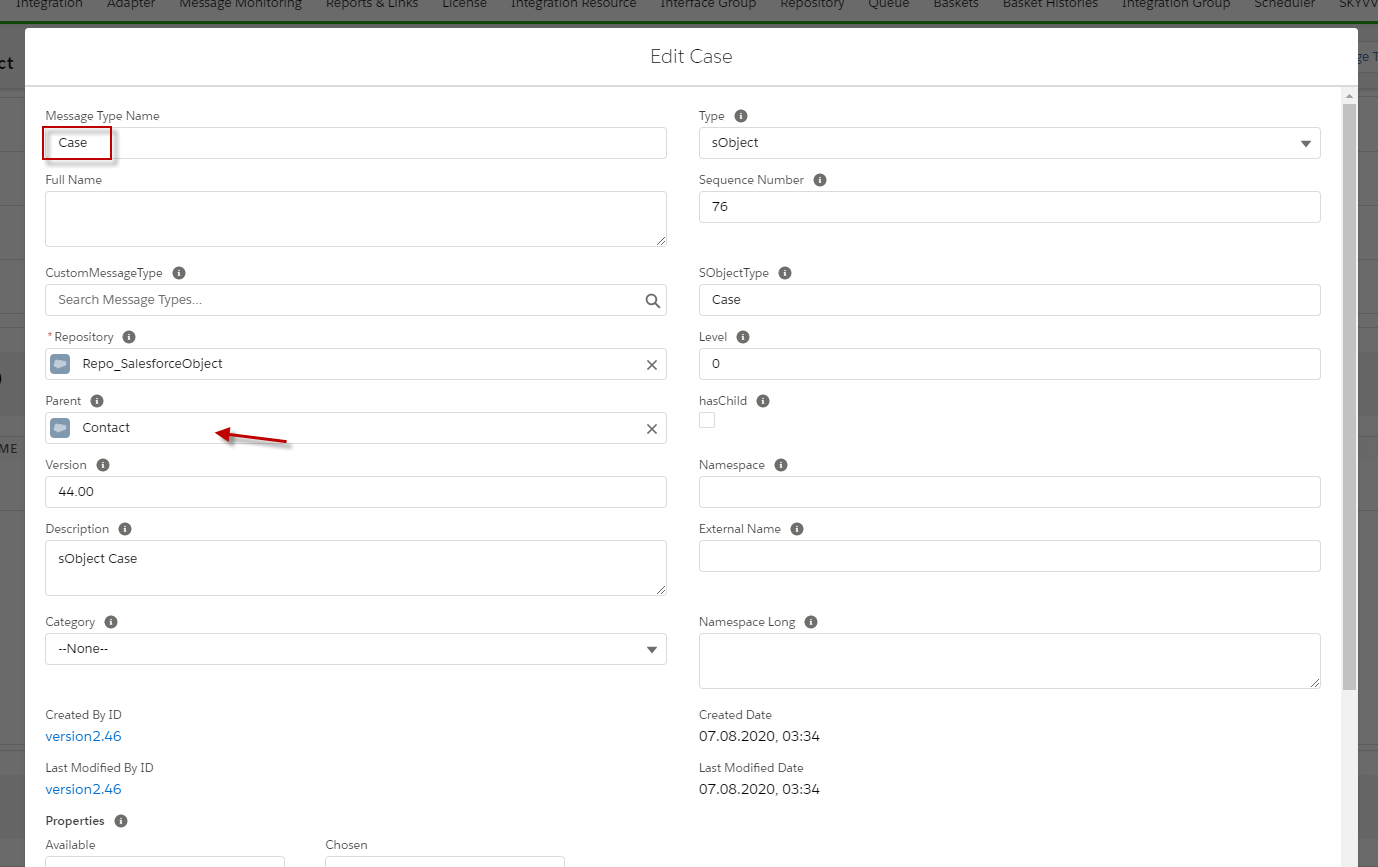
- We can edit Message Type to hierarchical Message Type. For example, we want Account has a Contact child. so we need to go to Contact and click edit and set Account as the parent of Contact. (see in the picture below)
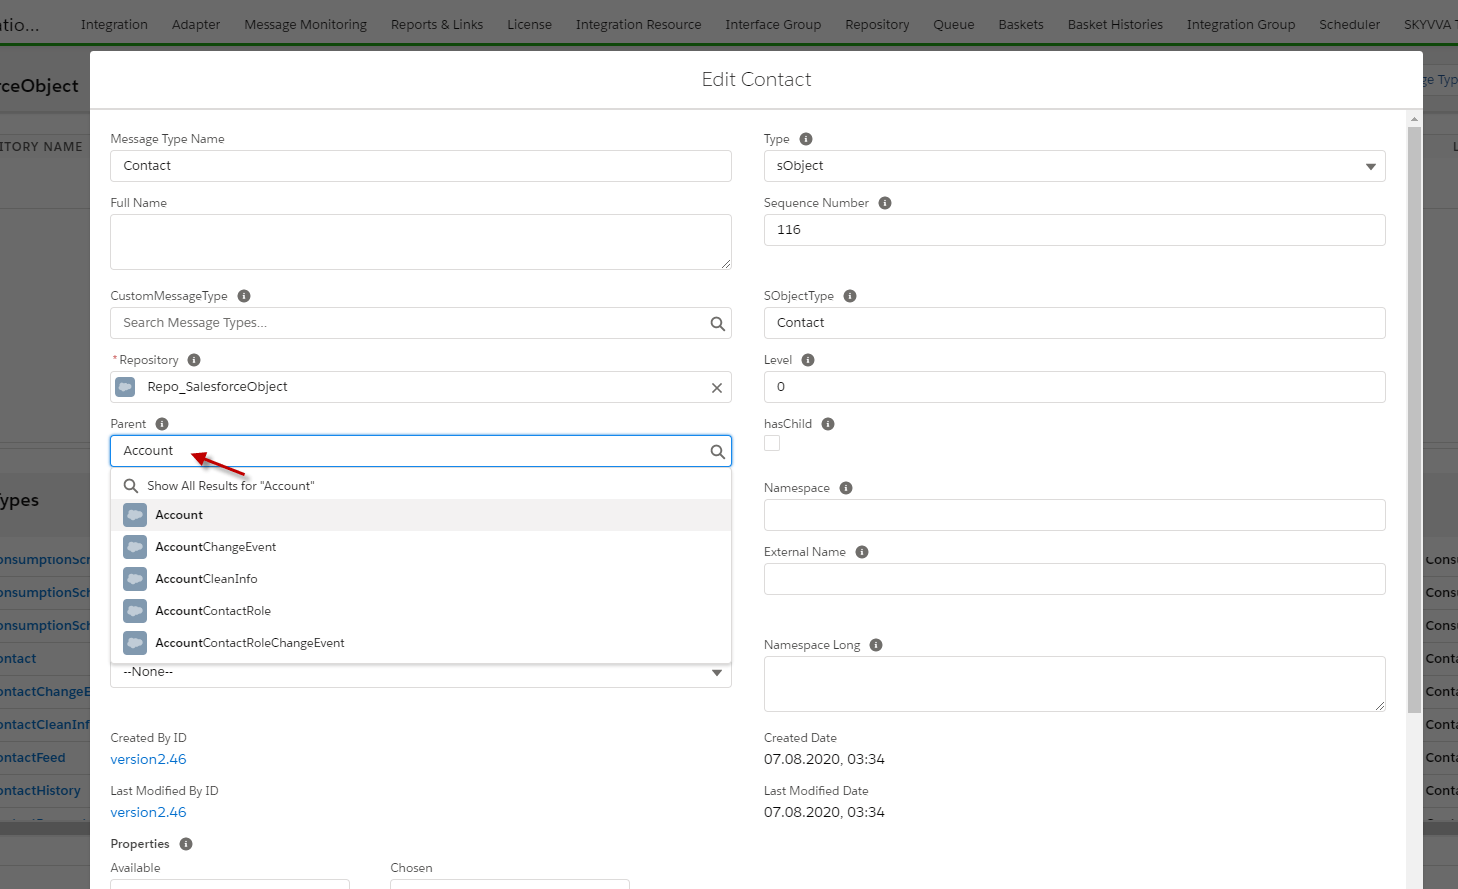
- After we click the edit button, we need to set Account to parent for Contact and click Save button. (see in the image below)
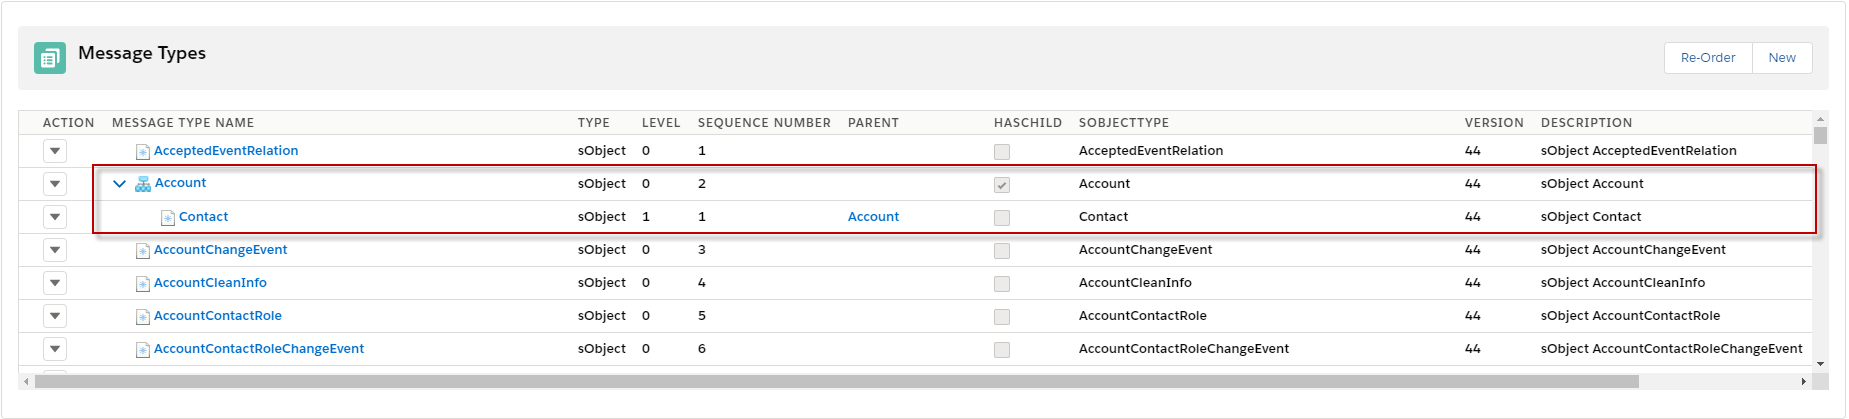
-After we save it, we can see the Message Type of Account has a child which is Contact.
- We can add the Message Type of Case is a child of Contact by going to Message Type of Case and set Parent is Contact.
- Click the save button after we set it.
- When we do like the example above, we will have Account has Contact’s child, and Contact has Case’s child. (here’s an example below)
Step2: We will use this message type to export data in Salesforce.
- Create Integration, Outbound Interface, and put the Message type in this Interface. ( see the example below)
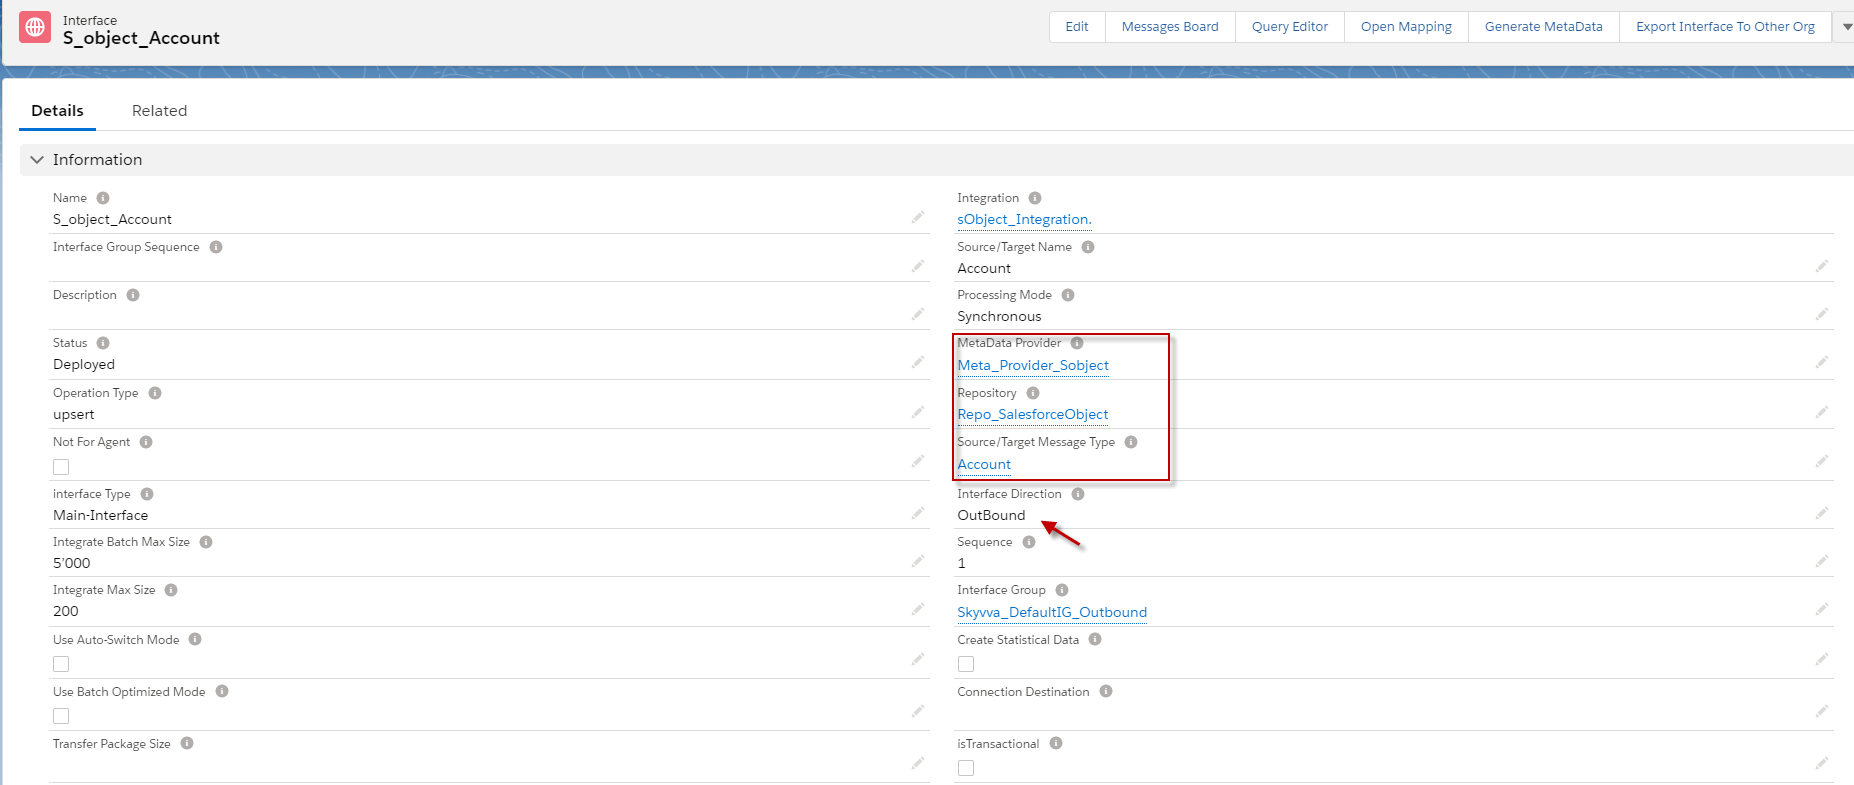
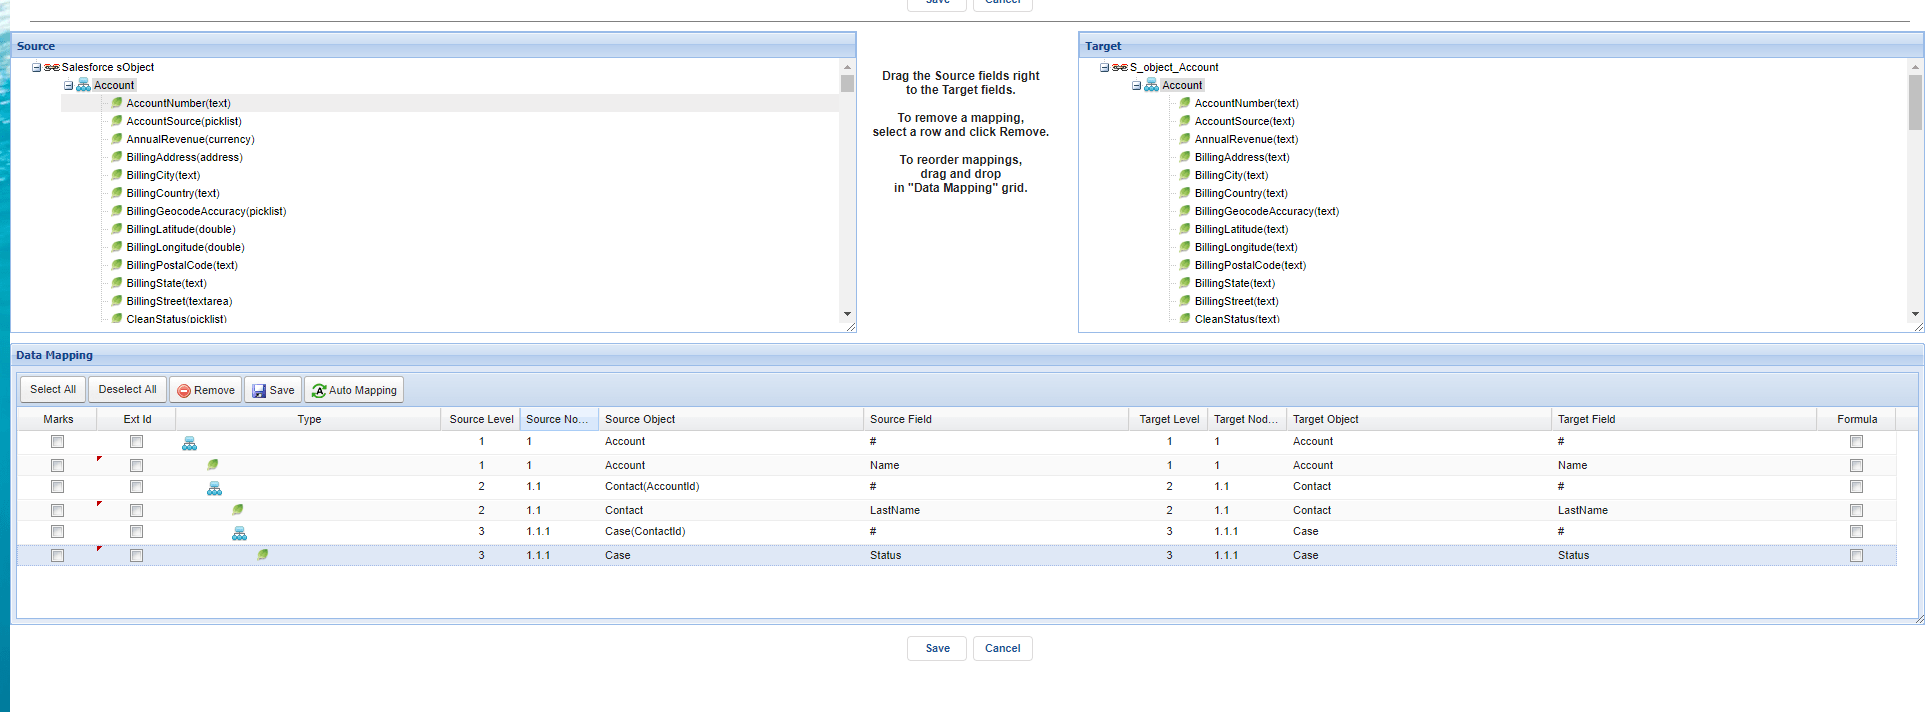
- After we configuration Interface like the example above, we need to go to the Interface and do the mapping.
- Click the Open Mapping button.
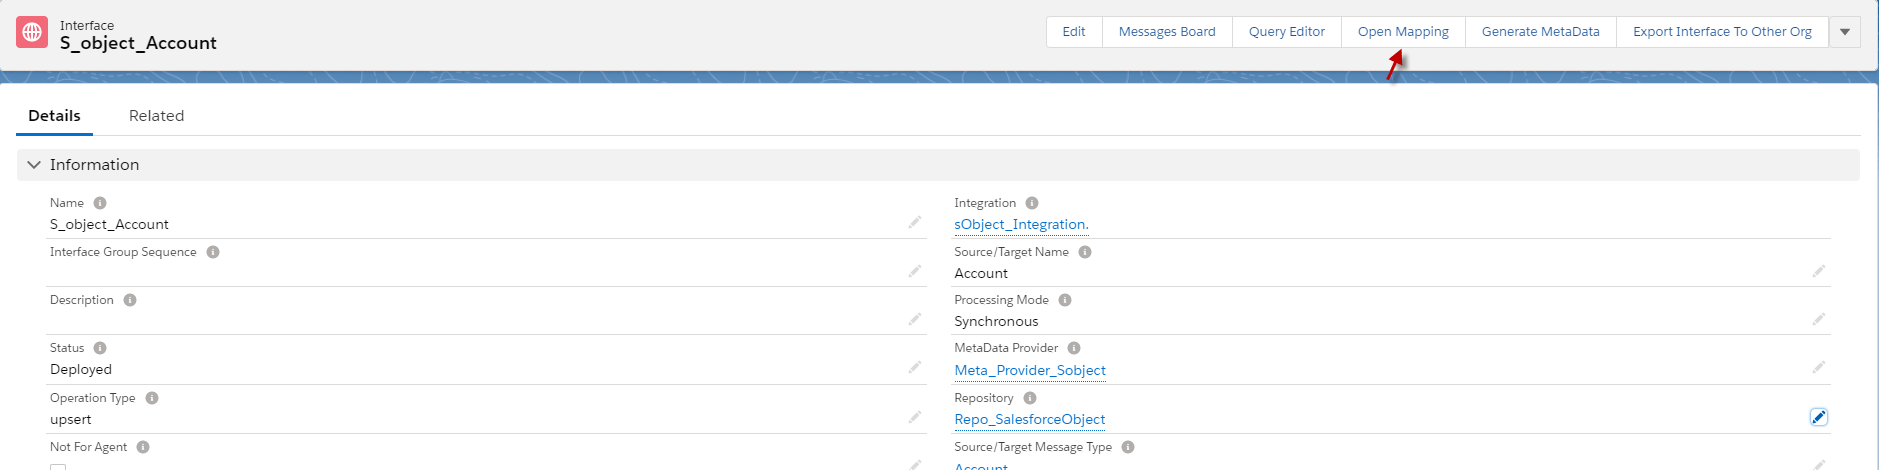
- We can do mapping what fields we want after we do mapping; we can click Save Button. (an example is a bellow).
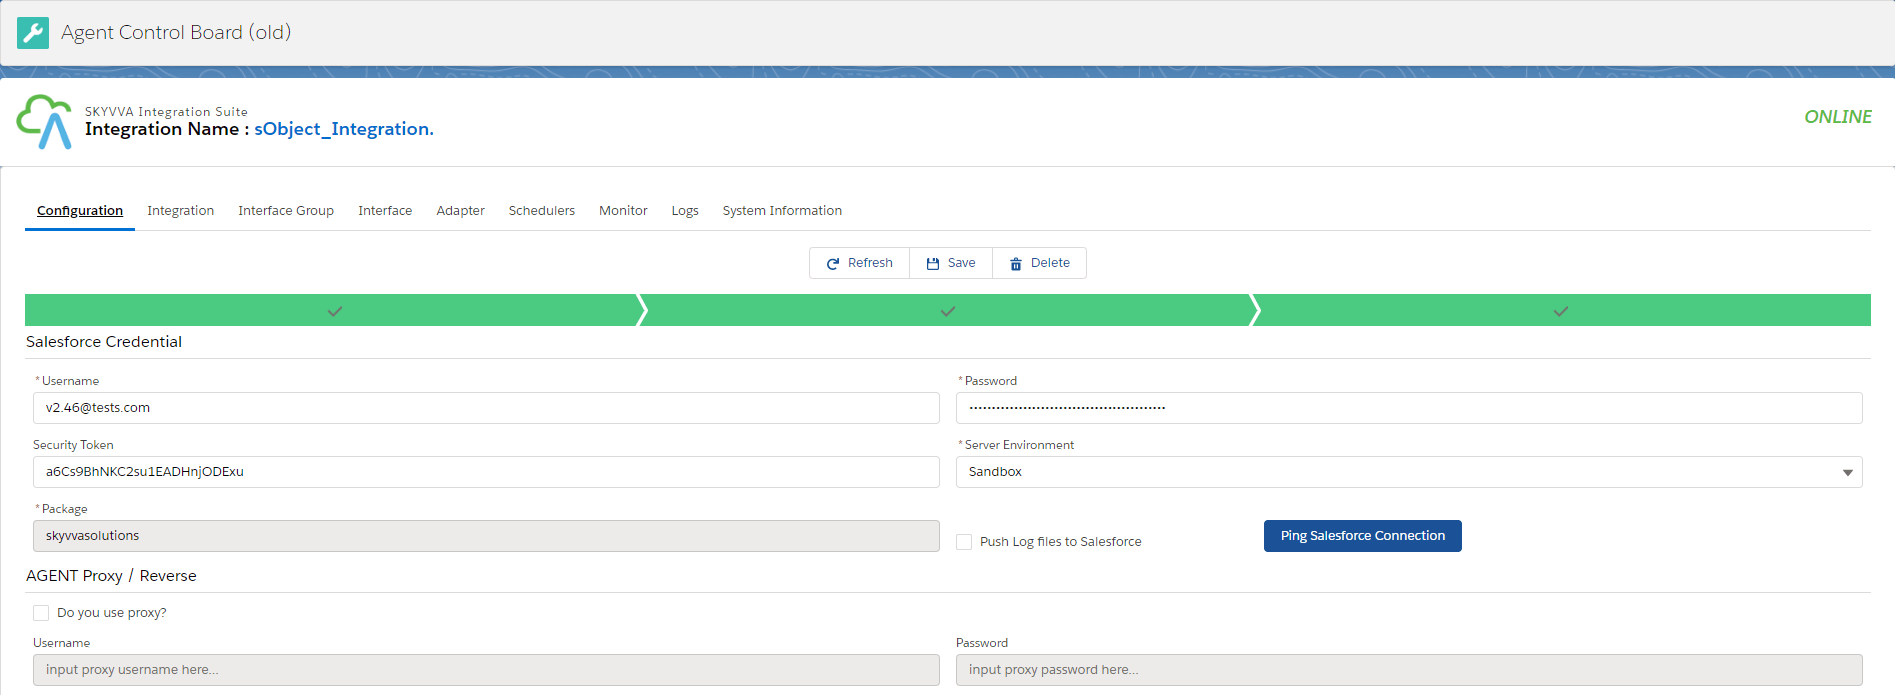
Step 3: Connection destination and create an adapter for the Interface.
- Go to the Agent control board old and connection destination. (How to configuration agent control board old? Following this guide: https://docs.skyvva-dev.com/docs/tutorial-v2-41-lightning/how-to-use-agent-control-board/ ).
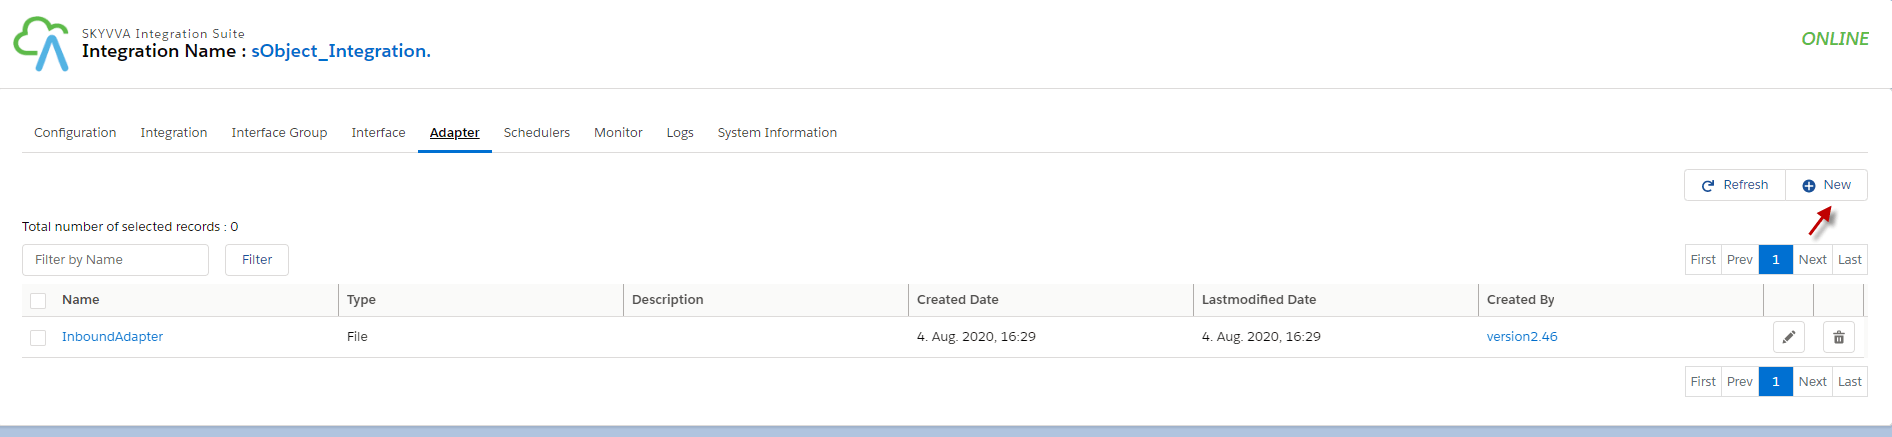
- Create an Outbound Adapter for Interface.
- Go to Adapter tab in the Agent control board (old) and click the New button.
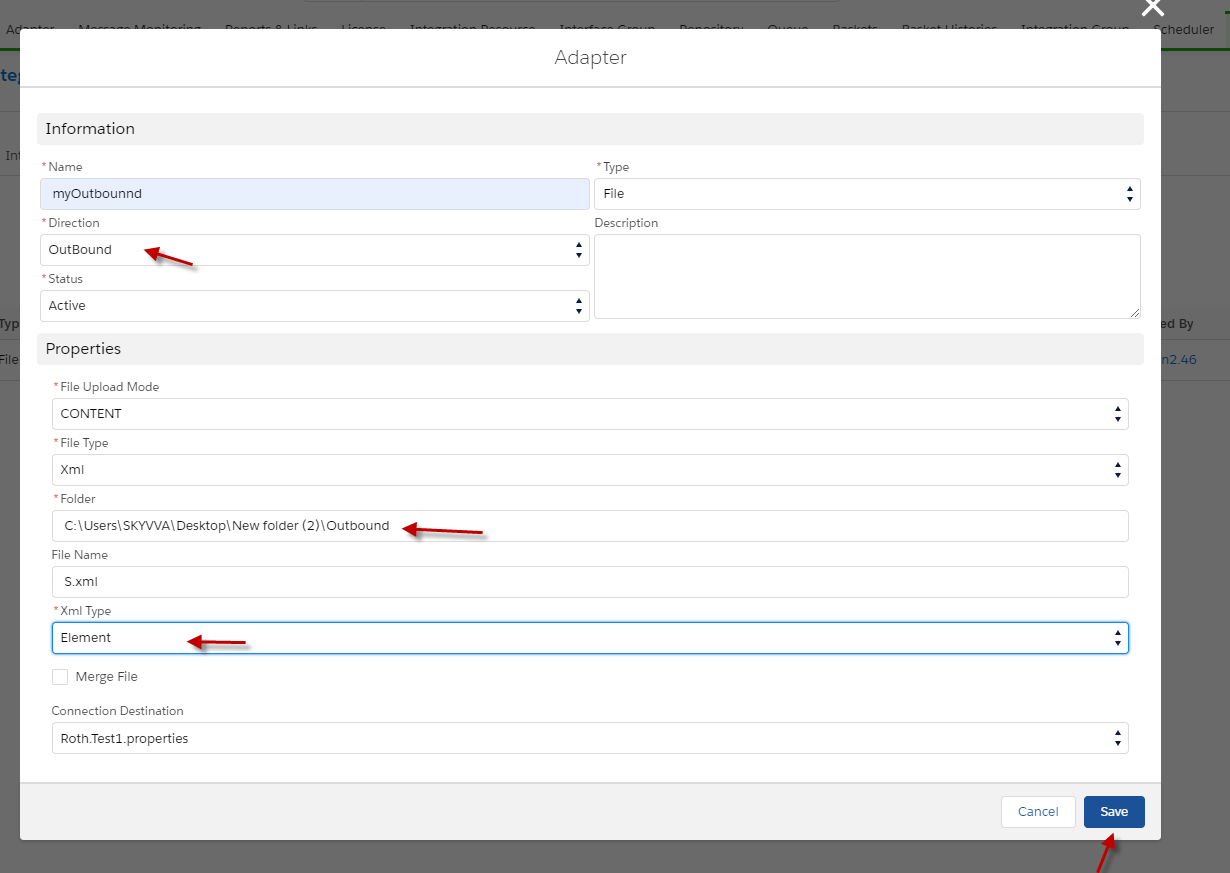
- Fill the name of Adapter and Type, and direction Outbound.
- Fill folder, XML type, and Connection Destination.
- Click the Save button.
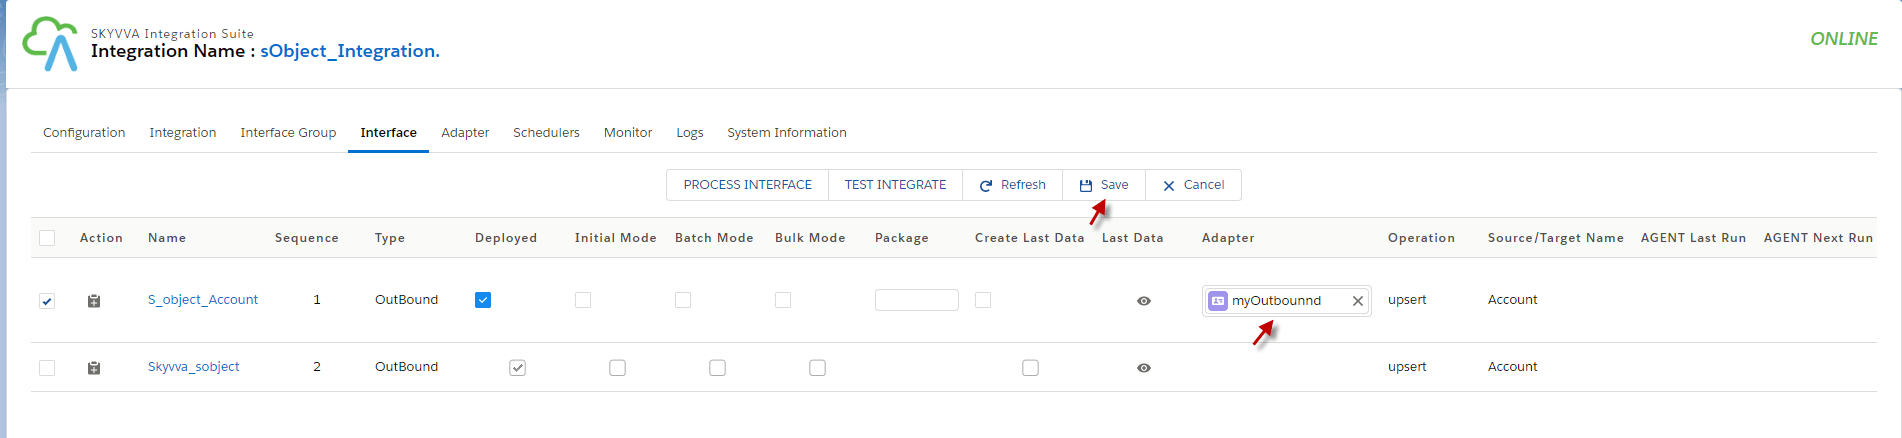
- Put the adapter in Interface by going to Interface and click edit. ( Example is below.)

- Put the adapter and click Save Button.
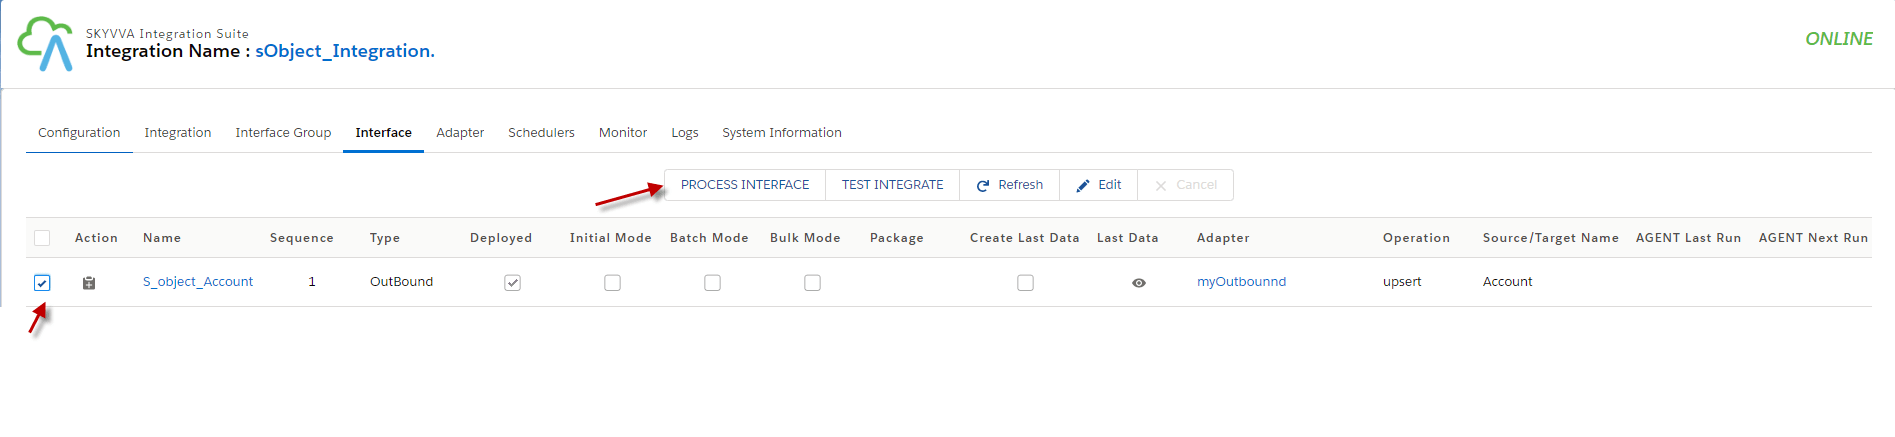
- Select the Interface and click Process the Interface.
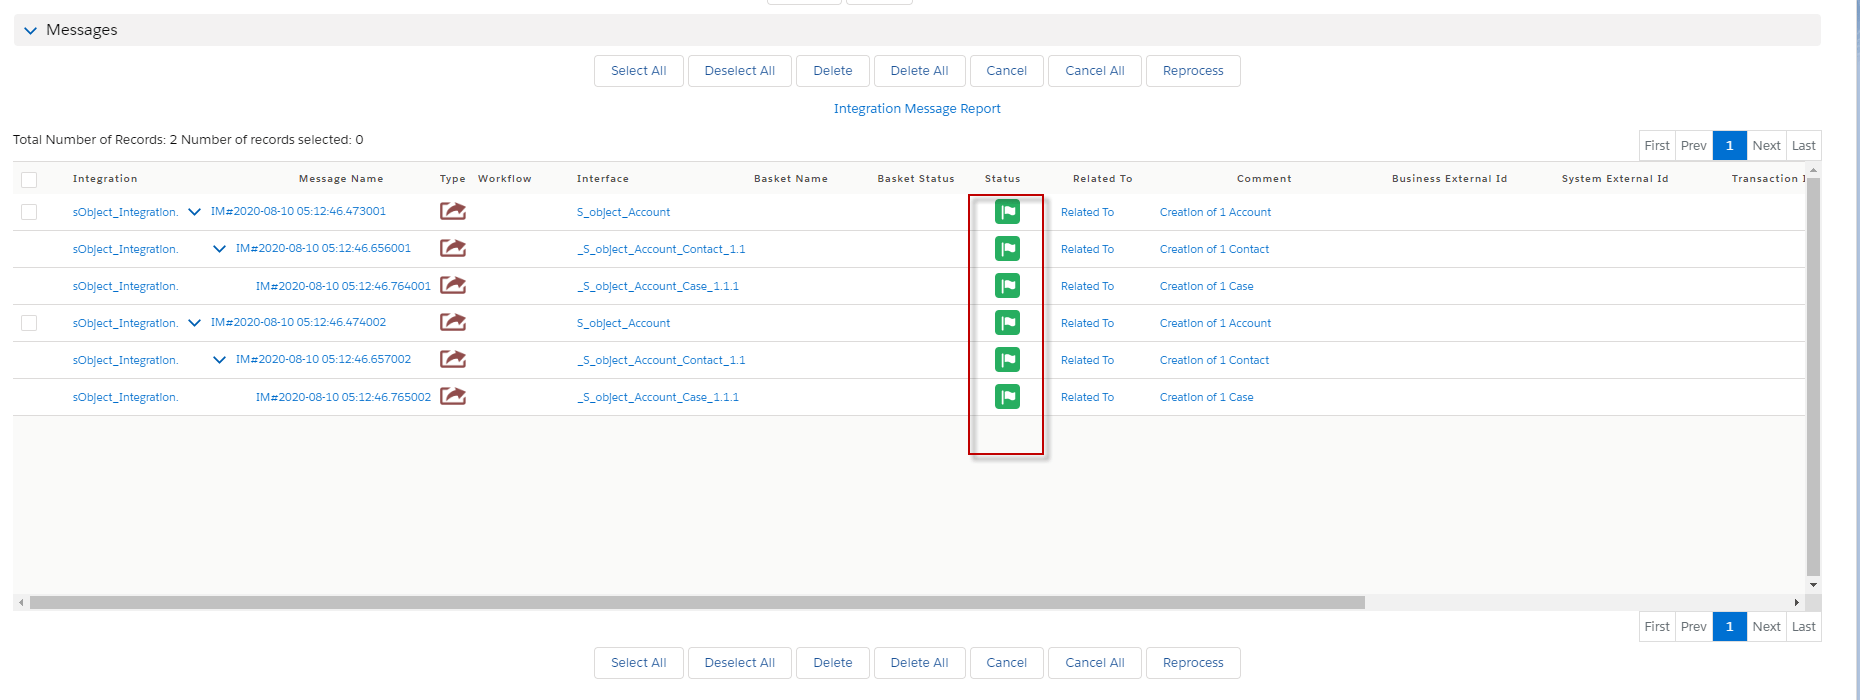
- Go to monitor to see the result.
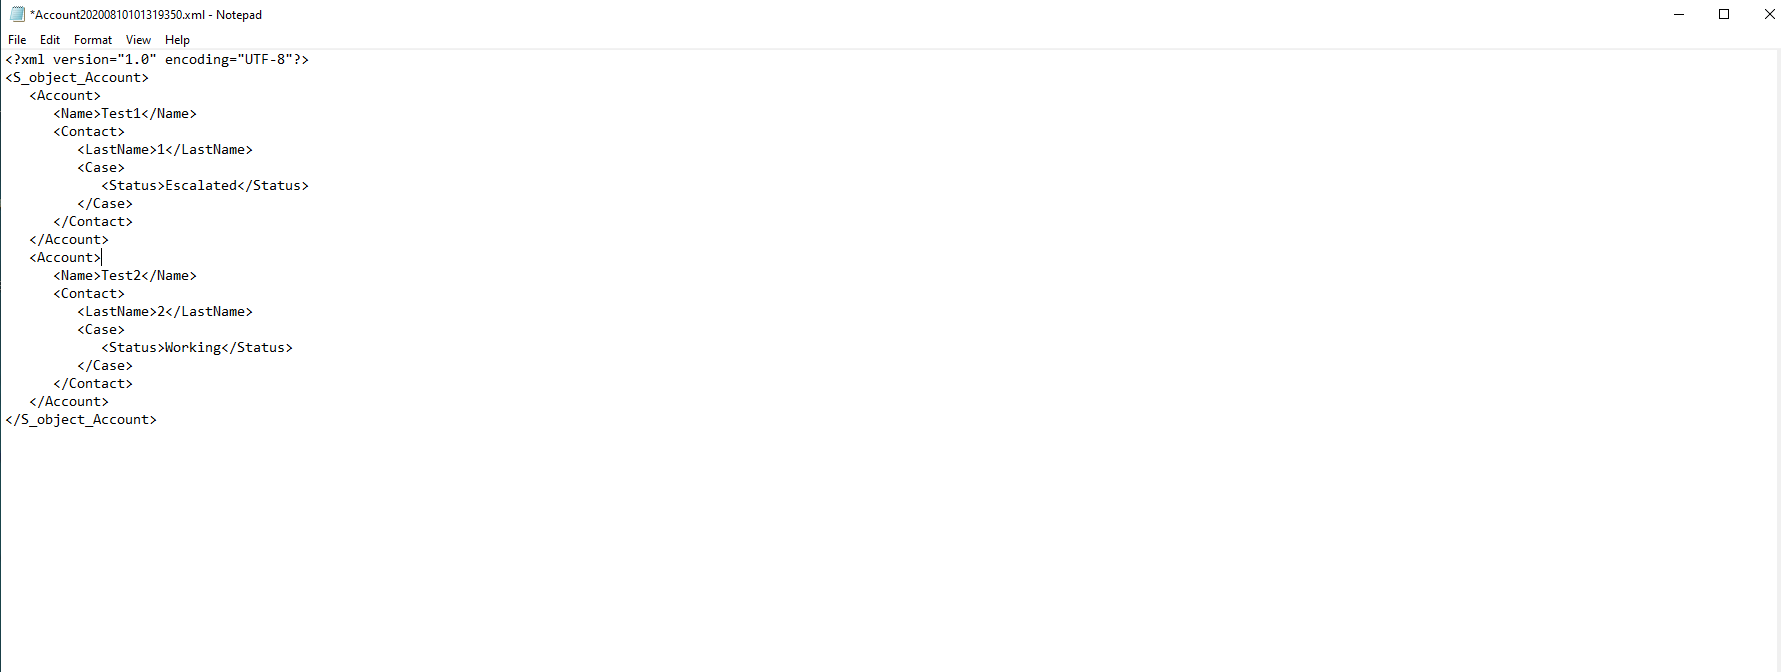
- Here’s the file that outbound from using Salesforce sObject.
Summary
Finally, we have reached the goal of how to create Message Type from Salesforce sObject. We use Salesforce sObject when we want to get data fields as the same Salesforce’s fields. Using Salesforce sObject for creating message type, we can’t select the sObject that we wish to, so when we use the function Salesforce sObject to create Message type, it will make us generate all salesforce sobject that it has.


