In this document we are going to explain you about how to generate the WSDL from Skyvva Lightening and Classic mode.
- Generating WSDL from Classic.
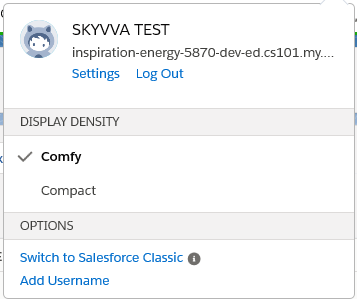
for this initaillay we have to login to the salesforce system after that click on profile view as shown.

Click on switch to salesforce classic.
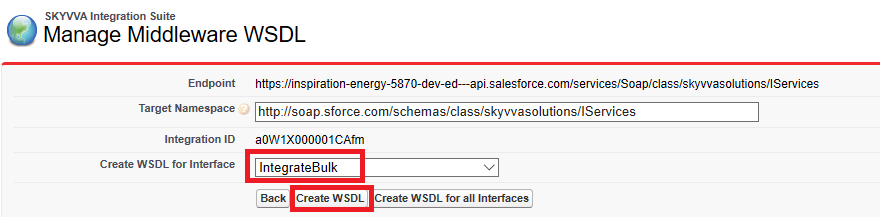
Go to Integration and click on Manage middleware WSDL’s.

Now select the interface you want to download and the click on create WSDL.
In the bottom you can see the generated file.

Now we just need to click on view then the file will be downloaded automatically. We have rename the file to .WSDL file to import it into SAP PO for mapping.
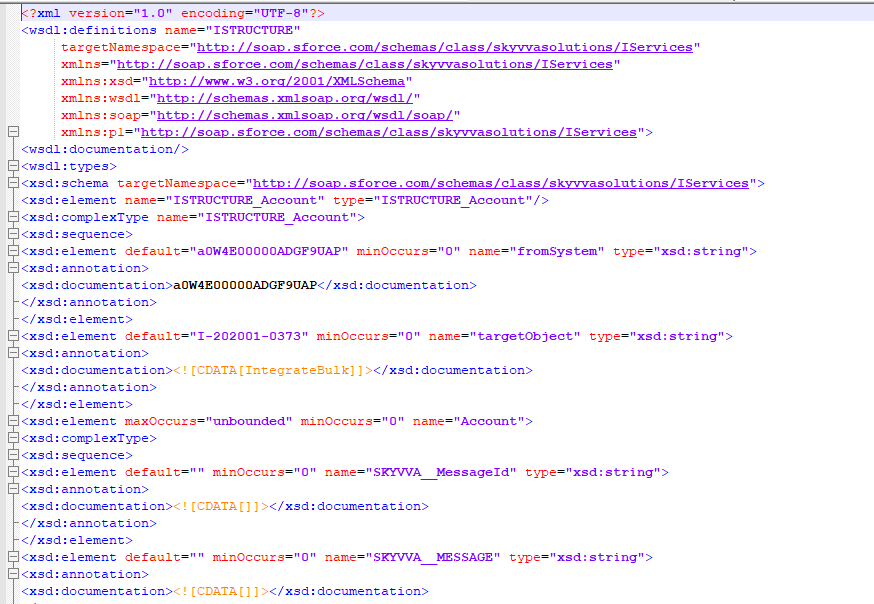
Generating the WSDL from classic is an old way.
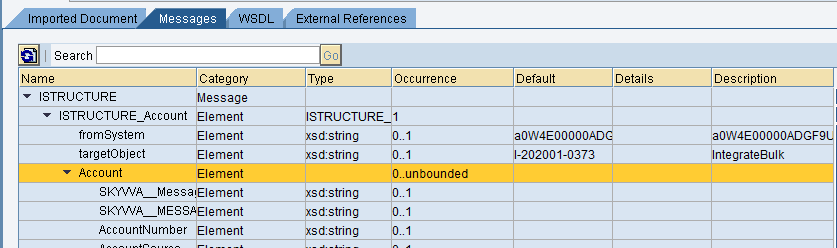
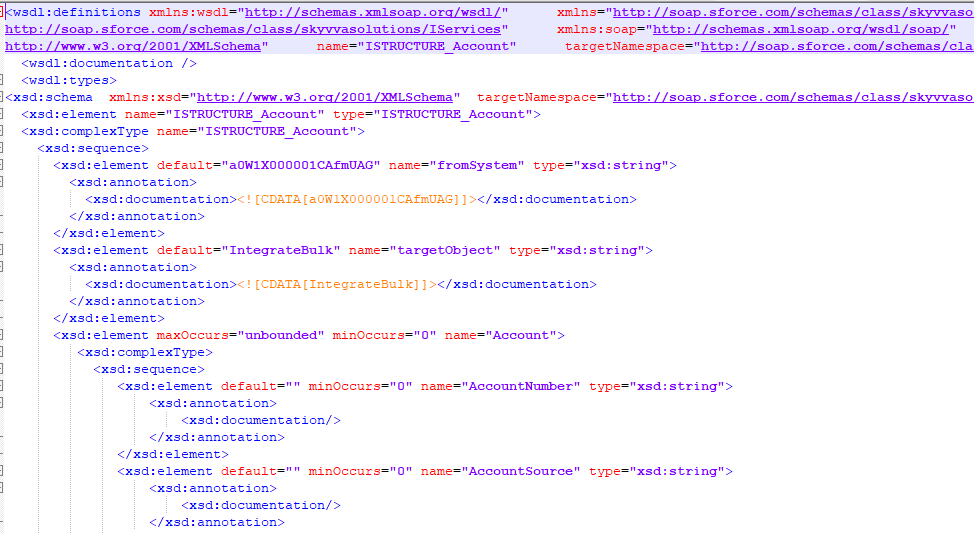
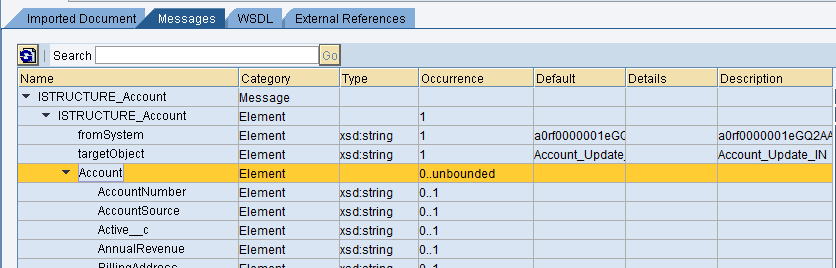
In the old way we can see the targetObject and fromSystem in the generated WSDL.
- Generating the WSDL in Lightening as Old way
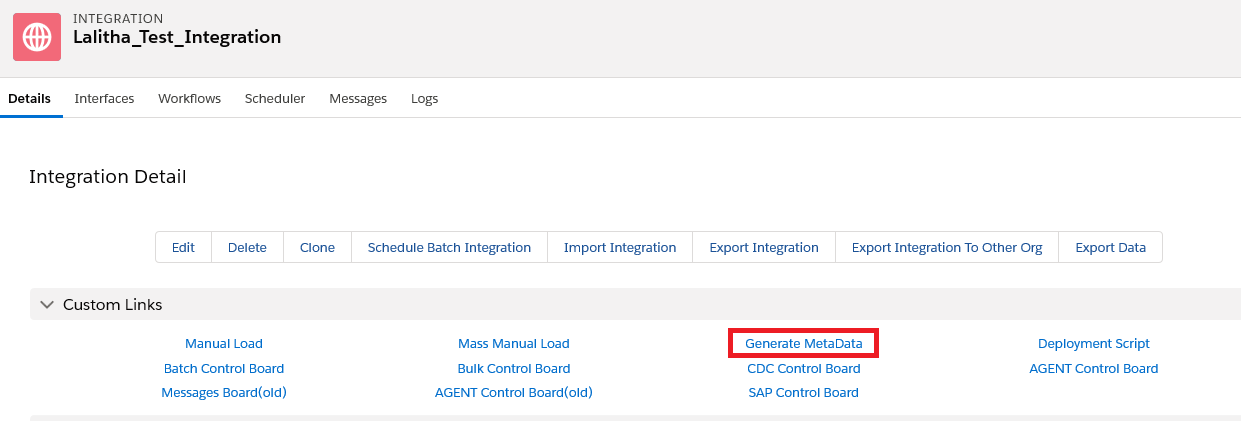
Go to Integration and click on Generate Metadata
Select the interface name you want to generate the WSDL and check mark the old way check box. Select the format file as WSDL 1.1
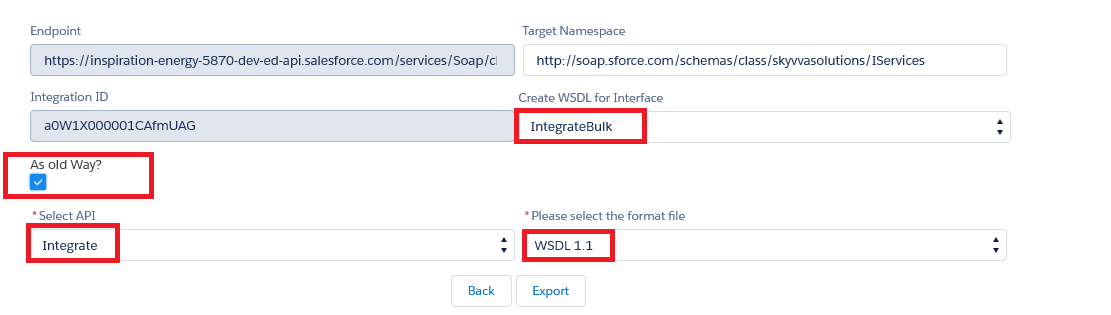
Now click on export. You can see the generated file in the bottom.

Click on view to download the file. WSDL file will be downloaded.
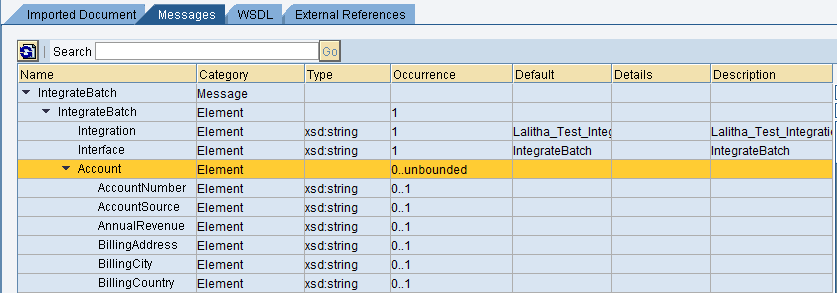
Here is the imported WSDL in SAP PO
- Generating the new way WSDL from Lightening
The option new way will generate a new WSDL which will works only with V3 module. It will support for both old and new way WSDL generation.
Here we no need to check the old way check box.
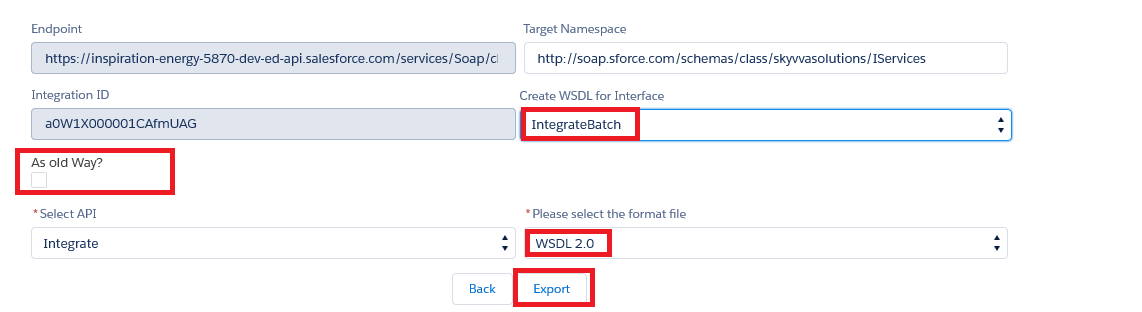
After selecting all the highlighted options. Click on export to generate the file.
![]()
Click on view to download the file. WSDL file will be downloaded.
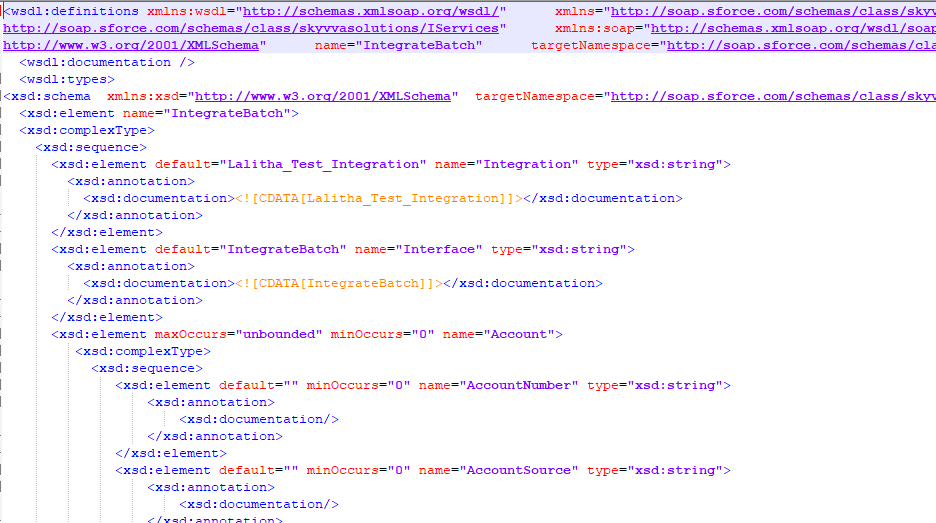
This is how the new way WSDL looks like