This document describes how to create an outbound Synchronous interface in SAP PO with SKYVVA V3 SOAP Adapter
For SOAP V3 we have to create the message type in skyvva as explained below.
SOAP V3 message type template:
We use a standard message type template for SOAP Adapter
{
“Google SOAP Service”: {
“Request”: {
“HTTP Header”: {
},
“URL Query Parameter”: {
},
“SOAP Header”: {
“SessionHeader”: {
“SessionId”: “”
}
},
“SOAP Body”: {
“Quote_Sync_Out”: {
“Quote_Header_Request”: {
“skyvvasolutions__SAP_Requested_Delivery_Date__c”: “”,
“skyvvasolutions__SAP_Sales_Org__c”: “”,
“skyvvasolutions__SAP_Distribution_Channel__c”: “”,
“skyvvasolutions__SAP_Division__c”: “”,
“skyvvasolutions__SAP_Group__c”: “”,
“Id”: “”,
“Name”: “”,
“OpportunityId”: “”,
“skyvvasolutions__SAP_Offer_Valid_To__c”: “”,
“skyvvasolutions__SAP_Offer_valid_from__c”: “”,
“QuoteLineItem”: {
“LineNumber”: “”,
“Quantity”: “”,
“skyvvasolutions__SAP_Material_Number__c”: “”,
“skyvvasolutions__SAP_Customer_Number__c”: “”
}
}
}
}
},
“Response”: {
“Envelope”: {
“Header”: {
},
“Body”: {
“Quote_IN”: {
“Quote”: {
“Name”: “”,
“Id”: “”,
“OpportunityId”: “”,
“skyvvasolutions__SAP_Quote_ID__c”: “”,
“Status”: “”,
“QuoteNumber”: “”,
“QuoteLineItem”: {
“Id”:””,
“Quantity”: “”,
“QuoteId”: “”,
“skyvvasolutions__SAP_Material_Number__c”: “”,
“skyvvasolutions__SAP_Quote_Line_ID__c”: “”,
“OpportunityLineItemId”: “”
}
}
}
}
}
}
}
}
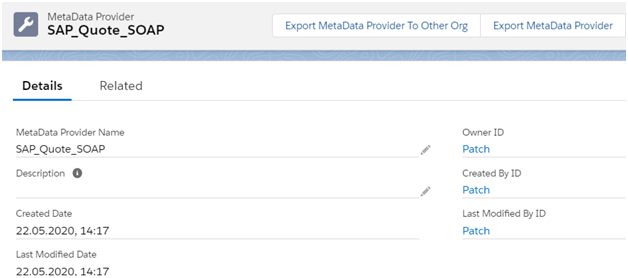
Initially we have to create Metadata Provider.
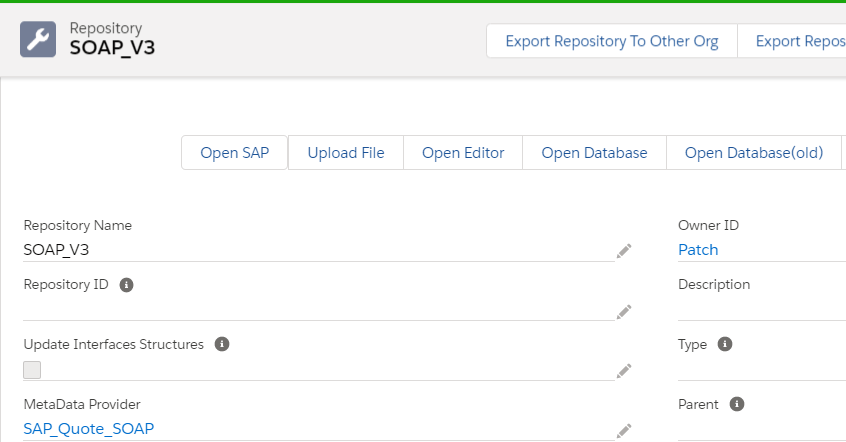
Now create Istructure repository
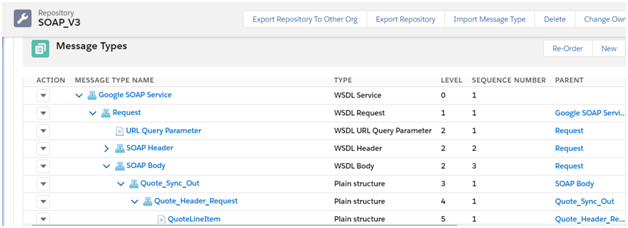
Now create Message type for hierarchical request and response
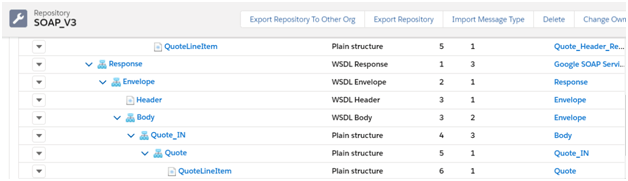
Now we have to use the message type in both request and response interface and also the child request and response interfaces
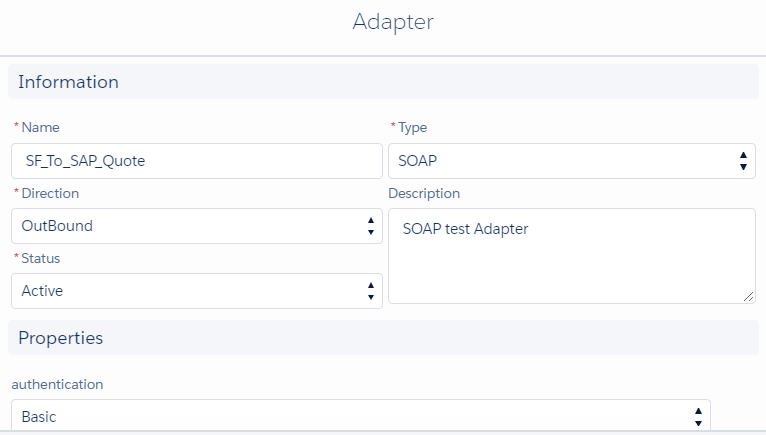
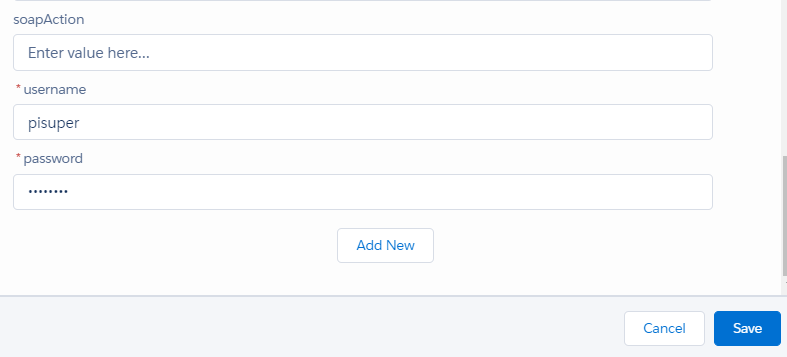
Creation of Outbound SOAP adapter:
Provide the details as shown below:

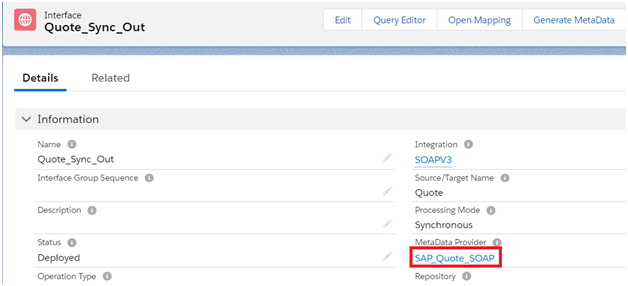
Use this adapter in the outbound request interface.
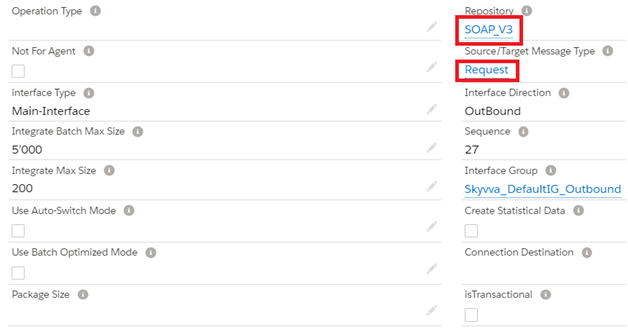
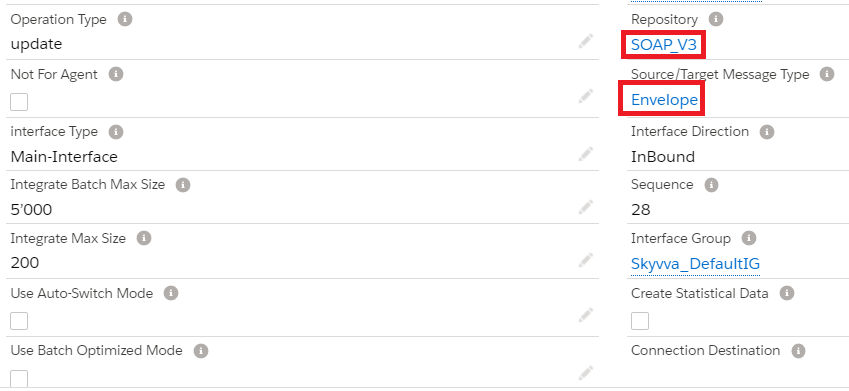
In this example, I have created the interface under “SOAPV3“
- Create Outbound parent request interface


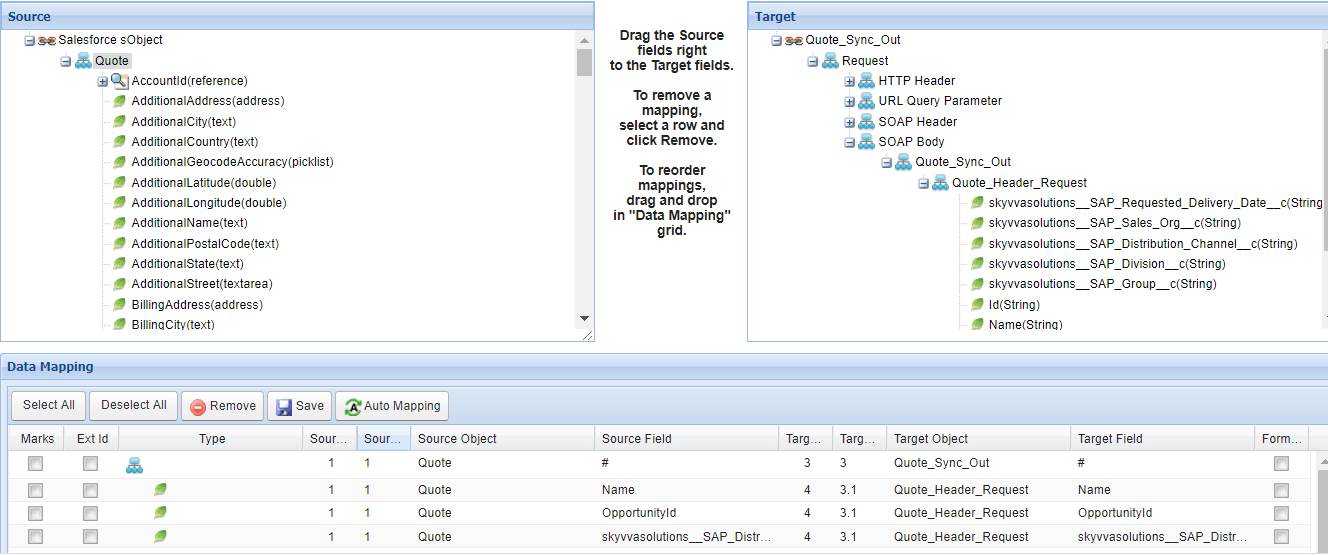
If we use the message type defined in skyvva then we have to do mapping in skyvva as shown.

Now save the mapping and the outbound parent interface.


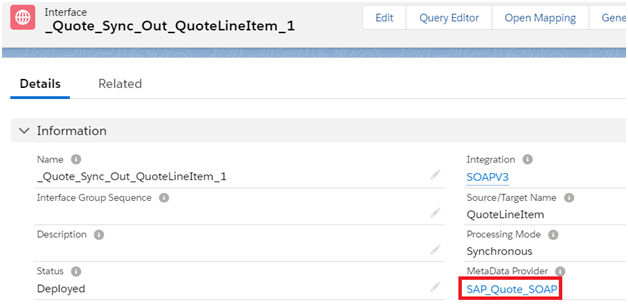
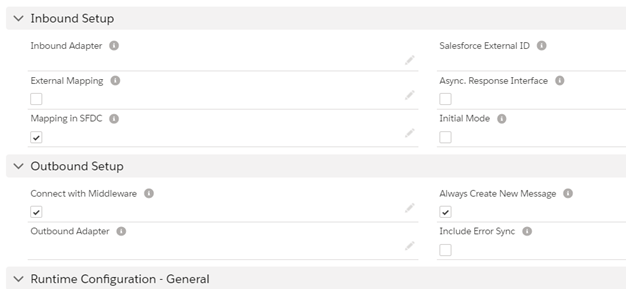
- Create Outbound child request interface

Add this child interface as i chained interface in the parent interface related tab
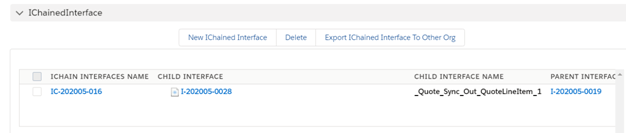
Save the outbound child interface.
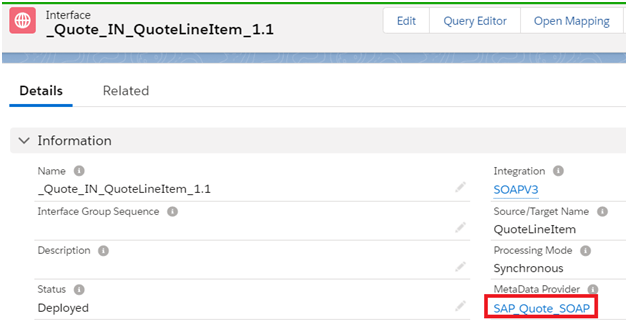
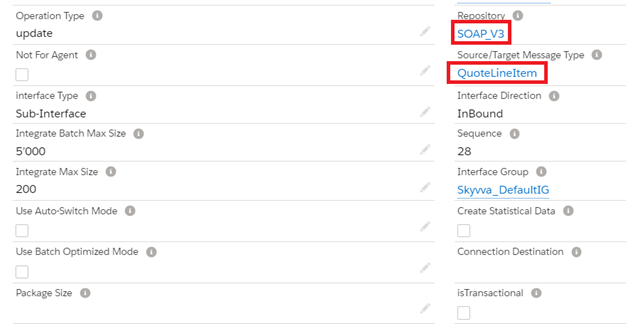
- Create an inbound parent response interface

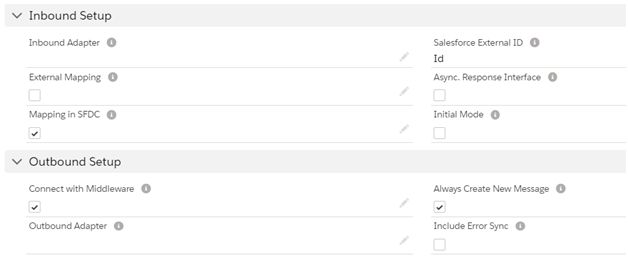
Do the mapping for inbound parent response interface


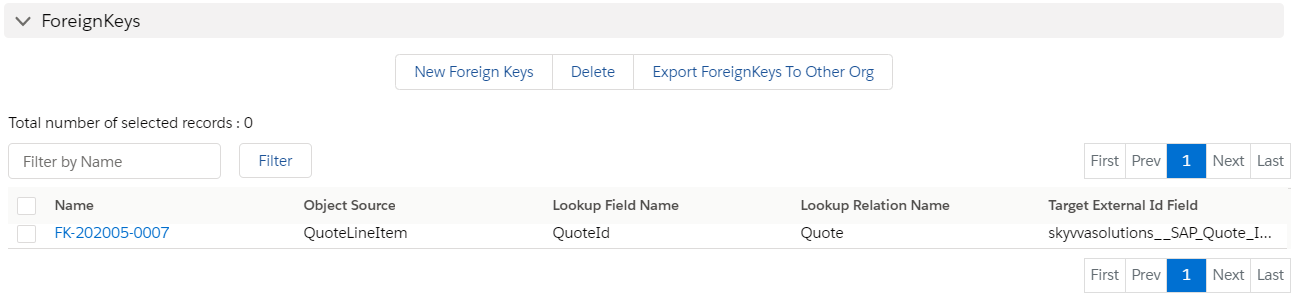
In the related tab add the foreign key fields as shown below
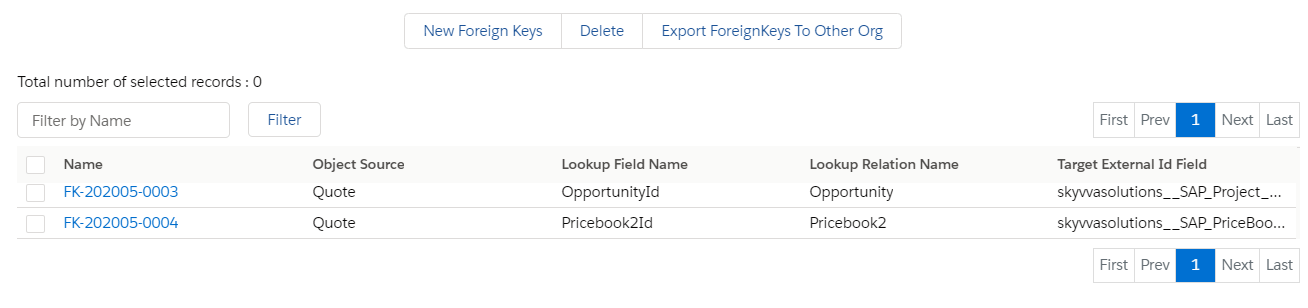
Save the mapping and the inbound response interface.
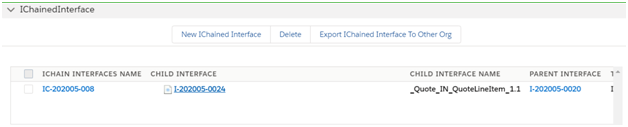
- Create an inbound child response interface
Save the interface and add this child interface as ichained interface in the parent response interface related tab
Add the foreign key field to link to the parent quote interface as shown below
Download the inbound and outbound parent interface WSDL’s and upload it into SAP PO for mapping.
Create external definition for outbound and inbound interfaces in SAP PO
Outbound External definition:
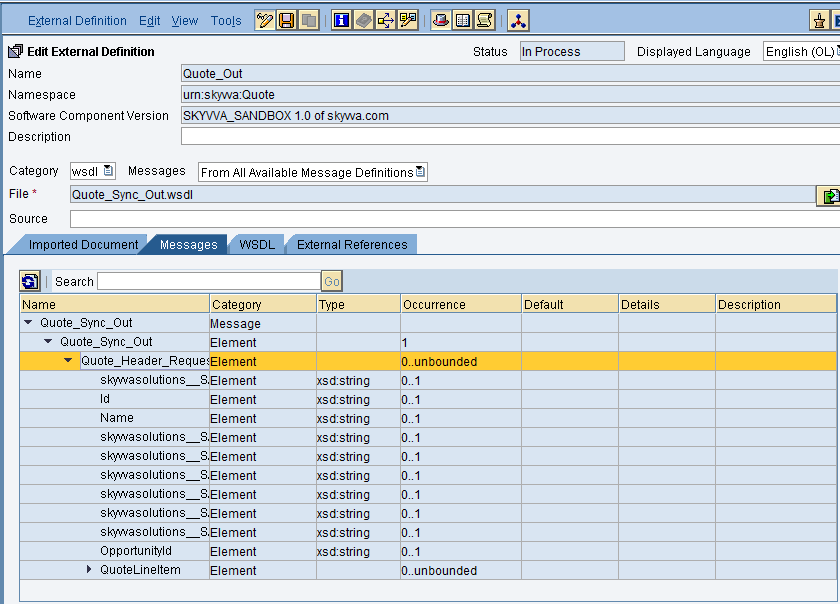
Import the WSDL and Save and activate it.
Inbound External Definition:
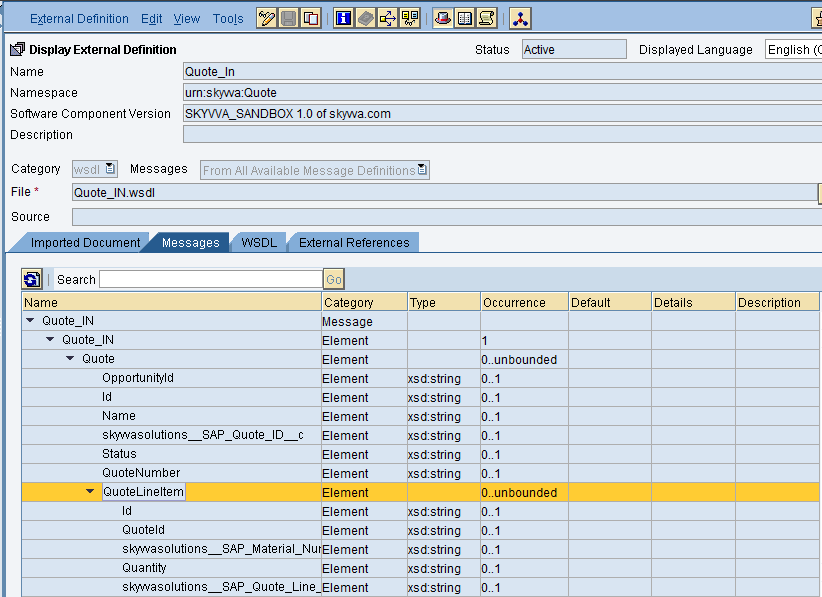
It’s a Salesforce to SAP outbound interface sending quote information to SAP. SAP side we are using RFC. So no need to create data type, message type and service interface for the target side.
Create Outbound Service interface:
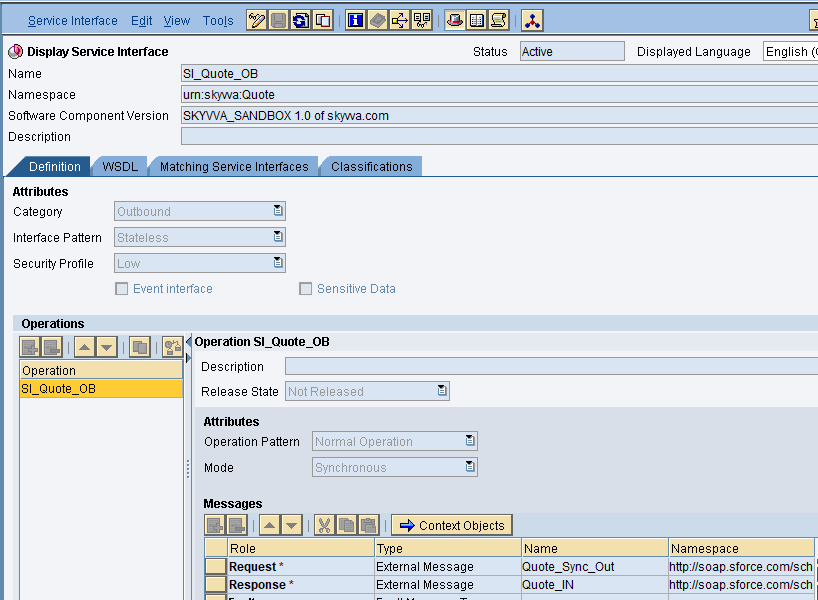
Provide the necessary details as shown and then save and activate it.
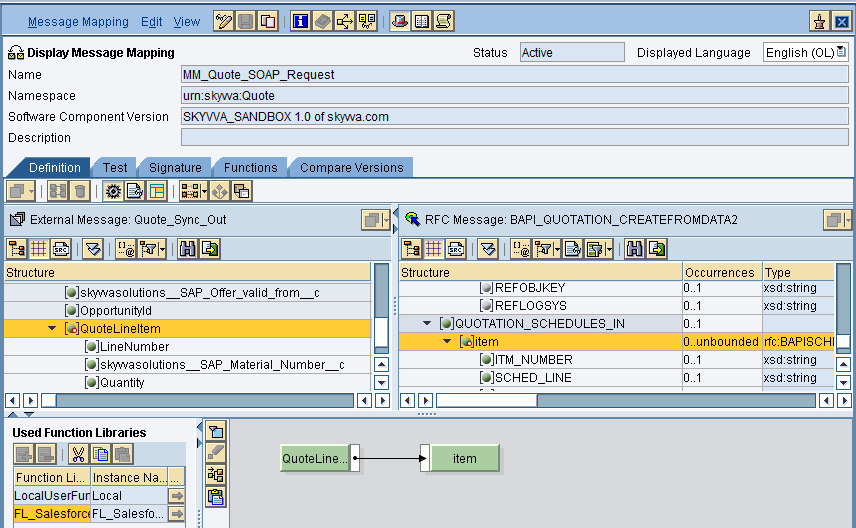
- Message mapping
Create request and response message mapping as shown below.
Request Mapping –
Select the Source structure and target structure and complete the mapping.
Response Mapping –

Now save and activate both the mappings
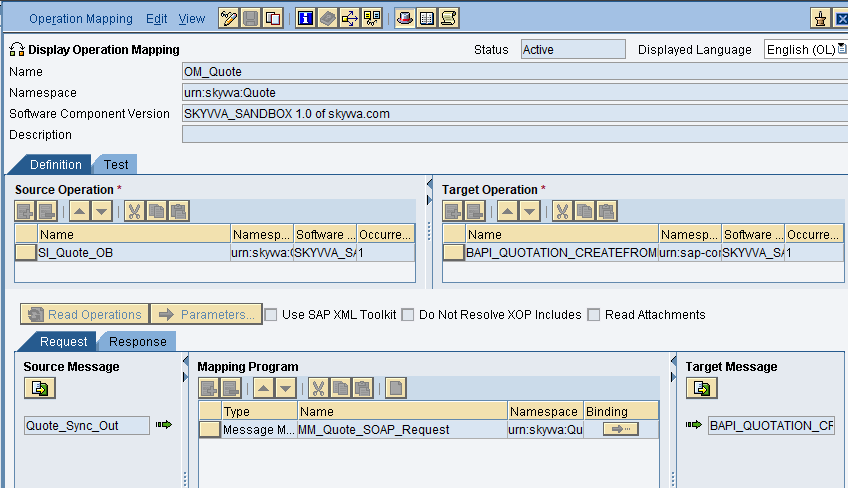
- Operation Mapping
Create Operation mapping as shown below.
Now select the inbound and outbound service interfaces and the respective request and response mappings.
This is for request mapping
Response Mapping
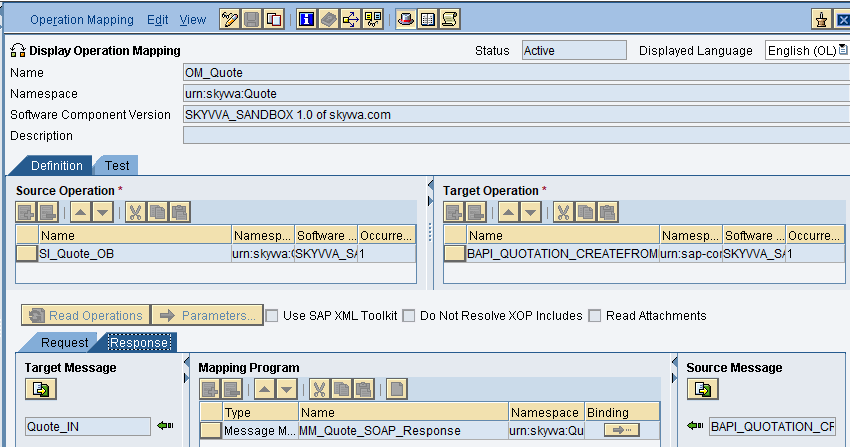
Then save and activate the operation mapping.
- Creation of Integrated Configuration Objects
After creating the objects in ESR. We have to configure these objects in the integration directory.
First, we have to create Configuration Scenario.
An Integration scenario has the following objects.
- Business System for Sender and Receiver
- Sender and Receiver Communication channel
- Integrated Configuration
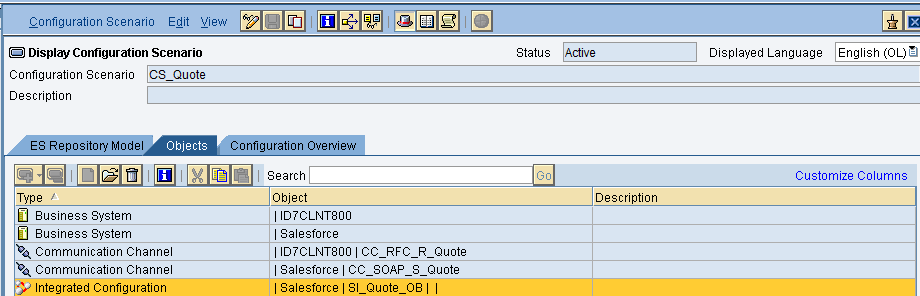
These are the objects we should create. We have to define our business system e.g. for the SAP-Backend. For Salesforce you can use our proposal “Salesforce” as the business system. We have to import these business systems from SLD.
- Configuring the Sender SOAP communication channel
Create sender communication channel as shown below.
We are using SOAP adapter in the sender channel
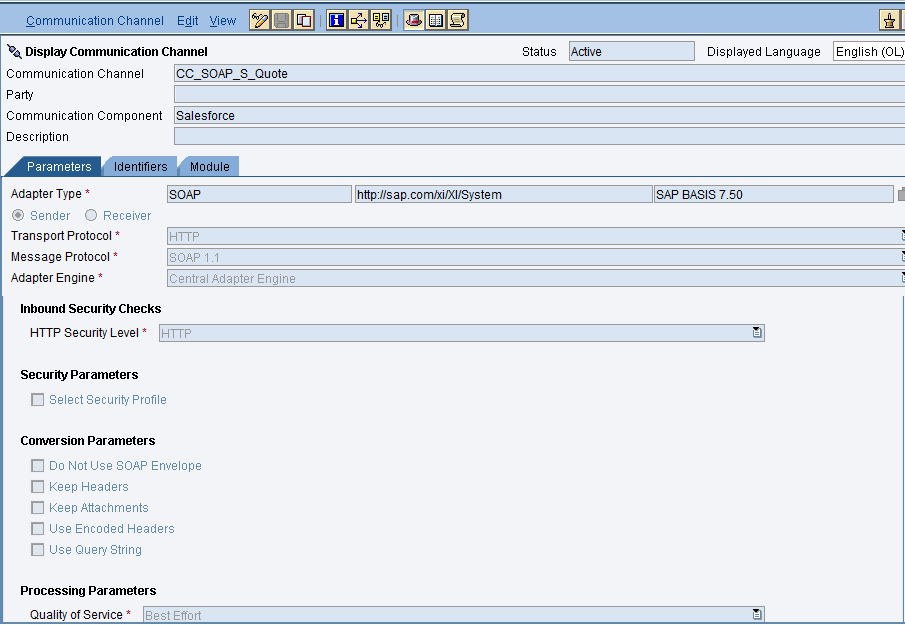
Provide the necessary details. After that save and activate the channel.
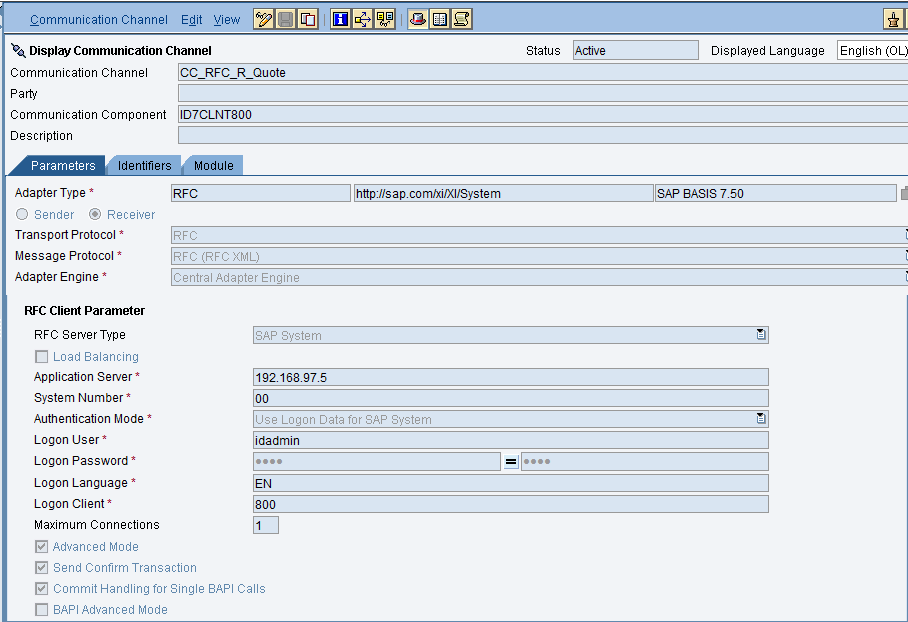
- Configuring the RFC receiver channel
- Integrated Configuration
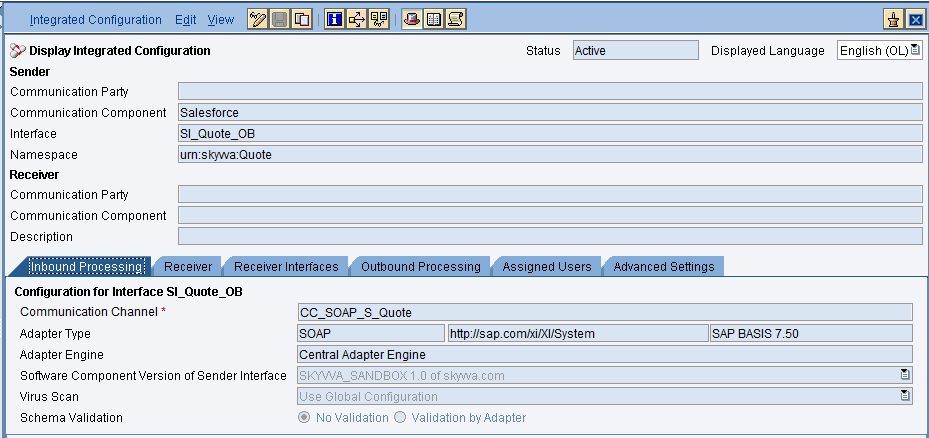
Create integrated configuration objects as shown below.
Enter the required data e.g. the Communication Component, Interface and Namespace and then click on create button to create an ICO.
Now go through the tabs from left to right to configure the relevant objects. In this first tab “Inbound Processing” here we have to specify the sender communication channel.
Here in the “Receiver” tab, we have to specify the receiver business system.

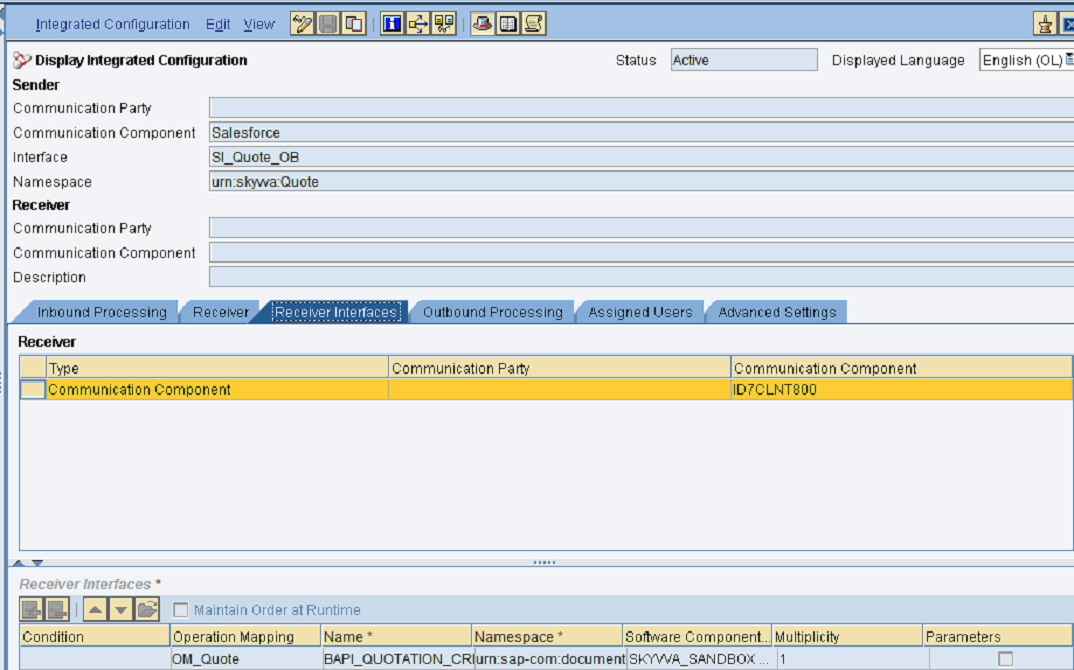
In Receiver interfaces tab specify the operation mapping.
In the “outbound processing” tab, we have to specify the receiver channel.

- Testing the Outbound synchronous Interface.
Callout from skyvva from developer console using the below apex code
skyvvasolutions.CallOutControl c=new skyvvasolutions.CallOutControl();
c.returnXml=true;
c.returnListRecord=true;
c.isCreateMessage=true;
c.actionDoIntegrate=true;
String[] ids=new String[]{‘0Q03N000000HZYbSAO’};
skyvvasolutions.Iservices.invokeCalloutV3(‘SOAPV3′,’Quote_Sync_Out’,ids,’SYNC’, c);
We can see the message status in the message monitor

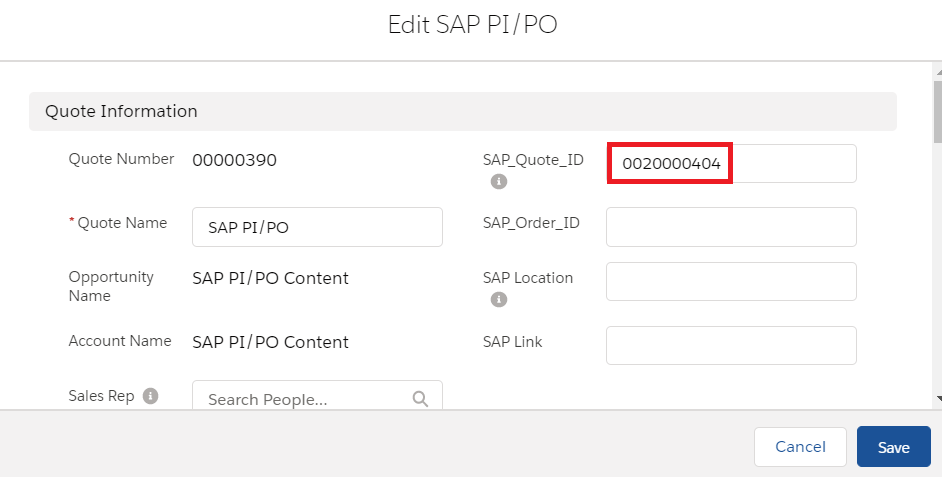
Quote Id is updated in salesforce