
Table of Contents
- For Windows 10
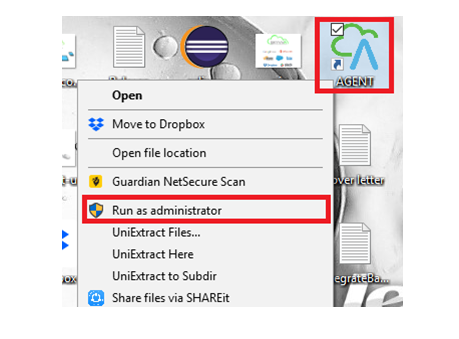
Start Integration Agent, the Agent control board will appear
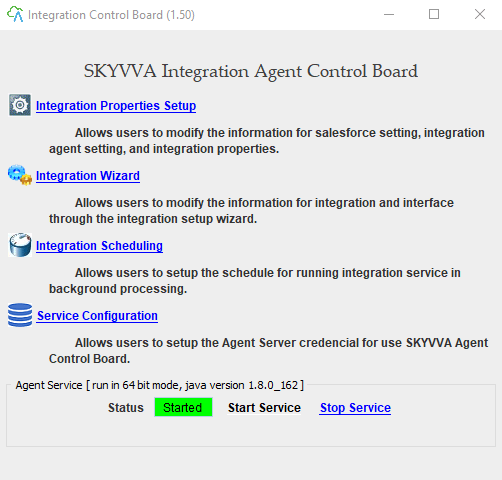
On the Integration Control Board
- Integration Properties Setup – to configure your SF connection and integration setup as prefer.
- Integration Wizard – to create a new integration.
2.3.1 Integration Properties Setup #
On the Integration Control Board, click on “Integration Properties Setup”
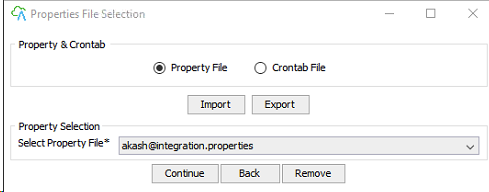
Continue
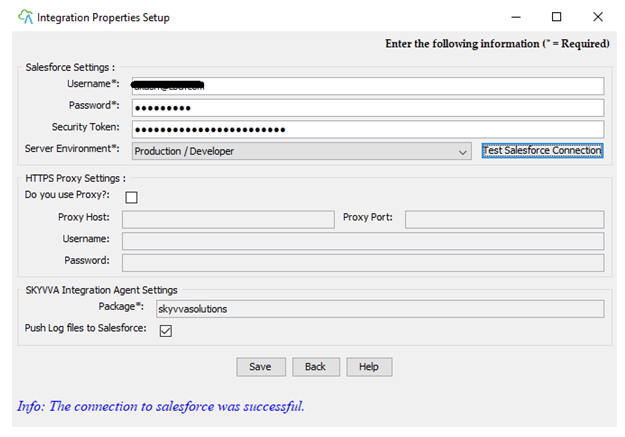
A. Supply your SF login information and click “Test Salesforce Connection” or button on the left of “New Integration” button.
Salesforce settings:
- Username: user’s name that you use to log to salesforce instance e.g. (agent@skyvva.com)
- Password: the password of that user (agent@skyvva.com)
- Security Token: the security token provided by salesforce for the user (agent@skyvva.com)
- Server environment: This should be “Production/Developer” or “Sandbox”.
- Test Salesforce Connection: test connection.
SKYVVA Integration Agent:
- Integration (Agent-SF): Integration name from Agent to Salesforce.
- Integration (SF-Agent): Integration name from Salesforce to Agent.
- Click Save to write your integration properties to a file.
Go to Salesforce Org.
- Create New Integration

- Create New Interface
- Click
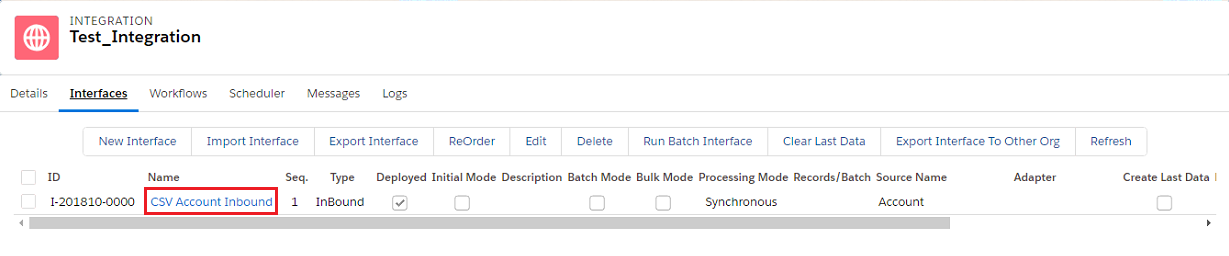
- Scroll down to mapping section
- Select Name Ext Id
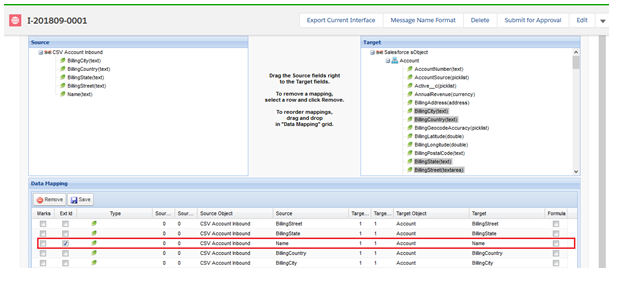
- Save
2.3.2 Integration Wizard #


Integration Name: Refresh Integration wizard select your integration and Interface which you already created in org & click on the Edit Interface button.


