
Table of Contents
We have a new function for mapping which supports hierarchical data mapping. The new function is “Set Context”. The use of a set context is that we can change the hierarchy level in the mapping so that we can easily map it to the target interface. It is used in Inbound processing only. This chapter will show how it works and how you can make use of it.
How to use “Set Context” for hierarchical mapping:- #
Pre- Requisite:-
- Create Integration.
- Create Inbound Interface.
- Create a metadata provider.
Step 1:-
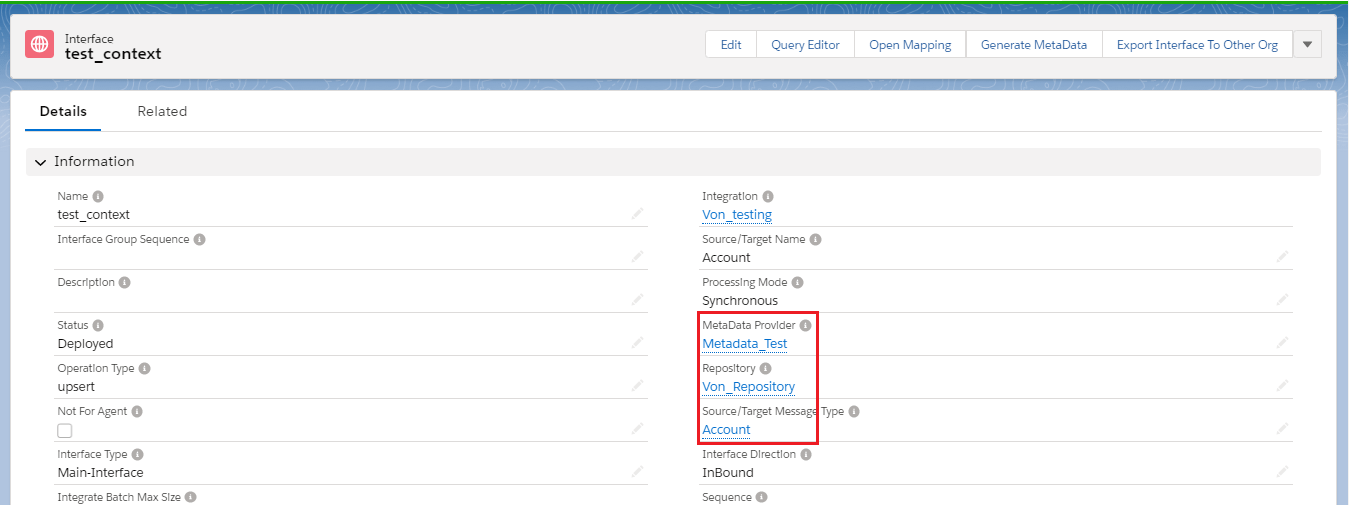
- Add metadata provider, Repository and message type as shown in the given picture below:-
Step 2:-
- Open Mapping.
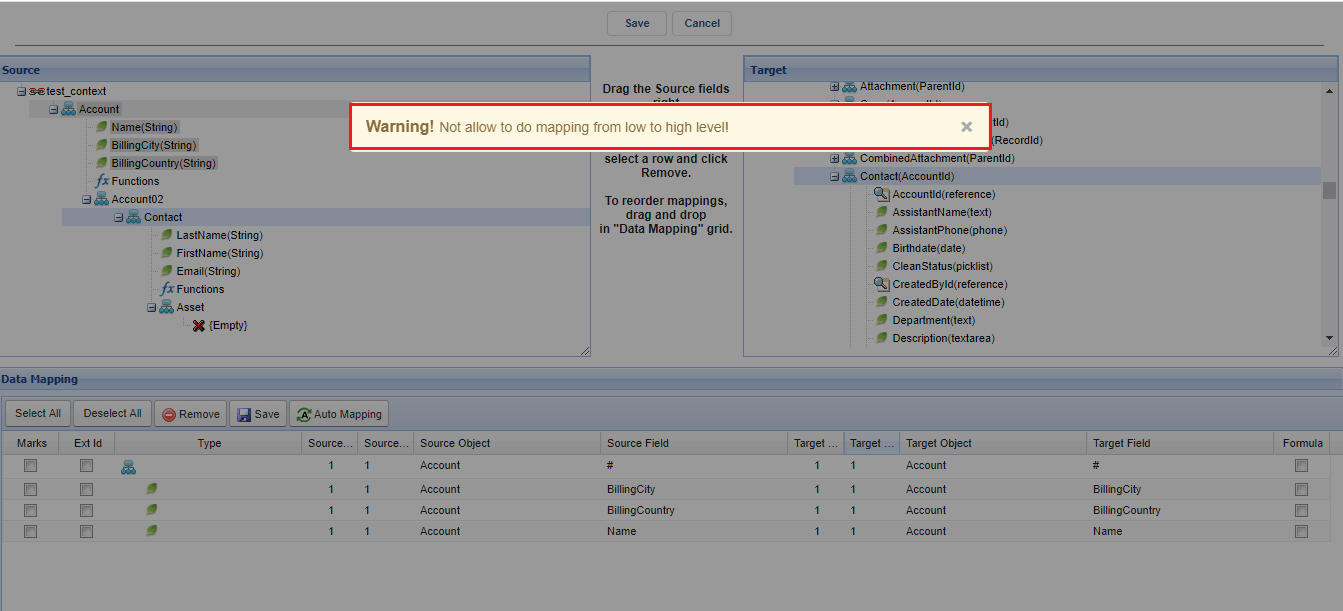
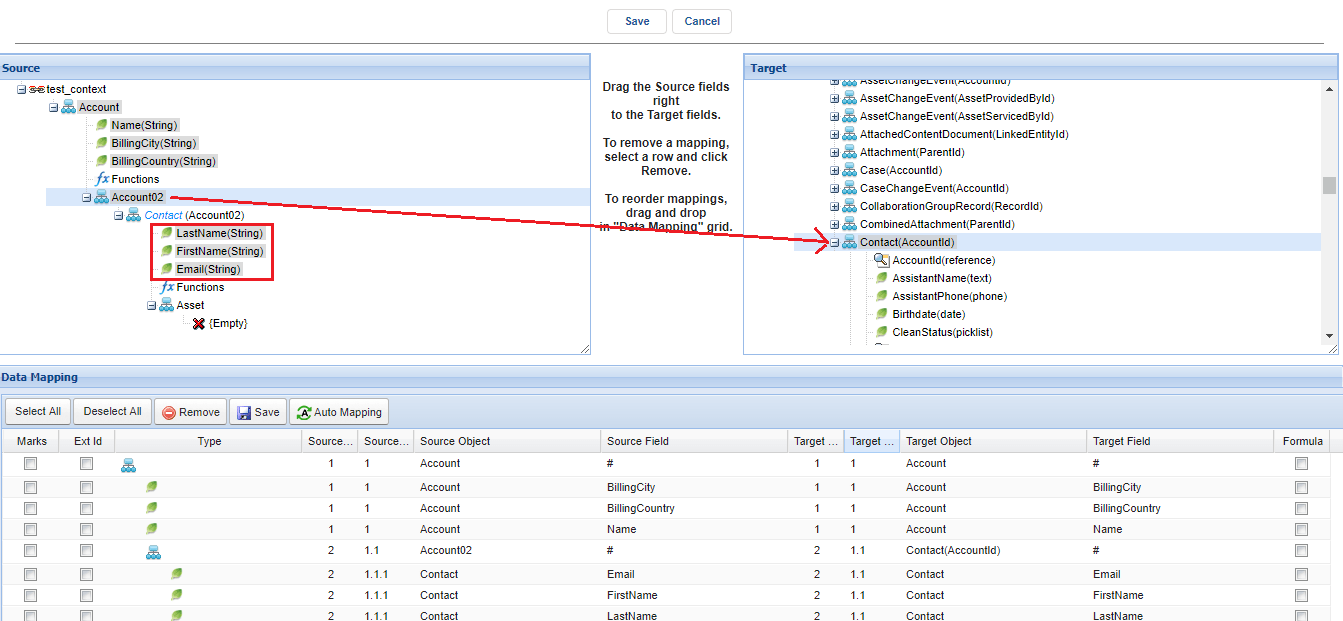
- Here first we need to understand why we need to set context level. Like we can see that contact is the third level on the source side. So we need to map it to the same level but Contact(AccountId) is on the second level on the target side. At this time if we map the third level to the second level we will see an error as shown in the picture given below.
- Now we can deal with this issue with the help of “context level”.
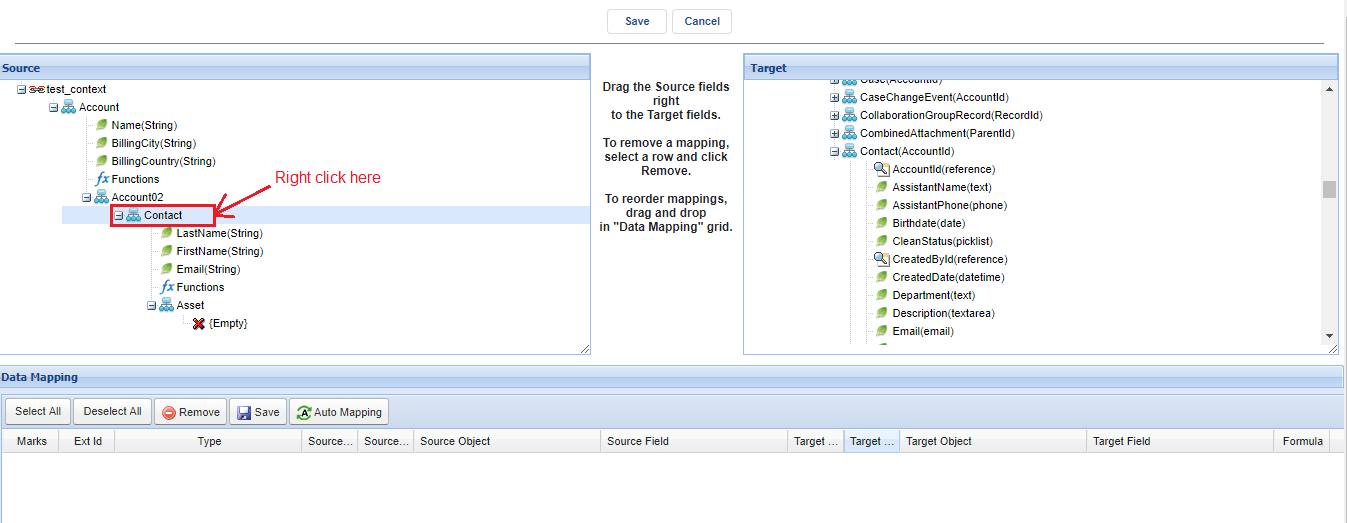
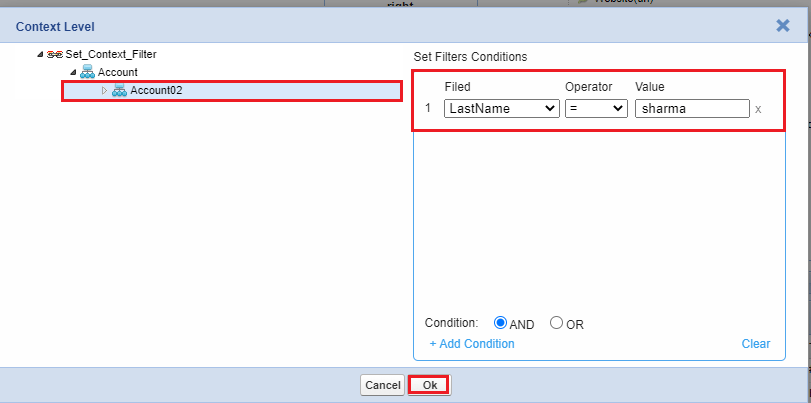
- We will set context level on contact as shown in the picture given below.
- Right-click on contact.
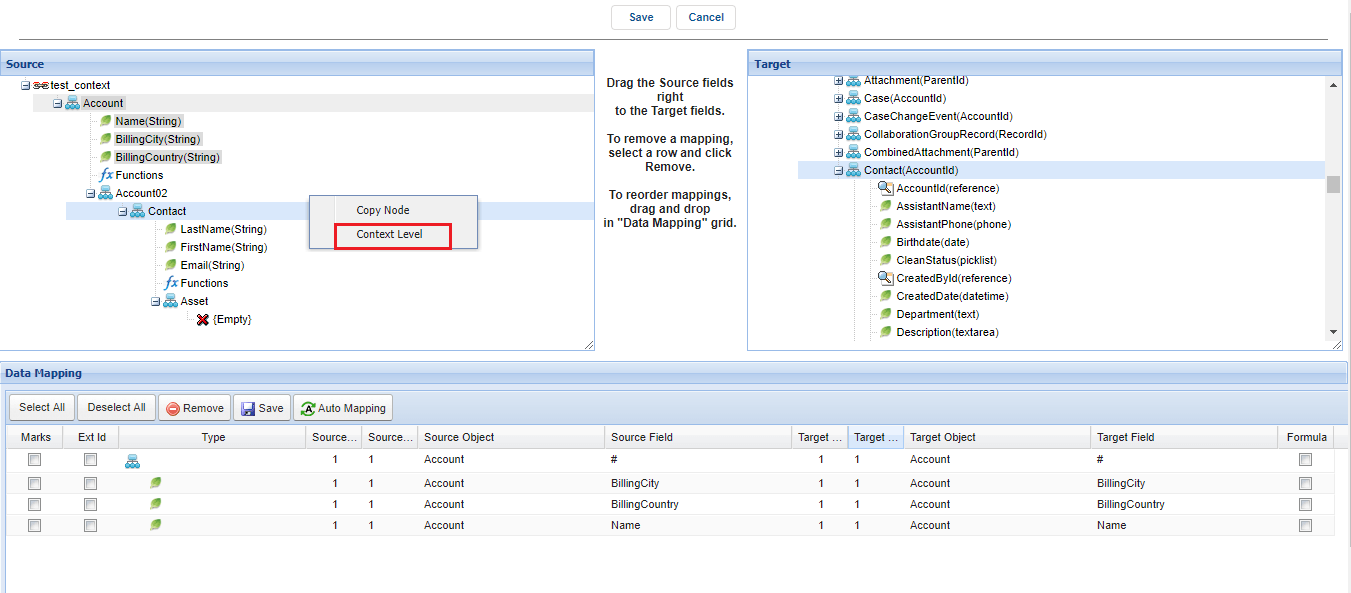
- Click on the context level.
- Select Account02 and here we have filer in which we can add a condition to find one record we want to use to map. Click on ok as shown in the picture given below:-
- Now map Account02 from the source side to contact(AccountId) from the target side. As we set the context level so now Contact changed to the second level and belongs to Account02 and the fields of Contact is also belonged to the second level Account02. Shown in the picture given below.
- Save the mapping.
Step 3:-
- Go to manual load.
- Manually load data and select XML HIERARCHY as a data type.
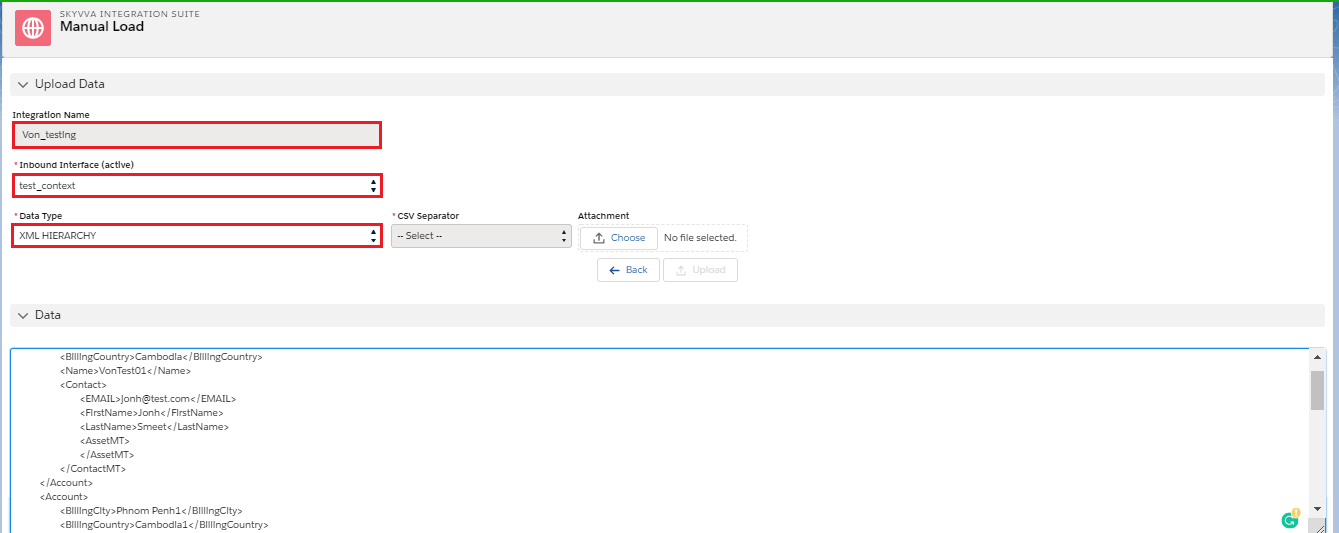
- Check the result on message monitoring:-

Note
Contact(AccountId), No Foreign key could generated. Please select external Id fields to use with foreign key. If there are no external Id fields then make sure you use vlookup to link the object.


